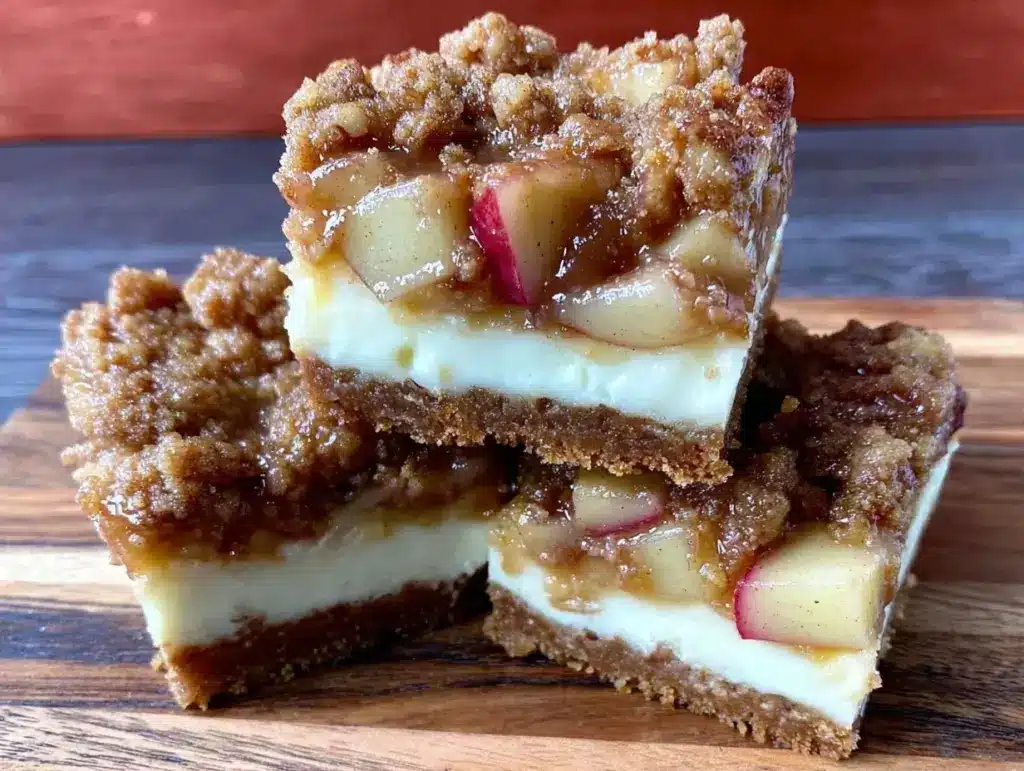
Last Saturday, my kitchen looked like a flour bomb had gone off. My six-year-old, Leo, was wearing an apron that was three sizes too big, standing on a step stool, and carefully pressing a crumbly mixture into the bottom of a baking pan. He was serious. Dead serious. And he was laughing at the same time. That was the moment I knew I’d finally found a recipe that didn’t just get eaten by my kids—it got *made* by them.
Before this, cooking with Leo usually meant me doing the actual work while he “helped” by eating half the ingredients and dropping the other half on the floor. But these Kids Love These Fall Apple Cheesecake Bars? They’re different. They’re forgiving. They’re tactile. And honestly? They taste like autumn in a bar form. I’ve made this batch at least five times over the last month, and every single time, the process is just as fun as the eating part.
Here’s the thing about these bars: they bridge the gap between a snack and a dessert. They’re creamy, they’re crisp, and they have that warm, spiced apple flavor that smells like a pumpkin patch. But more importantly, they are incredibly kid-friendly to assemble. You don’t need a stand mixer. You don’t need fancy techniques. You just need apples, cream cheese, sugar, and a little patience. I love that this recipe lets my son chop the apples (with supervision, obviously) and press the crust. It turns baking from a chore into a shared adventure.
I remember the first time I tried making cheesecake with a toddler. It was a disaster. The batter was lumpy, the crust sank, and we ended up ordering pizza. With these Fall Apple Cheesecake Bars, the margin for error is huge. Even if your crust isn’t perfectly even, it still tastes amazing. Even if your apple slices are slightly uneven, the baked result is still perfect. It’s the kind of baking that builds confidence, not frustration. If you’re looking for a way to get your kids into the kitchen this season, this is the one. Trust me, once they see those golden edges, they’ll be asking for the recipe before you’ve even put the dish down.
Why You’ll Love This Recipe
Let’s be real—most kids’ dessert recipes are just sugar bombs with a decorative fruit slice on top. But this Fall Apple Cheesecake Bars recipe is different. It’s got structure. It’s got texture. And it’s got that cozy, spiced flavor that makes adults happy too.
It’s a Two-Batch Victory — I’ve made this for Leo’s class parties, and the parents always ask for the recipe. Last week, I made one pan for school and one for home. The school pan vanished in ten minutes. The home pan? We lasted three days because we kept sneaking pieces. It feeds a crowd and makes you look like a hero.
Kids Can Actually Help — This isn’t one of those recipes where you hide the sharp knife and send the kid to the living room. The crust is just crushed cookies and butter. The filling is cream cheese and sugar. The apples are soft enough for little hands to handle. Leo helped with every single step, and he felt so proud. It’s one your kids will actually want to help make, not just endure.
It Uses Store-Bought Shortbread — I’m not going to lie to you. Making shortbread cookie dough from scratch is a pain. I buy the pre-made shortbread cookies (like Nilla Wafers or a similar buttery shortbread) and crush them. It saves you 30 minutes of prep and still tastes incredible. This is my secret weapon for busy weekends.
It’s Perfectly Spiced — The cinnamon and nutmeg in the filling aren’t overpowering. They’re warm and inviting, like a walk through a fall orchard. It’s not just “sweet”; it’s complex. My husband, who usually prefers plain chocolate cake, asked for seconds of this. That’s high praise.
It Holds Up Well — Unlike delicate custards that wobble and break, these bars are sturdy. You can cut them into neat squares, pack them in a lunchbox, or bring them to a picnic. They don’t get soggy if you store them properly. They travel well. This makes them ideal for fall events, school potlucks, or just a Tuesday night treat.
This is my go-to when I want to spend time with my kids in the kitchen and end up with something delicious that doesn’t require a culinary degree.
Key Ingredients
Let’s talk about what goes into these bars. I’ve kept the list short because simplicity is key here. You don’t need a pantry full of exotic spices. Here’s what you’ll need, with exact measurements so you don’t have to guess.
Shortbread Cookies (300g / 10.5 oz) — I use store-bought shortbread cookies or Nilla Wafers. They have the right buttery crunch and hold together well when crushed. Avoid vanilla wafers if you can—they’re too sweet and soft. You want that buttery snap. Look for brands like Keebler or local bakery brands.
Unsalted Butter (113g / 1/2 cup) — This binds the crust. Make sure it’s melted but not hot. If it’s boiling, it’ll melt the cookies too much and make a greasy crust. Let it cool for a minute after melting.
Cream Cheese (567g / 2 packages, 8 oz each) — Full-fat is non-negotiable here. Low-fat cream cheese has too much water and will make the filling runny and grainy. Let it sit out for 30 minutes before you start. Soft cream cheese mixes smoothly; cold cream cheese creates lumps that are hard to fix.
Granulated Sugar (200g / 1 cup) — This sweetens the filling. You can reduce it slightly if you prefer less sweet, but the apples add their own sweetness, so don’t cut it too much or it’ll taste sour.
Eggs (2 large / ~100g) — These bind the filling and give it structure. Room temperature eggs blend more evenly into the cream cheese. If you crack them cold, you might see little bits of white that don’t mix.
Vanilla Extract (5ml / 1 tsp) — Pure vanilla. Not imitation. It adds that warm, comforting aroma that defines cheesecake. Spend the extra dollar for pure extract; it makes a noticeable difference.
Granny Smith Apples (3 medium / ~450g peeled weight) — These are my choice for a reason. They hold their shape when baked and have a tartness that cuts through the rich cream cheese. You can use Honeycrisp or Gala, but they’ll get softer and sweeter. Granny Smith gives you that nice contrast.
Cinnamon (2.5ml / 1/2 tsp) — Ground cinnamon. It’s the backbone of the “fall” flavor. Don’t skip it.
Nutmeg (1ml / 1/4 tsp) — Just a pinch. It adds depth. Too much nutmeg tastes like medicine. Less is more here.
Tools Needed
You don’t need fancy equipment. Here’s what I use, and what you can swap.
9×13 Inch Baking Pan — I use a glass Pyrex pan. It heats evenly. If you use metal, keep an eye on the edges so they don’t burn. Line it with parchment paper for easy removal.
Food Processor — This is the easiest way to crush the cookies. Pulse until they’re fine crumbs. If you don’t have one, put the cookies in a ziplock bag and crush them with a rolling pin. It takes a few minutes, but it’s a great job for kids.
Mixing Bowls — One large bowl for the crust, one medium for the filling. I like stainless steel bowls because they don’t slide around.
Electric Hand Mixer — A stand mixer is great, but a hand mixer works perfectly fine here. It’s easier to clean, too. Just make sure you mix on low speed to avoid splashing cream cheese everywhere.
Microplane Grater — If you want to grate the apples instead of slicing them, a microplane gives you a beautiful, even texture. It also helps you get fine zest if you want to add a bit of lemon zest for brightness.
Cooking Instructions
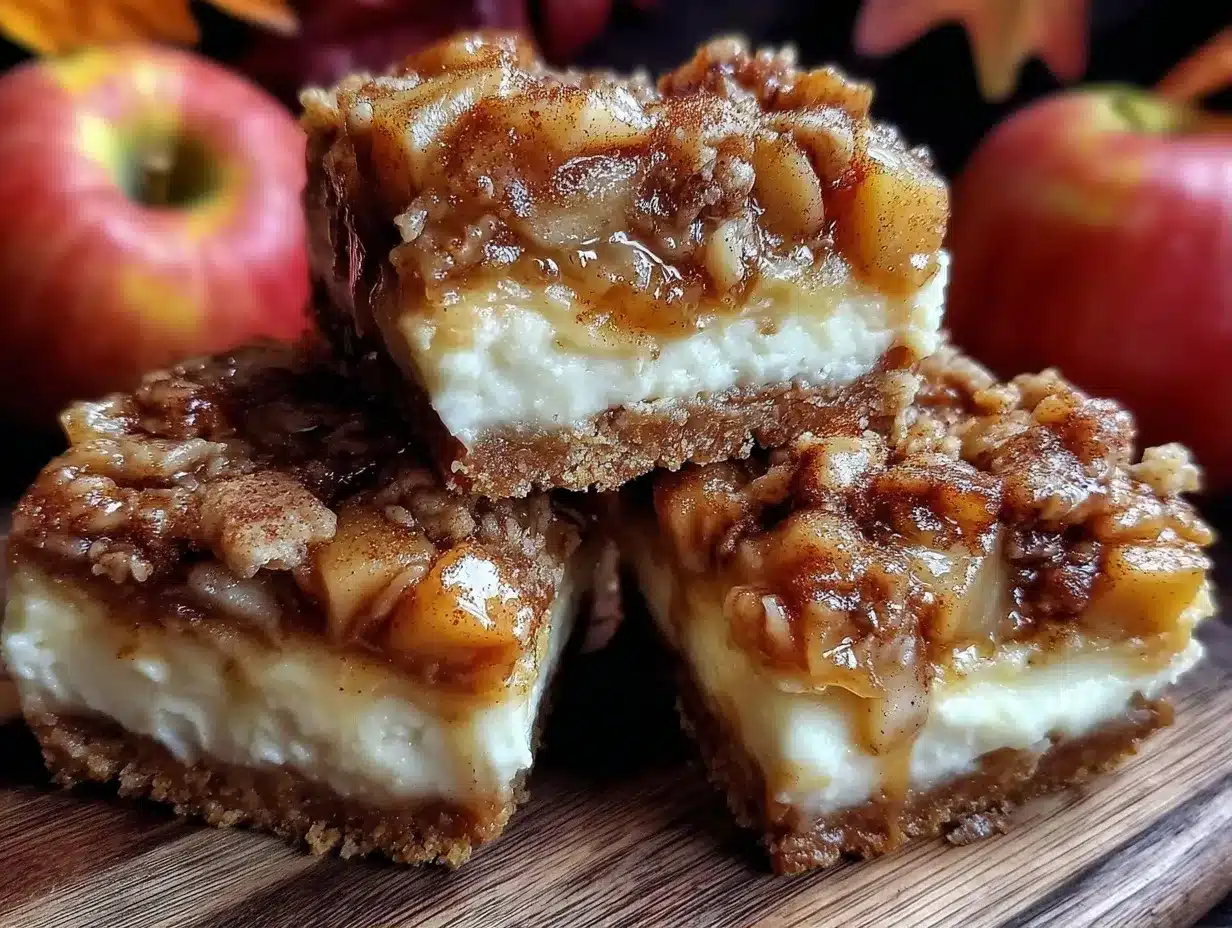
Okay, let’s get into the kitchen. This is the part where the magic happens. I’m walking you through exactly how I do it, step by step.
Step 1: Prep the Crust (10 minutes)
Preheat your oven to 350°F (175°C). Line your 9×13 inch pan with parchment paper, leaving an overhang on the long sides. This is crucial for lifting the bars out later. If you skip this, you’ll be digging pieces out with a fork, and nobody wants that.
Crush your shortbread cookies. If using a food processor, pulse until you have fine crumbs. If doing it by hand, put them in a bag and smash them. You want them fine, not chunky. In a medium bowl, mix the crumbs with the melted butter. It should look like wet sand. If it’s too dry, add a teaspoon more butter. If it’s soupy, add more crumbs. Press this mixture firmly into the bottom of your prepared pan. Use the bottom of a glass to pack it down. You want it tight, or the bars will crumble.
Bake the crust for 10 minutes. It should smell buttery and look slightly golden. Remove it from the oven and let it cool while you make the filling. This pre-bake helps prevent a soggy bottom.
Step 2: Make the Filling (15 minutes)
In a large bowl, beat the softened cream cheese on medium-low speed until it’s completely smooth. This is the most important step for texture. If there are lumps, they’ll stay there. Scrape down the sides of the bowl. Add the sugar and vanilla. Mix until combined. It should look creamy and pale.
Add the eggs one at a time, mixing on low speed just until incorporated. Do not overmix once the eggs are in. Overmixing adds air, which can cause cracks later. You want a dense, rich filling. Stop mixing as soon as the eggs disappear.
Step 3: Add the Apples and Assemble (10 minutes)
Peel and core your Granny Smith apples. You can slice them thinly or grate them. I prefer thin slices for a pretty look, but grated apples blend in more seamlessly. Toss the apple pieces with the cinnamon and nutmeg. Spread them evenly over the cooled crust. Then, pour the cream cheese mixture over the apples. Use a spatula to smooth it out. If the apples are on top, the batter will drip down between them, creating little pockets of apple-cheesecake goodness.
Step 4: Bake and Cool (45 minutes + cooling time)
Bake at 350°F (175°C) for 35-40 minutes. The center should be just set. It might still wiggle a little in the middle, but it shouldn’t be liquid. If the edges are browning too fast, tent the pan with foil after 20 minutes.
Let the bars cool in the pan on a wire rack for at least 1 hour. They need to set. If you cut them while warm, they’ll be messy. After an hour, transfer the whole pan to the fridge. Chill for at least 4 hours, preferably overnight. This is the hardest part—waiting—but it ensures clean cuts.
When ready to serve, lift the bars out using the parchment overhang. Cut into squares. Enjoy!
Expert Tips
Here’s everything I learned from making this too many times. These are the game-changers.
Don’t Rush the Cream Cheese
This is the #1 mistake. Cold cream cheese = lumpy cheesecake. I learned this the hard way on my first attempt. I pulled it straight from the fridge and tried to mix it. The result was grainy and ugly. Let it sit out for 30-45 minutes until it’s soft to the touch. You should be able to press a finger into it and leave an indent.
Granny Smith is Your Friend
I tried using Gala apples once because I was lazy. They turned into applesauce. The bars were mushy. Granny Smiths hold their structure. If you must use a sweeter apple, reduce the sugar in the filling by 2 tablespoons.
Chill Before Cutting
I know it’s tempting. I’ve been there. But warm cheesecake bars are a mess. Chill them for at least 4 hours. Overnight is best. The flavors meld together, and the texture firms up. Cold bars cut cleanly. Warm bars smear.
Storage Matters
These bars contain dairy and eggs, so they must be refrigerated. They don’t freeze well because the texture of the cream cheese changes when thawed. Keep them in an airtight container in the fridge for up to 5 days.
Recipe Variations
Once you’ve nailed the basic version, here’s how to mix it up. These Fall Apple Cheesecake Bars are a canvas.
Pumpkin Spice Variation
Add 1/4 cup of pumpkin puree to the filling. Reduce the apples to 1 medium. Add an extra 1/2 tsp of pumpkin pie spice. It’s basically pumpkin cheesecake in bar form. My kids love this one in October.
Walnut Crunch
Add 1/2 cup of chopped walnuts to the crust. It adds a nice nutty flavor that pairs well with apples. Toast the walnuts first for extra flavor.
Caramel Drizzle
After the bars are chilled, drizzle them with warm caramel sauce. It’s indulgent and makes them feel fancy. Great for holidays.
Dairy-Free Option
Use vegan cream cheese and vegan butter in the crust. The texture will be slightly different, but it’s still delicious. I’ve tested this with Kite Hill brand, and it works well.
Gluten-Free Crust
Use gluten-free shortbread cookies or graham crackers. Make sure they are certified GF. The rest of the recipe is naturally GF.
Serving & Storage
Serving
I serve these at room temperature or slightly chilled. They pair beautifully with a hot cup of coffee or tea. I also like to add a dollop of whipped cream on top for special occasions. For a fall table, garnish with a small apple slice or a cinnamon stick.
Side Dishes
These bars are rich, so they don’t need much. But if you’re serving them at a potluck, they go well with fresh fruit salads or light green salads. Check out my fresh green salad with candied pecans and goat cheese for a light, crunchy contrast. Or try my tangy cucumber tomato feta salad if you want something crisp and refreshing.
Storage
Keep these in an airtight container in the refrigerator. They last up to 5 days. Do not leave them out at room temperature for more than 2 hours. They do not freeze well. The cream cheese texture becomes grainy and watery when thawed. If you have leftovers, eat them within 3 days for the best quality.
Nutrition Informations
I’m not a nutritionist, but here’s the breakdown. These are indulgent bars, so enjoy them in moderation.
Per serving (one bar):
| Nutrient | Amount |
|---|---|
| Calories | 280 |
| Protein | 4g |
| Carbs | 32g |
| Fiber | 1g |
| Fat | 16g |
| Sodium | 180mg |
My Take: This is comfort food with cream cheese and sugar. It’s not diet food. But it’s better than takeout dessert, and you know exactly what’s in it. The apples add a bit of fiber, and the shortbread crust provides energy. It’s a treat, not a health food. Balance it with a salad or just enjoy it as a special indulgence.
Final Thoughts
These Kids Love These Fall Apple Cheesecake Bars are more than just a dessert. They’re a memory-maker. They’re about the flour on the counter, the smell of cinnamon in the air, and the pride on your child’s face when they say, “I made this.” I hope you try it. I hope you get messy. I hope you laugh when the crust breaks. And I hope you share it with people you love.
If you make this, drop a comment! I love hearing how it turns out in your kitchen. Did your kids help? What kind of apples did you use? Let me know. Happy cooking!
FAQs
Q: Can I use frozen apples?
A: I don’t recommend it. Frozen apples release a lot of water when they thaw, which can make the filling soggy. Fresh apples are best. If you must use frozen, thaw them completely and pat them dry with paper towels before adding them to the crust.
Q: Why did my cheesecake bars crack?
A: Cracks usually happen from overmixing or overheating. Make sure you mix the eggs on low speed. Also, don’t overbake. The center should still wiggle slightly when you take it out. The residual heat will finish cooking it. If the edges are browning too fast, tent with foil.
Q: Can I make these ahead of time?
A: Yes! These bars actually taste better the next day. The flavors meld together. You can make them up to 2 days in advance. Keep them covered in the fridge.
Q: What if I don’t have shortbread cookies?
A: You can use graham crackers or vanilla wafers. Graham crackers will give it a graham cracker crust vibe, which is also delicious. Just adjust the sugar slightly if using very sweet wafers.
Q: Can I add other fruits?
A: Absolutely. You can swap the apples for pears or peaches. For peaches, use the bourbon peach cobbler flavor profile by adding a bit of bourbon extract to the filling. It’s a wonderful variation.
Q: How do I store leftovers?
A: Store in an airtight container in the fridge for up to 5 days. Do not freeze. They are best eaten chilled.
Pin This Recipe!
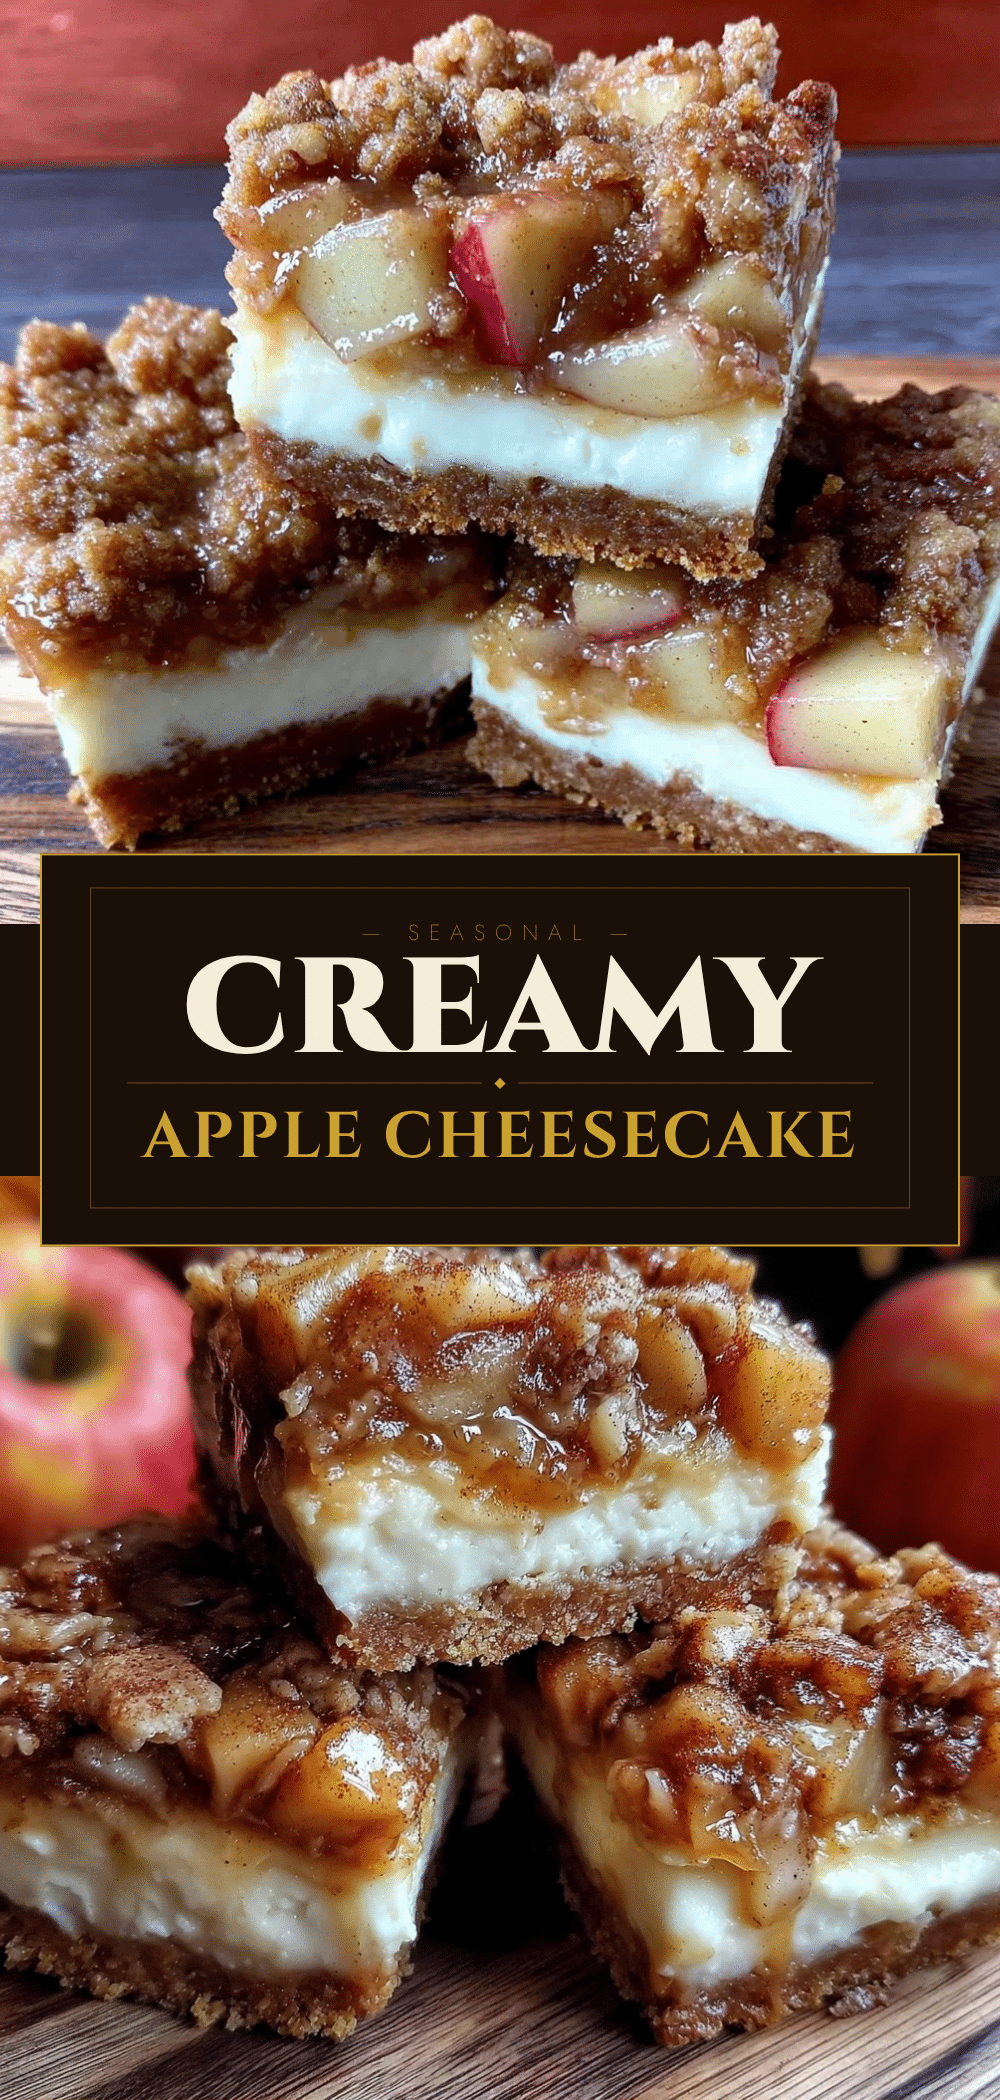
Kids Love These Fall Apple Cheesecake Bars
- Total Time: 90 minutes
- Yield: 12 servings 1x
Description
A kid-friendly, forgiving dessert that bridges the gap between snack and dessert. These bars feature a buttery shortbread crust, a creamy spiced apple cheesecake filling, and are easy enough for children to help assemble.
Ingredients
- 300g (10.5 oz) shortbread cookies or Nilla Wafers
- 113g (1/2 cup) unsalted butter, melted
- 567g (2 packages, 8 oz each) full-fat cream cheese, softened
- 200g (1 cup) granulated sugar
- 2 large eggs, room temperature
- 5ml (1 tsp) pure vanilla extract
- 3 medium Granny Smith apples (~450g peeled weight), peeled and sliced or grated
- 2.5ml (1/2 tsp) ground cinnamon
- 1ml (1/4 tsp) ground nutmeg
Instructions
- Preheat oven to 350°F (175°C). Line a 9×13 inch baking pan with parchment paper, leaving an overhang on the long sides.
- Crush the shortbread cookies into fine crumbs using a food processor or by placing them in a bag and smashing with a rolling pin.
- In a medium bowl, mix the cookie crumbs with the melted butter until the mixture resembles wet sand.
- Press the crust mixture firmly into the bottom of the prepared pan using the bottom of a glass. Bake for 10 minutes until slightly golden, then remove and let cool.
- In a large bowl, beat the softened cream cheese on medium-low speed until completely smooth. Scrape down the sides of the bowl.
- Add the sugar and vanilla extract to the cream cheese and mix until combined and creamy.
- Add the eggs one at a time, mixing on low speed just until incorporated. Do not overmix.
- Toss the sliced or grated apples with cinnamon and nutmeg. Spread them evenly over the cooled crust.
- Pour the cream cheese mixture over the apples and smooth the top with a spatula.
- Bake at 350°F (175°C) for 35-40 minutes. The center should be just set but still wiggle slightly.
- Let the bars cool in the pan on a wire rack for at least 1 hour.
- Transfer the pan to the refrigerator and chill for at least 4 hours, preferably overnight, to ensure clean cuts.
- Lift the bars out using the parchment overhang, cut into squares, and serve chilled or at room temperature.
Notes
Ensure cream cheese is fully softened to avoid lumps. Granny Smith apples are recommended for their tartness and ability to hold shape. Bars must be chilled for at least 4 hours before cutting to prevent smearing. Do not freeze as the texture will become grainy.
- Prep Time: 35 minutes
- Cook Time: 55 minutes
- Category: Dessert
- Cuisine: American
Nutrition
- Serving Size: One bar
- Calories: 280
- Sugar: 22
- Sodium: 180
- Fat: 16
- Saturated Fat: 9
- Carbohydrates: 32
- Fiber: 1
- Protein: 4
Keywords: fall dessert, apple cheesecake bars, kid-friendly recipes, easy baking, shortbread crust, autumn treats, school potluck ideas


