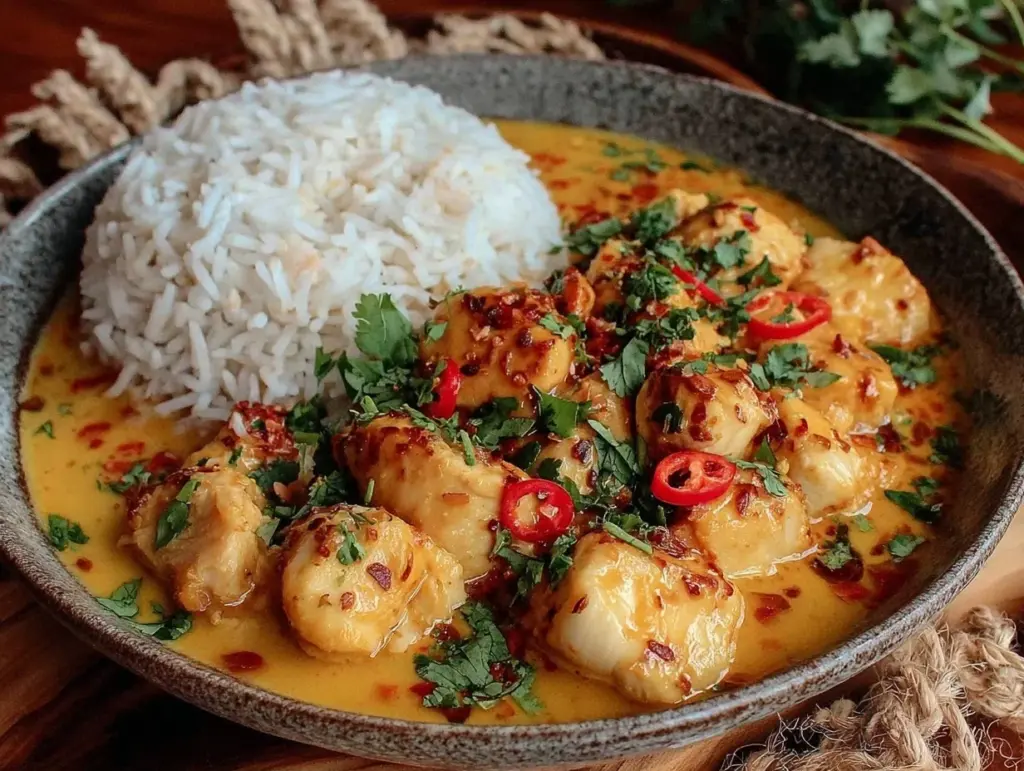
I remember the Tuesday night clearly. It was raining, the kids were hangry, and I was staring into a fridge that looked less like a food source and more like a biological hazard. I had half a jar of coconut milk, some chicken thighs that were on the verge of expiring, and a pantry that was mostly empty except for basic spices. I didn’t have the energy to drive to the store. I didn’t have the budget for takeout. And I certainly didn’t have the patience for a complicated recipe.
So, I threw everything I had into the pot. I sautéed onions, dumped in the chicken, poured in the coconut milk, and tossed in whatever curry powder was sitting in the back of my spice rack. I expected mediocrity. I expected a weird, watery mess that my kids would push around their plates.
Instead, thirty minutes later, my youngest asked for seconds. My husband looked at me like I’d performed a miracle. It was creamy, rich, and tasted like it came from a restaurant menu—but it cost me less than five dollars per serving. That night, I realized I didn’t need expensive ingredients or fancy techniques to feed my family well. I just needed a plan.
That accidental dinner became the foundation for my go-to Budget-Friendly Creamy Coconut Chicken Curry. I’ve made it over fifty times since then. I’ve tweaked the spice levels, tested different cuts of meat, and figured out exactly how to stretch leftovers so they last through the workweek. This isn’t a gourmet chef’s recipe. It’s a real-life, messy-kitchen, budget-conscious reality. It’s the Budget-Friendly Creamy Coconut Chicken Curry that saved my sanity during those chaotic school-year months.
If you’re tired of spending hours chopping vegetables or worrying about the grocery bill, you’re in the right place. This recipe is forgiving, flexible, and incredibly satisfying. I’ll walk you through exactly how I make it, why it works, and how to keep it affordable even when prices are high.
Why You’ll Love This Budget-Friendly Creamy Coconut Chicken Curry
Let’s be honest. Weeknight cooking is hard. You’re tired, the clock is ticking, and you need something that tastes good but doesn’t break the bank. This Budget-Friendly Creamy Coconut Chicken Curry hits that sweet spot perfectly. Here’s why it’s become a staple in my kitchen rotation:
- It Uses Pantry Staples — I don’t need specialty ingredients from a high-end market. Coconut milk, chicken thighs, onions, garlic, and basic spices are all I need. If you have these, you’re already halfway to dinner.
- It’s Incredibly Affordable — Chicken thighs are cheaper than breasts, and coconut milk is inexpensive if you buy the standard cans. This meal costs roughly $1.50 per serving if you shop smart. Compare that to $18 at a Thai restaurant, and you’ll see the value.
- It’s Forgiving — I’ve burned the garlic, added too much spice, and forgotten to salt the water. The result? Still delicious. This recipe doesn’t punish you for mistakes. It rewards you for trying.
- It Heats Up Leftovers Like a Dream — Curry actually tastes better the next day. The flavors meld together overnight. I often make a double batch specifically for this reason. It’s my secret weapon for busy Wednesday nights.
- It’s Kid-Approved — The creaminess from the coconut milk masks any strong spice flavors. Even my pickiest eater, who usually refuses anything “brown,” eats this without complaint. It’s mild, comforting, and familiar.
This is my go-to when dinner needs to just work. It requires minimal cleanup, uses cheap ingredients, and fills everyone up. It’s not just a meal; it’s a solution.
Key Ingredients for Your Budget-Friendly Creamy Coconut Chicken Curry
You don’t need a shopping list that’s longer than your arm. Here’s what I use, why I use it, and how to save money on each item.
Chicken Thighs
1.5 lbs (680g) boneless, skinless chicken thighs — I choose thighs over breasts because they’re cheaper and they stay juicy. Breast meat dries out easily in curry, but thighs hold up to the simmering process. If you must use breasts, cut them into small cubes so they cook faster and don’t overcook. Pro tip: Look for sales. I usually buy the family pack and freeze the extra portions in flat bags.
Coconut Milk
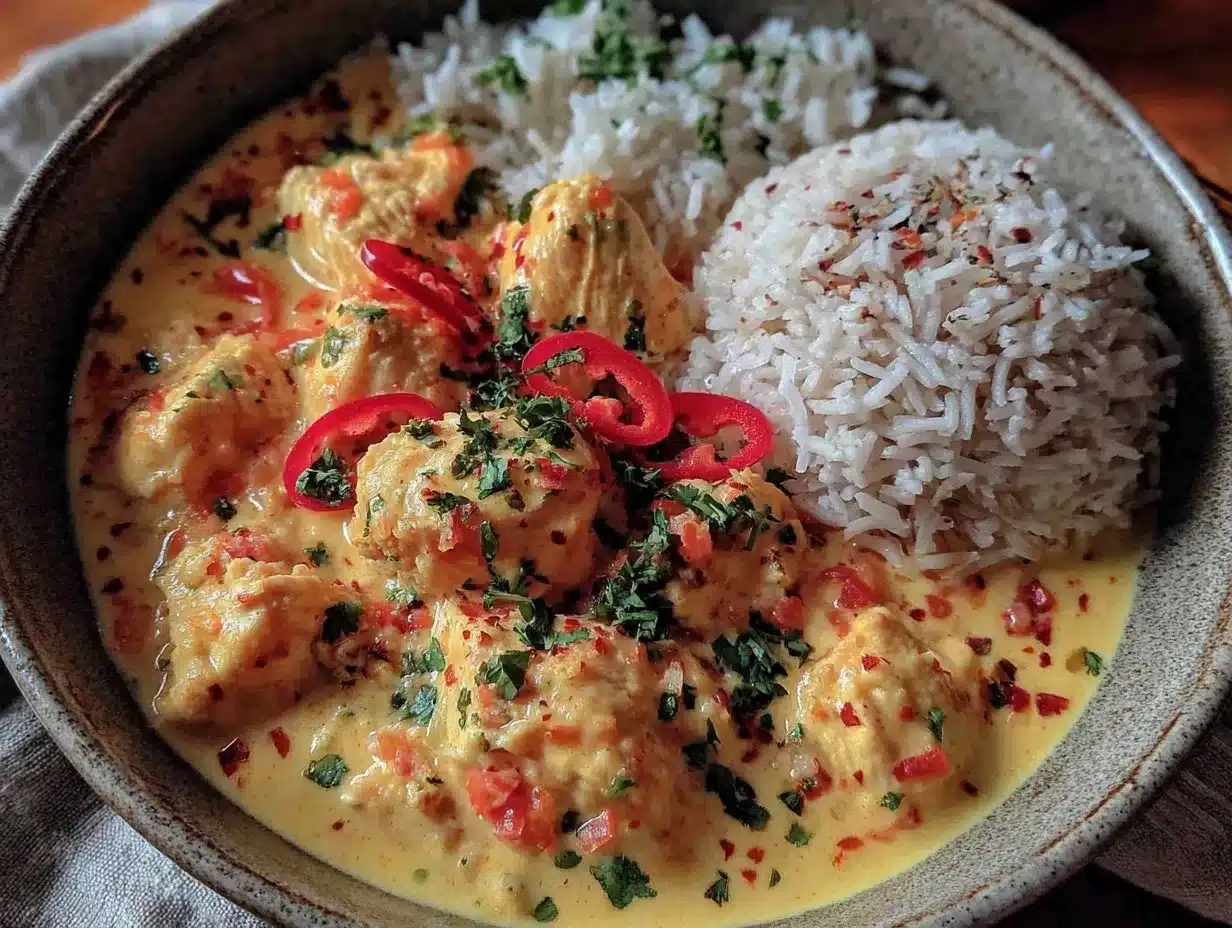
1 can (13.5 oz / 400ml) full-fat coconut milk — Full-fat is non-negotiable for that rich, creamy texture. Light coconut milk makes the curry watery and less satisfying. Don’t buy the expensive “organic” brands if you’re on a budget. The store brand works just as well. Shake the can before opening so the cream and water mix evenly.
Curry Powder
2 tablespoons (12g) yellow curry powder — I use a standard yellow curry powder blend, not a fresh paste. It’s cheaper and has a longer shelf life. If you like heat, add a teaspoon of red pepper flakes. If you’re sensitive to spice, stick to plain curry powder. I’ve tested this with brands like McCormick and store brands, and there’s no real difference in the final dish.
Aromatics
1 large yellow onion (200g), diced — Onions form the base of the flavor. Don’t skip this. They caramelize slightly and add sweetness. 3 cloves (15g) garlic, minced — Fresh garlic is essential. Jarred garlic has a metallic taste that clashes with the coconut. I use a garlic press for speed, but mincing it finely works too. 1 tablespoon (14g) fresh ginger, grated — If you don’t have fresh ginger, 1 teaspoon of ground ginger works in a pinch. It’s not the same, but it’s acceptable.
Thickener and Acid
1 tablespoon (8g) all-purpose flour — This helps thicken the sauce so it coats the chicken instead of running off. It’s a cheap pantry staple that makes a huge difference in texture. 1 tablespoon (15ml) lime juice — Just a squeeze at the end brightens the heavy flavors. If you don’t have limes, lemon juice works fine.
Vegetable Add-Ins (Optional)
1 cup (100g) frozen peas — I add these at the very end for color and sweetness. They’re cheap, especially if bought frozen. You can also use diced carrots or bell peppers if you have them on hand.
Tools Needed
You don’t need fancy equipment. Here’s what I use to make this Budget-Friendly Creamy Coconut Chicken Curry without buying extra gadgets:
- Large Skillet or Dutch Oven — I use a 12-inch non-stick skillet. It has enough surface area to brown the chicken and enough depth to hold the sauce. A Dutch oven works great too if you want to go from stove to table.
- Wooden Spoon or Spatula — For stirring without scratching your pan. I’ve lost count of how many plastic spoons I’ve melted, so stick to wood or silicone.
- Measuring Spoons — Accuracy matters with spices. Too much curry powder can make it bitter. I keep a basic set in my main drawer.
- Knife and Cutting Board — Standard prep tools. Nothing fancy needed.
If you’re short on space, a large pot works too. The key is having enough room for the chicken to sear without steaming.
Cooking Instructions: How to Make It
Let’s get into the pot. This process takes about 30 minutes from start to finish. It’s simple, but timing matters.
Step 1: Prep the Chicken (5 minutes)
Pat your chicken thighs dry with paper towels. This is crucial. Wet chicken steams instead of sears. Cut them into 1.5-inch chunks. Season them generously with salt and pepper. I use about 1 teaspoon of salt for this amount of meat. Set them aside on a plate.
Step 2: Sauté Aromatics (3-4 minutes)
Heat 1 tablespoon of oil in your large skillet over medium heat. Add the diced onion. Cook for 3 minutes until it becomes translucent and starts to smell sweet. Add the minced garlic and grated ginger. Cook for 1 more minute, stirring constantly. Watch the garlic closely—it burns fast. You want it fragrant, not brown.
Step 3: Bloom the Spices (1 minute)
Add the curry powder to the pan. Stir it into the onions and garlic. Cook for 60 seconds. This step “blooms” the spices, releasing their essential oils. It makes the flavor so much deeper than just dumping it into the liquid later. It smells incredible at this stage.
Step 4: Sear the Chicken (5-7 minutes)
Add the chicken chunks to the pan. Spread them out in a single layer if possible. Let them sit for 2 minutes without moving them to get a nice brown crust. Then, flip and cook for another 3-4 minutes until they’re lightly browned on all sides. They don’t need to be cooked through yet; we’ll finish them in the sauce.
Step 5: Simmer the Sauce (10-12 minutes)
Pour in the coconut milk. Stir well, scraping up any browned bits from the bottom of the pan. Those bits are flavor gold. Sprinkle the flour over the liquid and stir continuously to prevent lumps. Bring the mixture to a gentle simmer. Reduce heat to medium-low. Let it cook uncovered for 10-12 minutes. The sauce will thicken, and the chicken will cook through. Check the chicken by cutting into a piece—it should be opaque and juicy.
Step 6: Finish and Serve (2 minutes)
Stir in the frozen peas and lime juice. Cook for 1 more minute until the peas are heated through. Taste the sauce. Add more salt if needed. If it’s too thick, add a splash of water. If it’s too thin, let it simmer for 2 more minutes. Serve hot over rice.
Total Time: 30 minutes. Cook Time: 25 minutes. Prep Time: 5 minutes.
Expert Tips for Success
Here’s everything I learned from making this too many times. These tips will save you from common pitfalls.
The Game-Changers
Don’t Rush the Searing — I used to throw the chicken in and stir immediately. The result? Gray, boiled chicken. Let it sit. The Maillard reaction (browning) creates depth. It’s worth the extra 2 minutes.
Balance the Spice — Curry powder varies by brand. Some are hot, some are mild. Taste your sauce after adding the coconut milk. If it’s too spicy, add a teaspoon of sugar or a splash of cream. If it’s bland, add more salt or a pinch of cayenne.
Use Full-Fat Coconut Milk — I tried light coconut milk once to be “healthy.” The sauce was thin and watery. The fat in full-fat milk carries the flavor and creates that luxurious mouthfeel. It’s worth the few extra calories.
Common Problems & Solutions
Sauce is Too Thin — Simmer it longer. Or mix 1 teaspoon of cornstarch with 1 tablespoon of cold water and stir it in. It thickens instantly.
Chicken is Dry — You probably overcooked it. Next time, remove the chicken when it’s just barely cooked through, then add it back to the sauce at the very end. Carryover cooking will finish it gently.
Flavor is Flat — Add acid. Lime juice or a splash of vinegar cuts through the richness and wakes up the spices. It’s a small step that makes a big difference.
Pro Tricks
Freeze in Flat Bags — Portion your chicken thighs into flat bags before freezing. They thaw faster and stack better in the freezer.
Double the Batch — This recipe doubles easily. I often make two batches and freeze one. It’s my backup plan for nights when I don’t want to cook.
Recipe Variations
Once you’ve nailed the basic version, here’s how to mix it up. The base recipe is flexible.
Spicy Version — Add 1 teaspoon of red pepper flakes or a diced jalapeño with the onions. This is my favorite when I want a kick.
Veggie-Heavy Version — Add diced carrots, potatoes, or bell peppers with the onions. Potatoes take about 15 minutes to cook, so add them with the coconut milk. Carrots take 10 minutes.
Chicken Breast Swap — Use boneless, skinless chicken breasts. Cut them small and reduce simmering time to 8 minutes to prevent dryness.
Dairy-Free — This recipe is naturally dairy-free. Just ensure your curry powder doesn’t contain hidden dairy (rare, but check labels).
Gluten-Free — Swap the all-purpose flour for cornstarch or gluten-free flour blend. The result is the same.
Shrimp Curry — Replace chicken with shrimp. Cook for only 3-4 minutes in the sauce. Shrimp cooks very quickly.
Serving & Storage
Serving: I serve this over fluffy white rice. Basmati rice is my preference because it’s light and doesn’t compete with the curry. You can also serve it with naan bread or over quinoa for extra protein. Top with fresh cilantro if you have it—it adds a nice pop of color and freshness. For a crunchy texture, sprinkle roasted peanuts on top.
Storage: This Budget-Friendly Creamy Coconut Chicken Curry stores beautifully. Let it cool to room temperature, then transfer to an airtight container. It lasts in the refrigerator for 4-5 days. In fact, it tastes better on day two as the flavors meld.
Freezing: Yes, it freezes well. I freeze portions in plastic bags or containers for up to 3 months. Thaw overnight in the fridge and reheat gently on the stove. The texture might change slightly—the sauce can separate a bit—but stirring it back together fixes this. It doesn’t freeze as well as some other dishes, but it’s still good.
Reheating: Reheat on the stove over low heat. Add a splash of water or coconut milk if it looks too thick. Microwave works too, but stir every minute to ensure even heating.
Nutrition Information
I’m not a nutritionist, but here’s the breakdown per serving (assuming 4 servings, with rice):
| Nutrient | Amount |
|---|---|
| Calories | ~450 kcal |
| Protein | 30g |
| Carbohydrates | 25g |
| Fiber | 2g |
| Fat | 22g |
| Sodium | 600mg |
My Take: This is comfort food. It has healthy fats from the coconut milk and good protein from the chicken. It’s not a “diet” food, but it’s balanced. It’s better than takeout because you control the sodium and sugar. It’s filling and satisfying without being heavy.
Final Thoughts
This Budget-Friendly Creamy Coconut Chicken Curry isn’t just about saving money. It’s about saving time, reducing stress, and feeding your family something delicious with ingredients you already have. It’s the kind of meal that feels like a hug in a bowl.
I hope you try it. I’d love to hear how it turns out in your kitchen. Did you add extra veggies? Did you double the batch? Drop a comment below and let me know. And if you need more easy, affordable recipes, check out my slow cooker beef and potato stew for another hearty option, or my Mediterranean baked chicken for a lighter twist. Happy cooking!
FAQs
Can I make this in a slow cooker?
Yes! Sauté the onions, garlic, and spices first for flavor. Then dump everything into the slow cooker. Cook on low for 6-7 hours or high for 3-4 hours. The texture will be softer, but the taste is great.
Is this recipe spicy?
Standard yellow curry powder is mild. It’s more aromatic than hot. If you want heat, add red pepper flakes or a dash of hot sauce. I keep it mild for the kids but add extra spice to my portion.
Can I use chicken breasts instead of thighs?
Absolutely. Just cut them into smaller pieces and reduce the simmering time. Chicken breasts cook faster and dry out easily, so watch them closely.
How do I thicken the sauce if it’s too thin?
Simmer it longer to reduce the liquid. Or mix 1 teaspoon of cornstarch with 1 tablespoon of cold water and stir it in. It thickens within minutes.
Can I freeze this curry?
Yes, it freezes well for up to 3 months. Thaw in the fridge overnight. The sauce may separate slightly when reheating, but stirring it back together fixes the texture.
What sides go best with this?
White rice is classic. Naan bread is great for dipping. A simple watermelon feta salad adds a refreshing, light contrast to the rich curry.
Pin This Recipe!
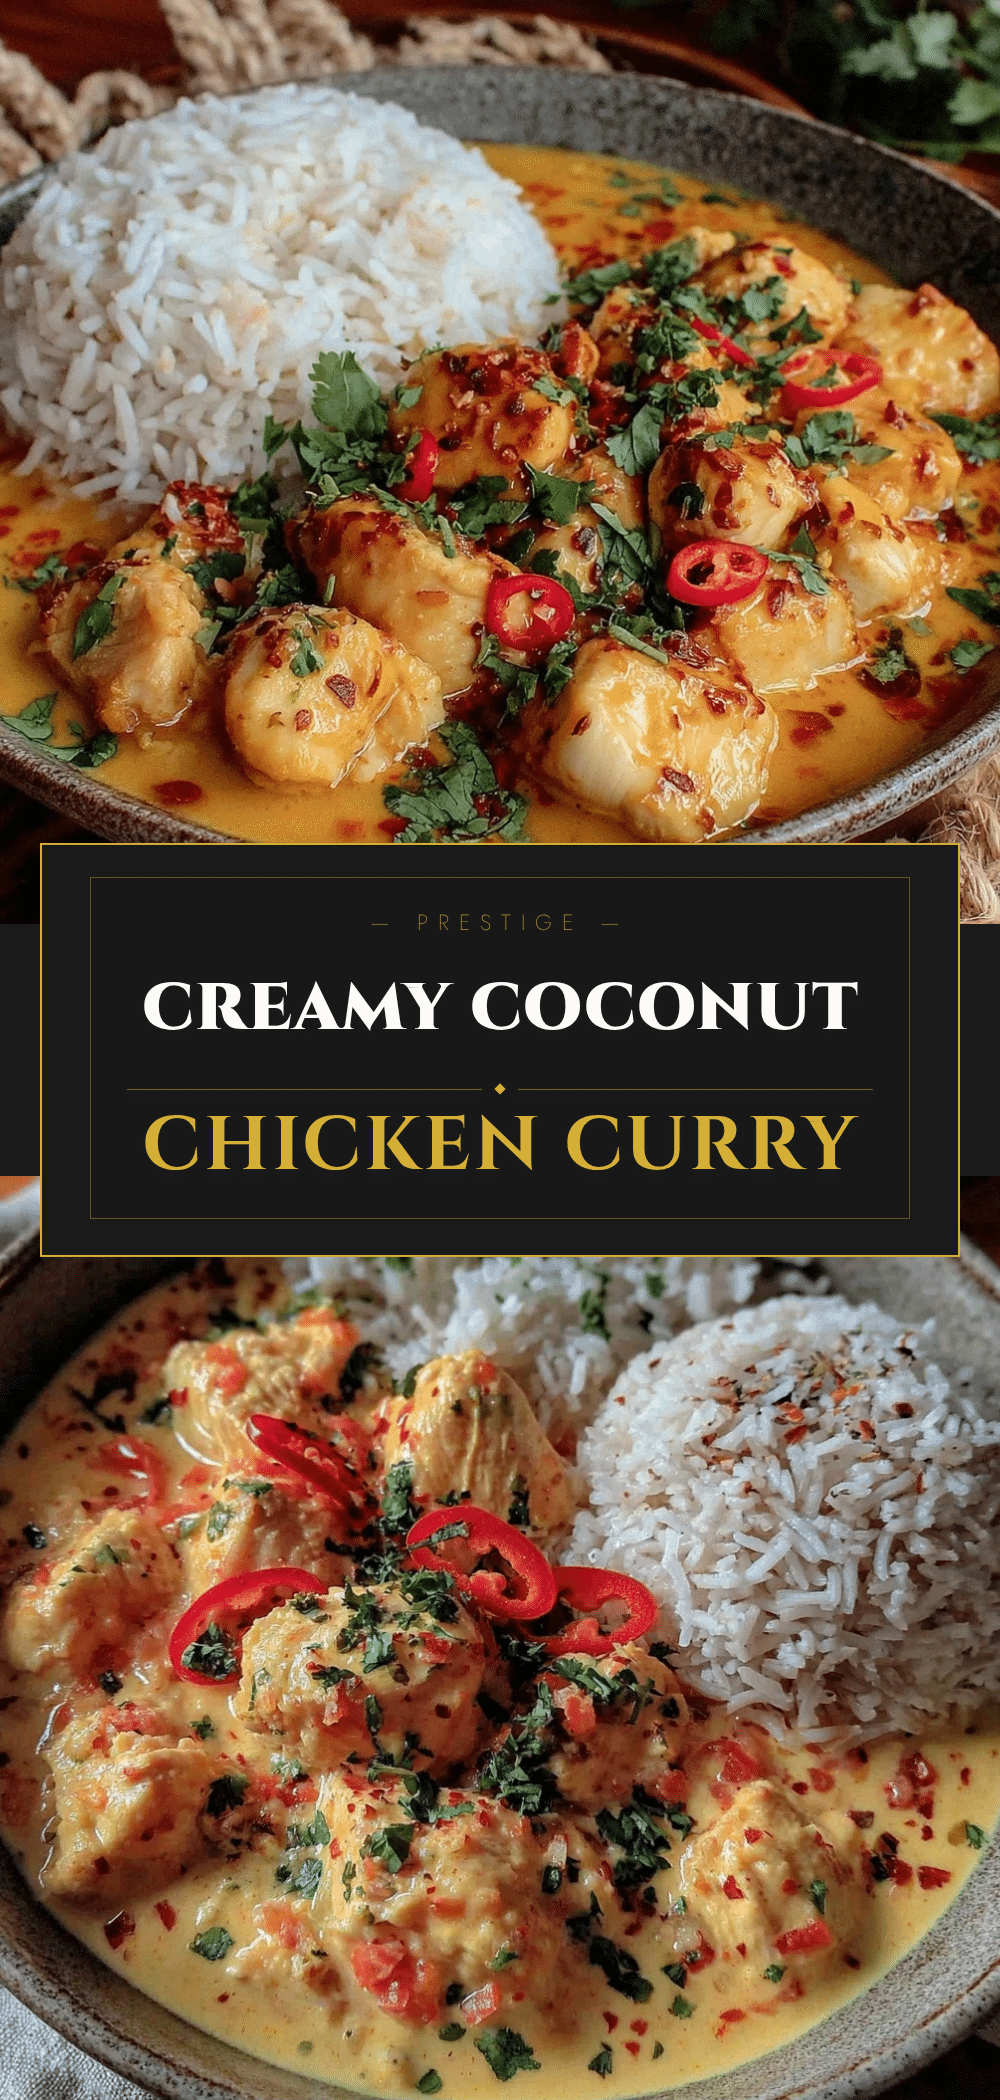

Budget-Friendly Creamy Coconut Chicken Curry: 5-Step Family Meal
- Total Time: 30 minutes
- Yield: 4 servings 1x
Description
A forgiving, affordable, and creamy chicken curry made with pantry staples like coconut milk and chicken thighs. This 30-minute meal is perfect for busy weeknights and costs less than five dollars per serving.
Ingredients
- 1.5 lbs (680g) boneless, skinless chicken thighs, cut into 1.5-inch chunks
- 1 can (13.5 oz / 400ml) full-fat coconut milk
- 2 tablespoons (12g) yellow curry powder
- 1 large yellow onion (200g), diced
- 3 cloves (15g) garlic, minced
- 1 tablespoon (14g) fresh ginger, grated
- 1 tablespoon (8g) all-purpose flour
- 1 tablespoon (15ml) lime juice
- 1 cup (100g) frozen peas
- 1 tablespoon oil (for sautéing)
- Salt and pepper to taste
Instructions
- Pat chicken thighs dry and cut into 1.5-inch chunks. Season generously with salt and pepper.
- Heat oil in a large skillet over medium heat. Add diced onion and cook for 3 minutes until translucent.
- Add minced garlic and grated ginger; cook for 1 minute until fragrant.
- Add curry powder and stir into the aromatics for 60 seconds to bloom the spices.
- Add chicken chunks to the pan. Let sit for 2 minutes to sear, then flip and cook for 3-4 minutes until lightly browned.
- Pour in coconut milk, scraping up browned bits from the bottom. Sprinkle flour over the liquid and stir to prevent lumps.
- Bring to a gentle simmer, then reduce heat to medium-low. Cook uncovered for 10-12 minutes until chicken is cooked through and sauce thickens.
- Stir in frozen peas and lime juice. Cook for 1 more minute until peas are heated through. Adjust seasoning if needed and serve over rice.
Notes
Use full-fat coconut milk for the best texture. Chicken thighs stay juicier than breasts. Curry tastes better the next day as flavors meld. Can be frozen for up to 3 months.
- Prep Time: 5 minutes
- Cook Time: 25 minutes
- Category: Main Course
- Cuisine: Asian
Nutrition
- Serving Size: Served over fluffy w
- Calories: 450
- Sodium: 600
- Fat: 22
- Carbohydrates: 25
- Fiber: 2
- Protein: 30
Keywords: chicken curry, coconut chicken, budget meal, weeknight dinner, creamy curry, easy recipe, family meal


