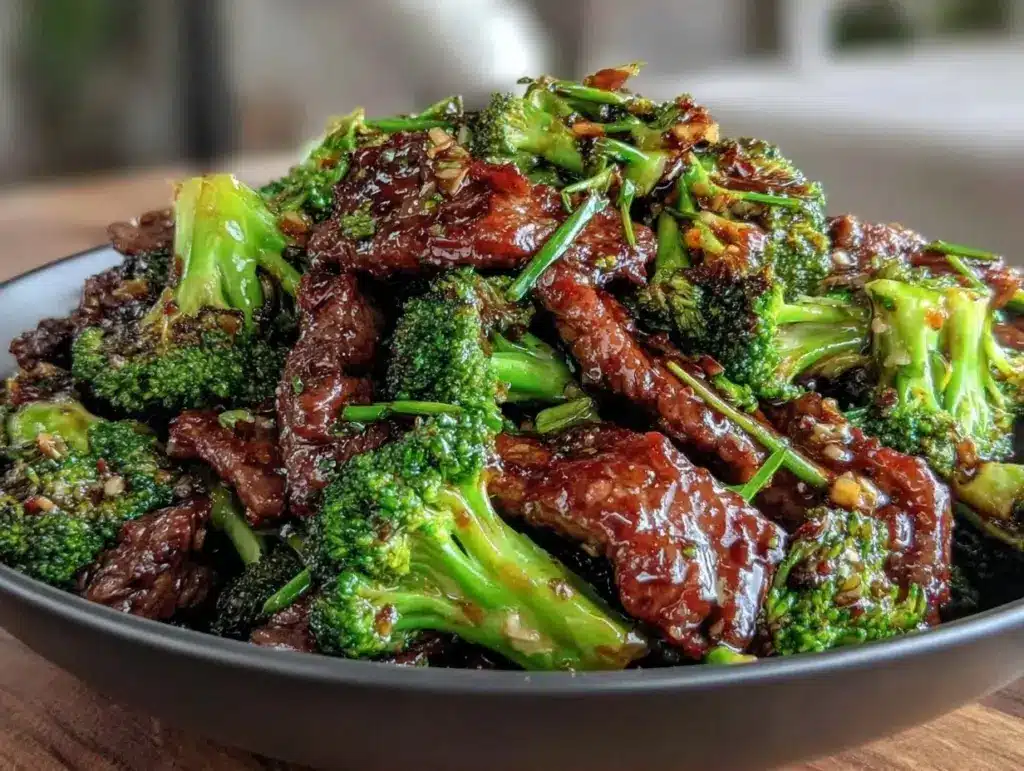
Last Sunday, I stood in my kitchen at 9:00 AM, surrounded by four Tupperware containers, a pound of flank steak, and a head of broccoli that looked like it had seen better days. My husband walked in, coffee in hand, and asked the usual question: “What’s for dinner this week?” I didn’t have an answer yet. But I had a plan. By 11:30 AM, those containers were full, sealed, and ready to survive the week. No takeout bags. No $25 delivery fees. Just four perfect, restaurant-quality meals waiting for me in the fridge.
This isn’t just a recipe; it’s my weekly salvation. I’ve tried the lazy Sunday roast approach, but honestly, it leaves me staring at leftovers that taste dry by Wednesday. The key to making Better-Than-Takeout Beef and Broccoli Meal Prep work isn’t just the cooking—it’s the structure. It’s about prepping the components separately so they don’t get soggy, cooking the beef to perfection so it doesn’t turn into rubber, and mastering that glossy, savory sauce that tastes exactly like your favorite Chinese takeout spot, but without the MSG hangover.
I’ve refined this method over three years of meal prepping. I’ve learned that the secret isn’t in the ingredients—it’s in the timing. If you throw everything in the pan at once, you lose. If you sear the beef hard and fast, then toss the veggies in their own pan, you win. This Better-Than-Takeout Beef and Broccoli Meal Prep strategy has saved me hundreds of dollars and countless hours of stress. It’s efficient, it’s delicious, and it’s the only reason I don’t order DoorDash every Tuesday at 5 PM.
So, grab your biggest cutting board and your sharpest knife. We’re going to make this once, and eat it four times this week. Let’s get organized.
Why You’ll Love This Meal Prep Strategy
Look, I know meal prepping sounds like a chore. But when it works, it’s magic. Here’s why this specific approach to Better-Than-Takeout Beef and Broccoli Meal Prep actually sticks:
- Texture Preservation — I separate the beef and broccoli cooking processes. The beef gets a hard sear, and the broccoli gets steamed separately. When you reheat, the beef stays tender and the broccoli stays crisp-tender. No mush. Ever.
- Sauce Control — The sauce is thickened with cornstarch, which means it clings to the beef but doesn’t soak into the rice unless you want it to. I keep the sauce slightly separate in the container, pouring it over right before eating. This keeps the meal looking fresh for days.
- Protein Power — Flank steak is lean but rich in iron. With the broccoli adding fiber and vitamins, this is a balanced, high-protein meal that keeps me full until my next snack. It’s not just “diet food”—it’s fuel that tastes indulgent.
- Freezer Friendly — This is the game-changer. If Wednesday hits and I’m too tired to cook, I pull one container out of the freezer. It reheats perfectly in the microwave. No texture loss. No flavor drop. It tastes just as good as Day 1.
- Cost Effective — A pound of flank steak and a head of broccoli cost about $12 total. That’s four meals. Takeout would run me $60 minimum. That’s $48 saved in one afternoon. I use that money for dessert ingredients later in the week.
This is my go-to when I need to regain control of my week. It’s systematic, it’s reliable, and it tastes incredible.
Key Ingredients for Success
You don’t need a trip to a specialty Asian market for this. I shop at my regular grocery store, but I am picky about a few things. Here’s exactly what you need for the best Better-Than-Takeout Beef and Broccoli Meal Prep.
Flank Steak (1 lb / 450g) — This is non-negotiable. Sirloin works, but it’s tougher. Flank steak has a nice grain that absorbs sauce beautifully. Look for a deep red color and firm texture. Avoid anything that looks pale or slimy.
Broccoli Florets (1 large head / approx. 1.5 lbs / 680g) — Buy a fresh head, not pre-cut bags. The florets in bags are often too small and overcooked before you even start. Cutting your own ensures uniform size, which means even cooking. Trim the thick stems; they’re edible if you peel them, but I usually save them for stir-fry later.
Low-Sodium Soy Sauce (1/2 cup / 120ml) — Regular soy sauce is too salty for meal prep. You’ll be eating this four times, and the sodium will add up. Low-sodium lets you control the saltiness. I use Kikkoman Less Sodium because it has a clean, clean taste without the metallic aftertaste of cheaper brands.
Dark Brown Sugar (2 tbsp / 30g) — This isn’t just for sweetness. The molasses content helps caramelize the sauce slightly and gives it that deep, restaurant-style color. White sugar works, but it lacks that rich depth.
Garlic and Ginger (4 cloves garlic / 1 tbsp fresh ginger, minced) — Fresh is the only way. Jarred garlic tastes like metal. Jarred ginger tastes like dirt. Buy a knob of fresh ginger and a bulb of garlic. Mince them finely. You want the flavor to dissolve into the sauce, not chew on chunks of ginger.
Cornstarch (1 tbsp / 8g) — This is the thickener. It creates that glossy, sticky coating that makes you want to lick the bowl. Mix it with water to make a slurry before adding it to the hot sauce. If you skip this, you’ll have soup, not sauce.
Neutral Oil (2 tbsp / 30ml) — I use avocado oil or grapeseed oil. They have high smoke points, which is crucial for searing the beef. Olive oil burns at the high heat needed here.
Tools You Actually Need
You don’t need fancy equipment. Here’s what I use to make this Better-Than-Takeout Beef and Broccoli Meal Prep efficient:
Large Sheet Pan — I use a rimmed baking sheet. It’s perfect for holding all my prepped ingredients while I cook. Keeps the counter organized.
Wok or Large Skillet — I use a 12-inch carbon steel wok. It holds more volume than a skillet, allowing the beef to sear rather than steam. If you don’t have a wok, a large cast-iron skillet works too.
Steamer Basket — A simple metal steamer basket that fits in your largest pot. This is how I cook the broccoli separately, keeping it vibrant green and crisp.
Four 32oz Containers — I use glass containers with tight-sealing lids. Glass doesn’t stain from the soy sauce, and it reheats evenly. Plastic can warp or retain odors over time.
How to Make It: Step-by-Step
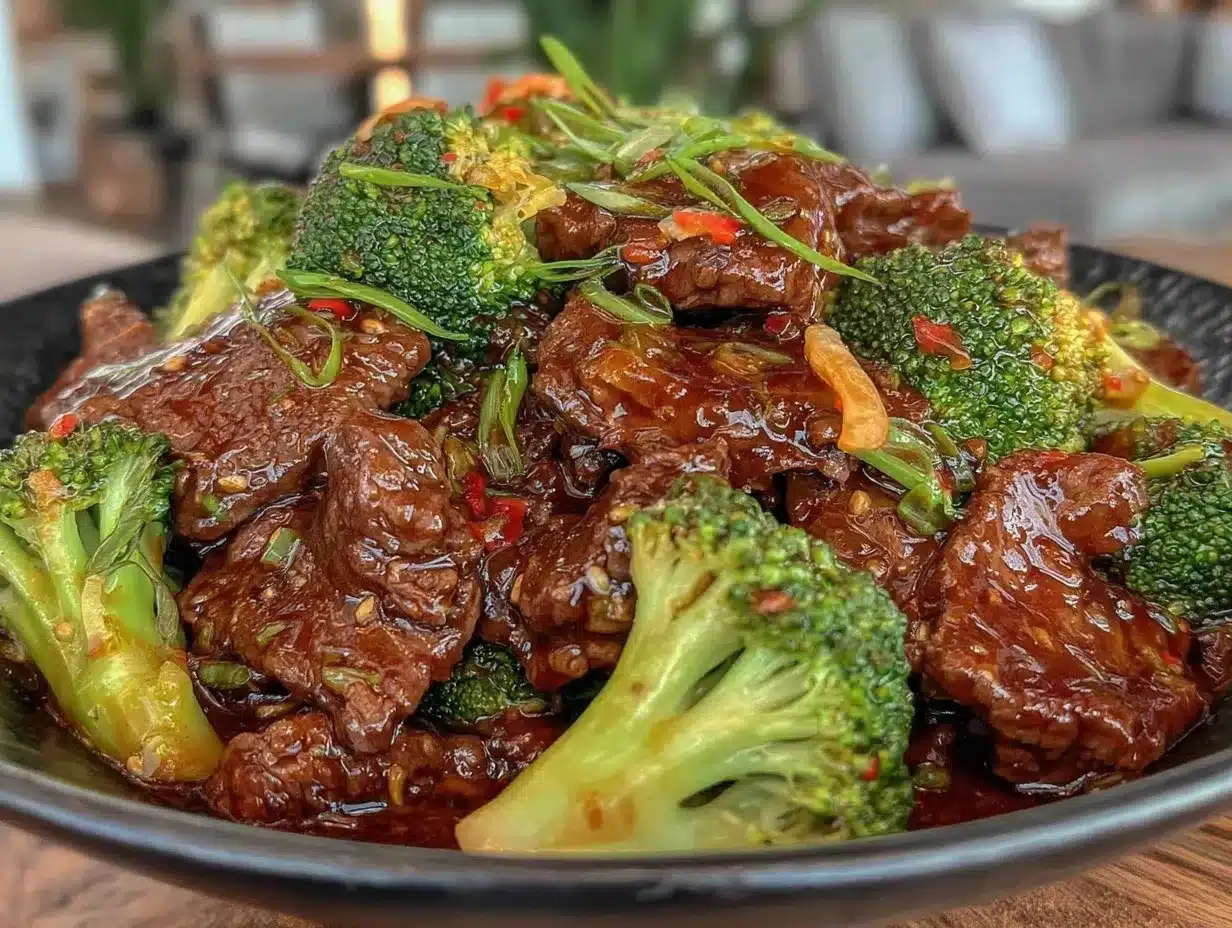
Let’s get cooking. This process takes about 45 minutes total, but most of that is hands-off or resting time. Here is the exact method I follow every Sunday.
Step 1: Prep the Beef (10 minutes)
Pat the flank steak completely dry with paper towels. Moisture is the enemy of a good sear. Slice the steak against the grain into thin, bite-sized strips. This is critical. If you slice with the grain, the meat will be tough and chewy. Against the grain shortens the muscle fibers, making it tender. Place the strips in a bowl.
Step 2: Make the Sauce (5 minutes)
In a medium bowl, whisk together the low-sodium soy sauce, dark brown sugar, minced garlic, minced ginger, 1 teaspoon of sesame oil (for aroma), and 1 tablespoon of cornstarch. Add 1/4 cup of water and whisk until smooth. Set aside. The cornstarch needs to be fully dissolved before it hits heat.
Step 3: Sear the Beef (5 minutes)
Heat your wok or skillet over high heat until it’s almost smoking. Add 1 tablespoon of oil. Add half the beef in a single layer. Do not crowd the pan! If you crowd it, the beef steams. Sear for 1-2 minutes without moving it, then flip and cook another minute. You want a dark crust. Remove beef to a plate. Repeat with the second half. Total beef time: 5-6 minutes. Set aside.
Step 4: Steam the Broccoli (5 minutes)
While the beef rests, bring 2 inches of water to a boil in a large pot with a steamer basket. Add the broccoli florets. Cover and steam for 3-4 minutes. You want them bright green and crisp-tender. They should snap, not bend. Remove immediately and plunge into a bowl of ice water to stop the cooking. Drain well. Excess water is the enemy of meal prep.
Step 5: Combine and Thicken (5 minutes)
Wipe out the wok. Add the remaining 1 tablespoon of oil. Add the beef and broccoli back in. Pour the sauce over everything. Stir constantly for 1-2 minutes. The sauce will bubble and thicken rapidly. Once it coats everything in a glossy layer, remove from heat.
Step 6: Portion and Cool (10 minutes)
Let the mixture cool for 10 minutes. This stops the cooking process. Then, divide evenly among your four containers. I like to put a base of steamed white rice in each container first, then top with the beef and broccoli. Seal tightly.
Total Time: 45 minutes. Yields: 4 meals.
Expert Tips from a Seasoned Prepper
Here’s everything I learned from making this too many times, so you don’t have to make my mistakes.
Don’t Skip the Ice Bath
This is the #1 mistake people make with broccoli. If you just take it off the steam, it keeps cooking from residual heat. It turns olive drab and mushy within hours. The ice bath locks in that vibrant green color and crisp texture. It looks like you spent an hour on it.
High Heat is Non-Negotiable
When searing the beef, if your pan isn’t hot enough, you’ll boil the meat in its own juices. Wait until the oil shimmers and barely smokes. You want a Maillard reaction, not a steam bath. If the beef sticks slightly, that’s good. It means it’s searing.
Cool Before Sealing
Never put hot food in the fridge. It raises the temperature of your fridge and can spoil other foods. Let the meal prep cool to room temperature first. This also prevents condensation inside the container, which makes the rice soggy.
Common Problem: Soggy Rice
If your rice is too wet, it will absorb all the sauce and become a paste. Cook your rice with slightly less water than usual. Rinse it thoroughly before cooking to remove excess starch. Fluff it well before portioning.
Recipe Variations
Once you’ve nailed the basic version, here’s how to mix it up. I like to rotate these to keep things interesting.
Spicy Peanut Variation
Add 1 tablespoon of chili crisp or sriracha to the sauce. Swap the sesame oil for peanut oil. This gives it a deeper, nuttier heat. I love this version with a sprinkle of crushed peanuts on top.
Vegetarian Swap
Replace the flank steak with extra-firm tofu. Press the tofu for 20 minutes, cube it, and pan-fry it until crispy before adding it to the sauce. It holds the sauce just as well.
Bell Pepper Boost
Add sliced red bell peppers to the broccoli steamer for the last 2 minutes. They add sweetness and color. I pair this with the watermelon feta salad for a light lunch option later in the week.
Gluten-Free Option
Use Tamari instead of soy sauce. Ensure your cornstarch is certified gluten-free. The result is identical in taste and texture.
Serving & Storage
Serving:
I serve this with steamed jasmine rice. It’s the classic pairing. You can also serve it over cauliflower rice for a lower-carb option. Top with sesame seeds and sliced green onions for freshness.
Storage:
Refrigerator: Stores for up to 4 days. The flavors actually meld and improve on Day 2.
Freezer: Freezes perfectly for up to 3 months. Thaw in the fridge overnight. Reheat in the microwave with a splash of water to refresh the sauce.
Meal Prep Tip: If you’re meal prepping for friends, label the containers with the date. I write “Beef & Broccoli – Day 1” on Day 1, so I know when to eat them.
Nutrition Information
I’m not a nutritionist, but here’s the breakdown per container (including rice):
| Nutrient | Amount |
|---|---|
| Calories | ~550 |
| Protein | 35g |
| Carbs | 45g |
| Fat | 18g |
| Fiber | 5g |
| Sodium | ~800mg |
My Take:
This is a solid, balanced meal. It’s high in protein, which is great for muscle recovery. The sodium is moderate, thanks to the low-sodium soy sauce. It’s not “diet food,” but it’s cleaner and more nutritious than takeout. I know exactly what’s in it.
Final Thoughts
This Better-Than-Takeout Beef and Broccoli Meal Prep isn’t just about saving money. It’s about reclaiming your time. It’s about knowing that no matter how busy your week gets, you have a healthy, delicious meal waiting for you. It’s the quiet confidence of being prepared.
If you make this, drop a comment! I love hearing how it turns out in your kitchen. Do you prefer your beef well-done or medium-rare? Do you add extra veggies? Share your tips.
Happy cooking!
FAQs
Can I use skirt steak instead of flank steak?
Yes, but skirt steak is thinner and cooks faster. Reduce the searing time to 30 seconds per side. It’s also more marbled, so it’s juicier but can be chewier if not sliced correctly. Always slice against the grain.
Why is my sauce too thin?
The cornstarch slurry wasn’t fully dissolved, or the heat wasn’t high enough. Cornstarch needs boiling temperatures to thicken. Stir constantly and let it bubble for 30 seconds. If it’s still thin, mix another teaspoon of cornstarch with water and add it.
Can I prep this on Friday for the weekend?
Absolutely. The flavors meld nicely over the weekend. Just ensure you cool it completely before refrigerating. It will last through Monday easily.
What if I don’t have a wok?
A large skillet works fine. Just cook the beef in smaller batches to avoid crowding. Crowding is the only reason a skillet fails here.
How do I reheat without drying it out?
Microwave in 30-second intervals, stirring in between. Add a teaspoon of water if it looks dry. The moisture from the broccoli and sauce should rehydrate the beef.
Pin This Recipe!
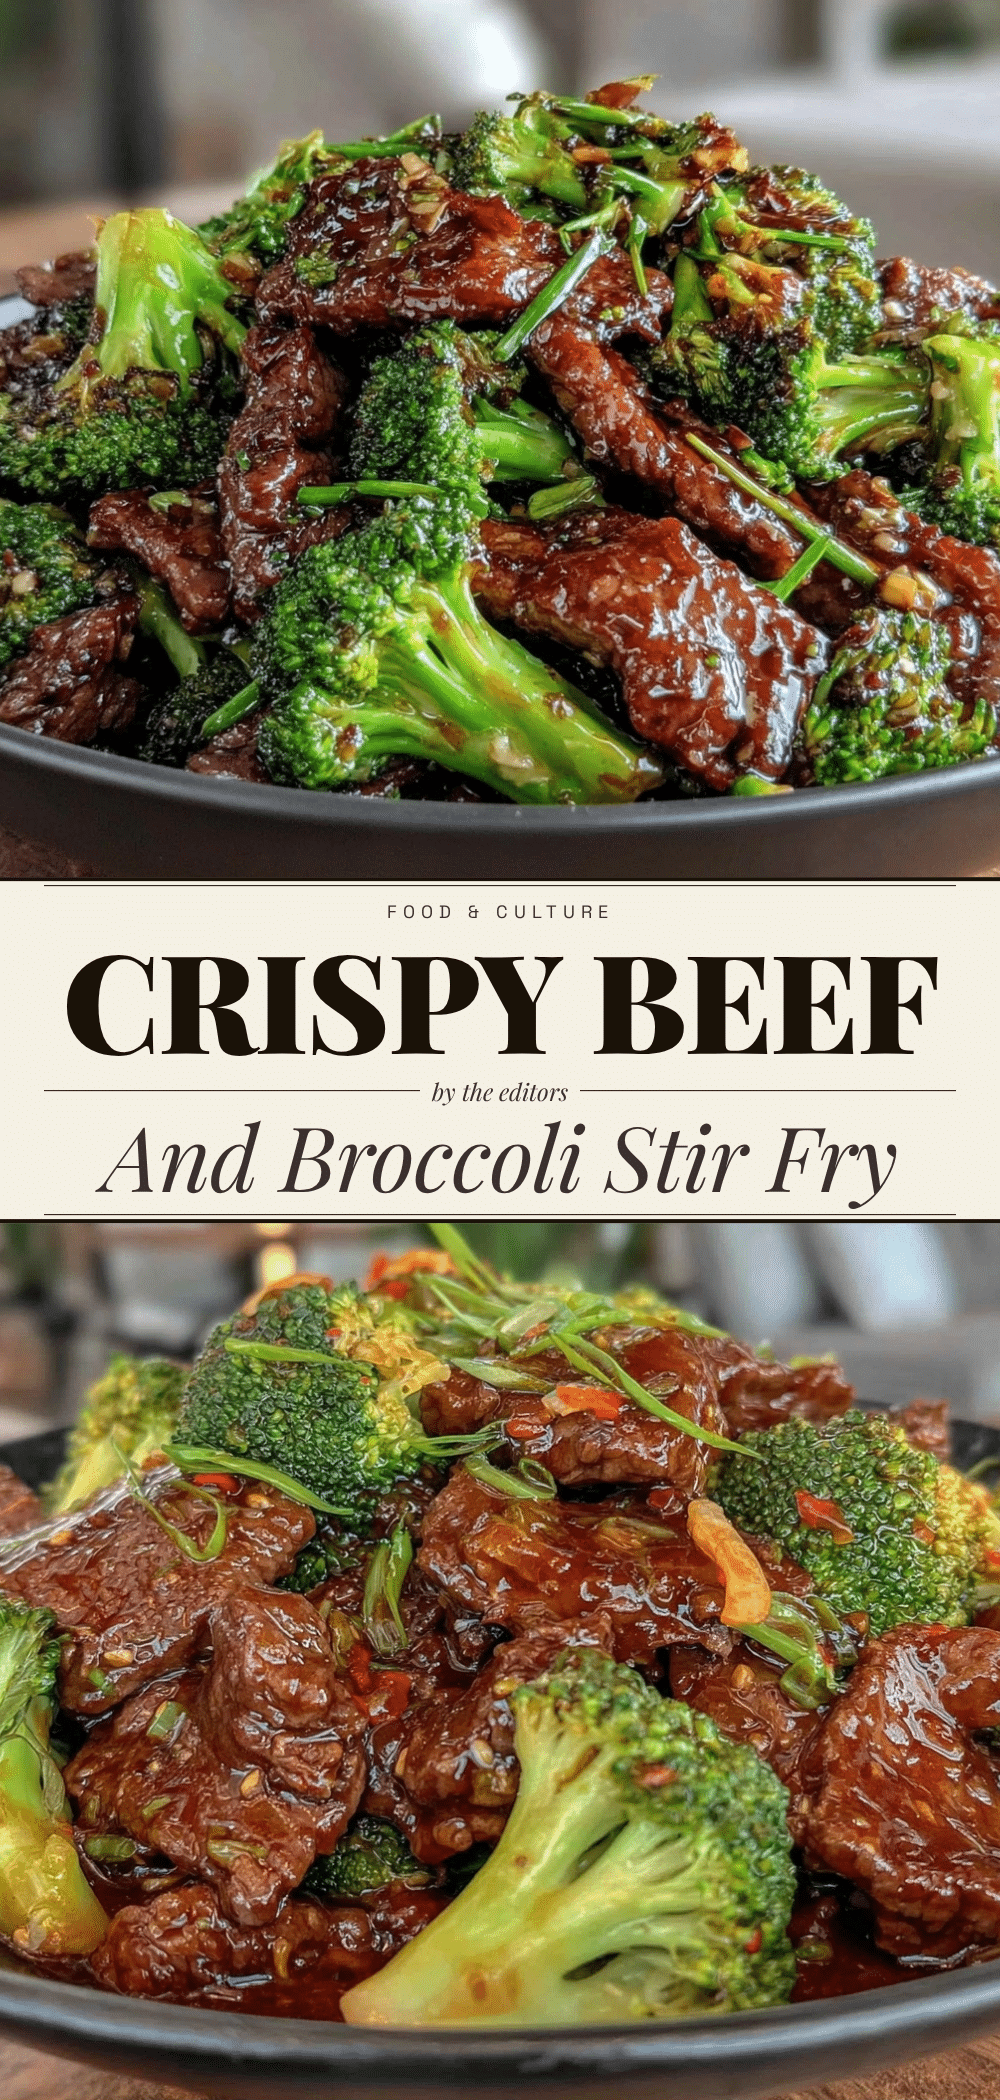
Better-Than-Takeout Beef and Broccoli: 4 Grab-and-Go Meals
- Total Time: 45 minutes
- Yield: 4 servings 1x
Description
A high-protein, freezer-friendly meal prep strategy featuring seared flank steak and crisp-tender broccoli in a glossy, savory sauce, designed to save time and money while delivering restaurant-quality results.
Ingredients
- 1 lb flank steak
- 1 large head broccoli (approx. 1.5 lbs / 680g)
- 1/2 cup low-sodium soy sauce
- 2 tbsp dark brown sugar
- 4 cloves garlic, minced
- 1 tbsp fresh ginger, minced
- 1 tbsp cornstarch
- 2 tbsp neutral oil (avocado or grapeseed)
- 1 tsp sesame oil
- 1/4 cup water
- Steamed white rice (for serving)
Instructions
- Pat the flank steak dry and slice it against the grain into thin, bite-sized strips.
- In a medium bowl, whisk together soy sauce, brown sugar, garlic, ginger, sesame oil, cornstarch, and water until smooth.
- Heat a wok or large skillet over high heat until almost smoking. Add 1 tbsp oil and sear half the beef in a single layer for 1-2 minutes per side until dark crust forms. Remove to a plate and repeat with remaining beef.
- Bring 2 inches of water to a boil in a large pot with a steamer basket. Steam broccoli florets for 3-4 minutes until bright green and crisp-tender. Immediately plunge into ice water to stop cooking, then drain well.
- Wipe out the wok, add remaining 1 tbsp oil, and return beef and broccoli to the pan.
- Pour the sauce over the beef and broccoli. Stir constantly for 1-2 minutes until the sauce bubbles and thickens into a glossy coating.
- Let the mixture cool for 10 minutes. Divide steamed rice among four containers, top with the beef and broccoli mixture, and seal tightly.
Notes
Slice beef against the grain for tenderness. Use an ice bath for broccoli to maintain color and texture. Cool food completely before sealing to prevent condensation and sogginess. Sauce can be kept separate in containers for longer freshness.
- Prep Time: 15 minutes
- Cook Time: 30 minutes
- Category: Main Course
- Cuisine: Chinese
Nutrition
- Serving Size: 1 container with ste
- Calories: 550
- Sodium: 800
- Fat: 18
- Carbohydrates: 45
- Fiber: 5
- Protein: 35
Keywords: beef and broccoli, meal prep, flank steak, healthy dinner, high protein, freezer friendly, takeout alternative, chinese food


