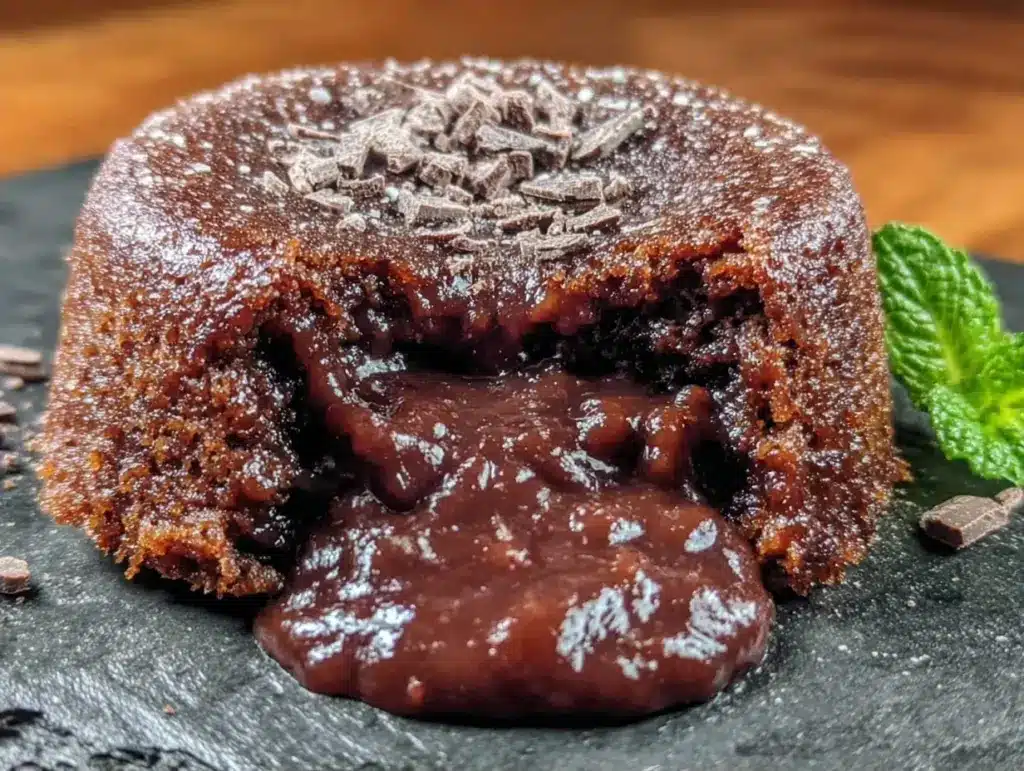
Last Tuesday night, I was in a panic. My husband had mentioned casually, “Oh, I’d love something sweet after dinner,” and I was staring at a kitchen counter that looked like a flour explosion had occurred. I had ten minutes before he’d start asking if we were ordering pizza. I scrambled for chocolate, butter, eggs, and sugar. I threw everything into a bowl, whisked furiously, poured it into ramekins, and shoved them into the oven. Fourteen minutes later, I pulled them out. They looked perfect. Golden, puffy, promising. I flipped one onto a plate, cut into it with a trembling fork, and waited for that molten center. Nothing. Just dense, overbaked chocolate cake. I felt like I’d failed at the most basic thing a baker can do.
I’ve made this fudgy chocolate lava cake recipe over 30 times since that humiliation. I’ve burned them, under-baked them, made them too soupy, and made them too solid. But here’s the truth: I finally cracked the code. It wasn’t about better chocolate or fancier ramekins. It was about one specific thing that I consistently ignored until I read a note from a pastry chef I respect. That one trick changed everything. Now, I can make these in 15 minutes from scratch, and they come out with a gooey, liquid center every single time. If you’ve ever struggled with lava cakes that are just… cake, you need to pay attention to the temperature and the timing. This recipe is my redemption arc, and I’m sharing it with you so you don’t have to feel the way I did that Tuesday night.
What makes this fudgy chocolate lava cake recipe special isn’t just the speed. It’s the texture. We’re talking about a cake that holds its shape on the plate but collapses into a rich, warm chocolate river when you break the surface. It’s the kind of dessert that makes people stop talking at the dinner table. I’ve served this to dinner parties where people thought I’d bought them from a high-end French bistro. (Spoiler: I didn’t. I made it while my guests were still discussing their workday.) The secret lies in the ratio of chocolate to fat and the precise moment you pull them from the oven. Once you master that, you’ll never buy a frozen dessert again.
I love this recipe because it respects your time but demands your attention. You can’t walk away. You have to watch it. And that’s a good thing. It brings you back to the stove, to the smell of melting chocolate, to the anticipation of that first bite. It’s intimate. It’s indulgent. It’s perfect for a date night, a last-minute guest, or just when you need to remind yourself that life is better with a little sugar. This isn’t just a recipe; it’s a confidence booster. After making this a dozen times, I realized that the fear of failure was the only thing standing between me and dessert success. Now, I’m ready to help you cross that line.
Why You’ll Love This Recipe
Let’s be real. Most dessert recipes are too complicated for a weeknight. You spend an hour prepping, an hour baking, and an hour cleaning up, only to realize you’re too tired to enjoy it. This fudgy chocolate lava cake recipe flips that script. It’s designed for people who want restaurant-quality results without the restaurant effort. Here’s why this will become your secret weapon:
- Lightning Fast — From bowl to plate in 15 minutes. I make this after getting home from work, and my husband thinks I’m a wizard. The prep takes 5 minutes. The bake takes 12. That’s it.
- Minimal Cleanup — You only need one mixing bowl, a whisk, and four ramekins. No fancy piping bags, no complex layers. Just simple, effective tools. If you can make scrambled eggs, you can make this.
- Restaurant Quality — The texture is impossible to fake. The outside is tender and cake-like, while the inside is warm, fluid chocolate. It looks impressive on a white plate with a dusting of powdered sugar.
- Flexible Timing — You can make the batter ahead of time. I often mix the batter in the morning, chill it, and bake it when guests arrive. This takes the stress out of hosting.
- Customizable — Add a pinch of sea salt on top. Swirl in a teaspoon of peanut butter before baking. Add a raspberry in the center. This recipe is a canvas, not a cage.
This is my go-to when dinner needs to just work. It’s reliable. It’s delicious. And once you nail the timing, you’ll never doubt yourself again. I promise.
Key Ingredients
Let’s talk about what goes into this fudgy chocolate lava cake recipe. You don’t need exotic ingredients. You need quality basics. Here’s exactly what you need and why it matters.
Semi-Sweet Chocolate Chips (100g / 3.5 oz) — Yes, chips. I know purists prefer bars, but chips hold their structure better in the ramekins. Use high-quality chips like Guittard or Ghirardelli. Avoid the cheap stuff; it has too much wax and won’t melt smoothly. You want a clean chocolate flavor, not a sugary one.
Unsalted Butter (113g / 4 oz / 1 stick) — This provides the fat that creates the gooey texture. Make sure it’s softened but not melted. If you melt it completely, your batter will be too loose. I cut it into cubes to speed up the melting process later.
Eggs (2 large / plus 1 yolk) — The eggs are the structure. I add an extra yolk for richness and that luxurious mouthfeel. The whites provide lift, while the yolk adds density. Room temperature eggs mix better and create a smoother batter. If you’re in a rush, just drop them in a bowl of warm water for 5 minutes.
Sugar (1/4 cup / 50g) — Granulated white sugar. Don’t use brown sugar; it adds moisture that can throw off the delicate balance. We want sweetness, not chewiness. This amount is enough to balance the bitterness of the chocolate without making it cloying.
All-Purpose Flour (1 tablespoon / 8g) — Just a tablespoon. This is the trick. Too much flour makes it a cake. Too little, and it’s soup. This tiny amount gives just enough structure to hold the shape while keeping the center liquid. Sift it if you can to avoid lumps.
Salt (1/4 teaspoon / 1.5g) — Never skip this. Salt enhances the chocolate flavor. Without it, the chocolate tastes flat. Use fine sea salt or table salt.
Vanilla Extract (1/2 teaspoon / 2.5ml) — Pure vanilla. Not imitation. It adds warmth and depth. I use Nielsen-Massey because it’s consistent. A little goes a long way.
Powdered Sugar (for dusting) — Optional, but highly recommended for that final presentation. It looks elegant and adds a hint of sweetness to the plate.
Tools Needed
You don’t need fancy equipment. Here’s what I use. Keep it simple.
Medium Heatproof Bowl — I use a glass Pyrex bowl. It lets me see the chocolate melting and doesn’t scratch. Microwave-safe is key here.
Whisk — A standard balloon whisk. You need to aerate the eggs and sugar, so a fork won’t cut it. A whisk incorporates air and creates that light texture.
4 Ramekins — I use 6-ounce ramekins. They’re the perfect size for one serving. If you use larger ones, you’ll need to adjust the baking time, and that’s risky. Stick to 6 ounces for consistency. Grease them well with butter and dust with cocoa powder or sugar.
Baking Sheet — Place your ramekins on a baking sheet before putting them in the oven. It makes it easier to slide them in and out without burning your hands. It also catches any potential spills.
Timer — Your phone timer. This is non-negotiable. Lava cakes are unforgiving. One minute over can mean the difference between lava and cake.
How to Make Fudgy Chocolate Lava Cakes
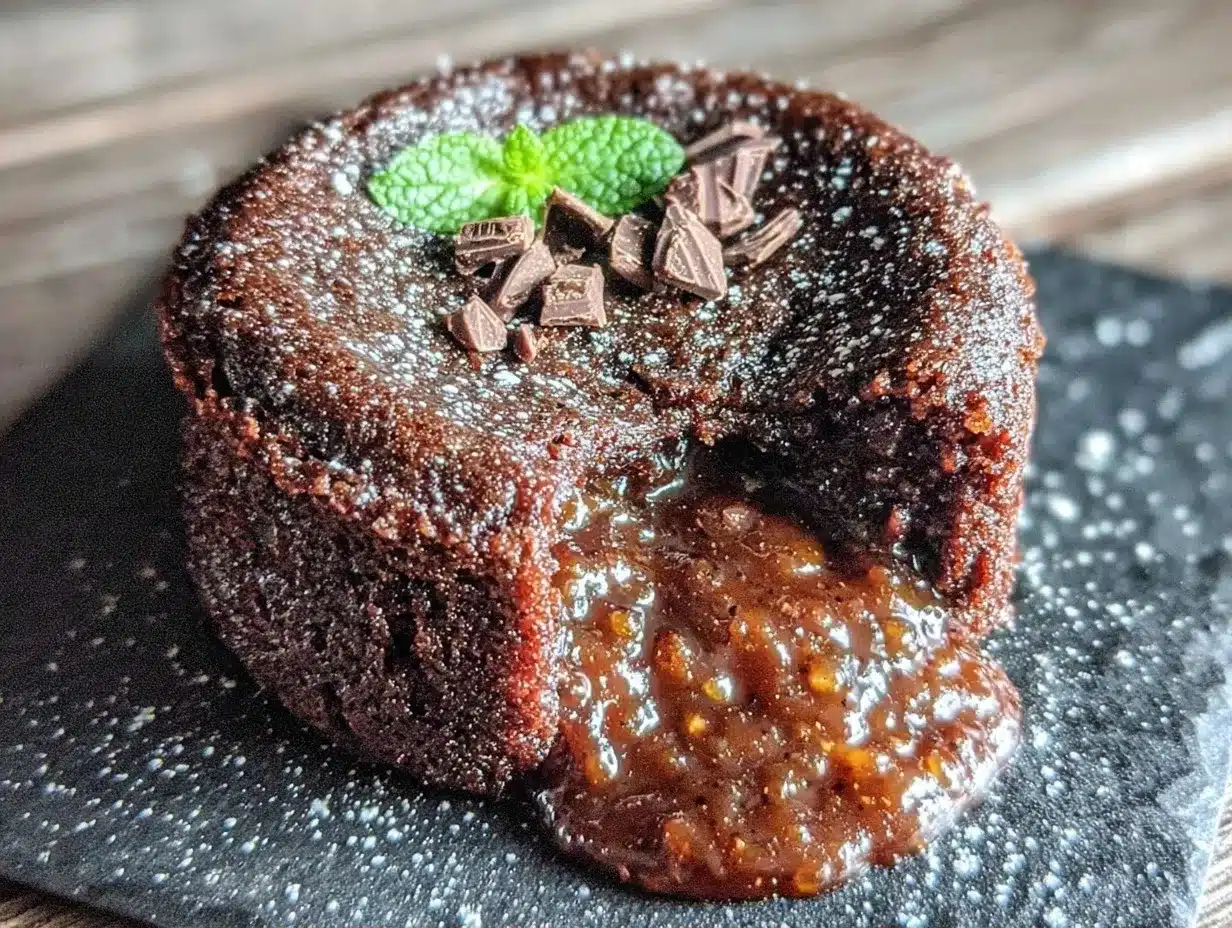
Ready to make this fudgy chocolate lava cake recipe? Let’s walk through it. I’m going to be specific about timing and sensory cues. Trust me.
Step 1: Melt Chocolate and Butter (3 minutes)
Break your chocolate into pieces and place it in the heatproof bowl with the cubed butter. Microwave in 30-second intervals, stirring between each. After 30 seconds, stir. It might look unmelted, but keep stirring. The residual heat will finish the job. Do not overheat. If the chocolate gets too hot, it seizes and becomes grainy. You want it smooth, glossy, and warm to the touch. If you’re using a double boiler, keep the water simmering, not boiling. Place the bowl over the pot and stir until melted. Set aside to cool slightly for 2 minutes. This prevents the eggs from scrambling when you add them later.
Step 2: Whisk Eggs and Sugar (2 minutes)
In a separate medium bowl, crack your eggs and add the extra yolk. Add the sugar and salt. Whisk vigorously for about 2 minutes. You’re not just mixing; you’re incorporating air. The mixture should look pale, thick, and ribbon-like when you lift the whisk. This step is crucial for the cake’s texture. If you skip it, your lava cakes will be dense and heavy. I like to do this while the chocolate cools. It saves time.
Step 3: Combine Wet Ingredients (1 minute)
Pour the melted chocolate mixture into the egg mixture. Whisk gently but thoroughly until combined. The batter should be dark, glossy, and smooth. Scrape down the sides of the bowl to ensure no pockets of unmixed chocolate remain. This is where your fudgy chocolate lava cake recipe starts to come together. It should look like thick chocolate syrup.
Step 4: Fold in Flour (1 minute)
Add the flour to the bowl. Use a spatula or a whisk to fold it in gently. Do not overmix. You just want to incorporate the flour. If you mix too much, you develop gluten, and your lava cakes will be tough. Fold until no white streaks remain. The batter is now ready. It might look a bit loose, but that’s normal. It will set in the oven.
Step 5: Prep Ramekins (1 minute)
Butter each ramekin generously. Use your fingers or a pastry brush to coat every inch of the inside, including the rim. Then, dust with cocoa powder or sugar. Tap out the excess. This step prevents sticking and adds a nice contrast to the chocolate. If you skip the dusting, the cakes might stick to the sides when you unmold them, ruining the presentation.
Step 6: Fill and Bake (12-14 minutes)
Divide the batter evenly among the four ramekins. They should be about 3/4 full. Place them on a baking sheet. Preheat your oven to 425°F (220°C). Place the sheet in the center of the oven. Set your timer for 12 minutes. Do not walk away. Watch them. They should rise and look set on the edges, but the center should still jiggle slightly when you shake the ramekin gently. This is the critical moment. If they jiggle too much, they’re underdone. If they don’t jiggle at all, they’re overdone. Aim for a gentle wobble.
Step 7: Unmold and Serve (2 minutes)
Remove the baking sheet from the oven. Let the ramekins sit for 1 minute. This allows them to cool slightly and release from the sides. Place a plate upside down over each ramekin. Hold the plate and ramekin together, then flip them over. Gently lift the ramekin. The cake should slide out onto the plate. If it sticks, use a small knife to loosen the edges. Dust with powdered sugar immediately. Serve right away. The lava is hottest and most fluid right out of the oven.
Total Time Breakdown: Prep: 5 minutes. Bake: 12 minutes. Rest/Unmold: 3 minutes. Total: 20 minutes (including cooling time). But the active time is just 15 minutes.
Expert Tips for Success
Here’s everything I learned from making this too many times. These are the game-changers.
The One Trick: Trust the Jiggle
The most common mistake I see is overbaking. People pull the cakes out when they look set because they’re afraid of raw egg. But raw egg in the center is what you want. The residual heat will cook it as you eat it. The center should look slightly underdone. It should jiggle like gelatin, not like water. If it’s liquid water, it’s underdone. If it’s solid, it’s overdone. Aim for the middle. This is the one trick that makes the difference between a disaster and a masterpiece.
Don’t Overmix the Flour
Once you add the flour, mix only until it’s gone. Overmixing develops gluten, which makes the cake tough instead of tender. I’ve made this mistake twice, and the texture was noticeably rubbery. Listen to the batter. It should be quiet, not squelching.
Use Room Temperature Eggs
Cold eggs can cause the melted chocolate to seize or clump. If your eggs are cold, let them sit in warm water for 5 minutes. This ensures a smooth, emulsified batter. It’s a small step that prevents a big problem.
Common Problems & Solutions
Cake stuck to ramekin: You didn’t grease enough. Next time, butter the entire surface, including the rim, and dust with cocoa powder.
Center is raw and cold: You underbaked it. Reduce the time by 1 minute next time.
Center is solid cake: You overbaked it. Reduce the time by 1-2 minutes. Every oven is different. Test yours.
Pro Tricks:
Make Ahead: You can fill the ramekins and refrigerate them for up to 24 hours. When ready to bake, let them sit at room temperature for 10 minutes, then bake as directed. You may need to add 1-2 minutes to the baking time if they’re cold from the fridge.
Add Flavor: Add a teaspoon of espresso powder to the chocolate mixture. It enhances the chocolate flavor without tasting like coffee. Or swirl in a teaspoon of Nutella before baking for a hazelnut twist.
Recipe Variations
Once you’ve nailed the basic version, here’s how to mix it up. This fudgy chocolate lava cake recipe is versatile.
Peanut Butter Lava Cake
Add 1 tablespoon of creamy peanut butter to the batter. Or, before baking, drop a small dollop of peanut butter into the center of each ramekin. The peanut butter melts into a salty-sweet center. It’s like a Reese’s Cup. I love this with a sprinkle of sea salt on top.
Raspberry Swirl
Place 2-3 fresh raspberries in the bottom of each ramekin before adding the batter. The berries burst during baking, creating pockets of tart fruit that cut through the richness. It’s refreshing and beautiful.
Coffee Lava Cake
Add 1 teaspoon of instant espresso powder to the melted chocolate. The coffee intensifies the chocolate flavor. It’s perfect for coffee lovers. Serve with a cup of black coffee.
Dairy-Free Option
Swap the butter for coconut oil. Use dairy-free chocolate chips. The texture might be slightly less rich, but it’s still delicious. The coconut flavor pairs well with dark chocolate.
Gluten-Free Option
Use 1 tablespoon of almond flour or gluten-free all-purpose flour. The result is almost identical. Almond flour adds a nice nutty flavor. I tested this with Bob’s Red Mill GF flour, and it worked perfectly.
Mini Lava Cakes
Use a mini muffin tin instead of ramekins. Bake for 8-10 minutes. These are perfect for parties. They’re bite-sized and easy to serve.
Serving & Storage
Serving:
Serve these warm, straight out of the oven. I like to dust them with powdered sugar and add a dollop of whipped cream or a scoop of vanilla ice cream. The contrast of hot cake and cold ice cream is divine. Garnish with fresh raspberries or mint leaves for color. Pair with a glass of red wine, like a Cabernet or Merlot. The tannins in the wine cut through the richness of the chocolate.
Storage:
These are best eaten immediately. They don’t store well because the texture changes. If you must store leftovers, keep them in an airtight container in the refrigerator for up to 2 days. Reheat in the microwave for 20-30 seconds. They won’t have the same lava consistency, but they’re still good. Do not freeze the baked cakes. The texture becomes grainy. You can freeze the batter, though. Pour it into the ramekins, cover with plastic wrap, and freeze. Thaw in the fridge overnight, then bake as directed.
Nutrition Information
I’m not a nutritionist, but here’s the breakdown. Per serving (one lava cake):
| Nutrient | Amount |
|---|---|
| Calories | 380 kcal |
| Protein | 6g |
| Carbohydrates | 35g |
| Fiber | 3g |
| Fat | 24g |
| Sodium | 120mg |
My Take: This is comfort food with chocolate, butter, and sugar. It’s not diet food. But it’s better than takeout and I know what’s in it. Enjoy it as a treat, not a staple. One serving is enough. Share one if you’re with someone. It’s meant to be savored, not inhaled.
Final Thoughts
Making this fudgy chocolate lava cake recipe is a reminder that some of the best things in life require a little patience and a lot of trust. Trust the jiggle. Trust your timer. Trust that you can create something beautiful with simple ingredients. I’ve shared my mistakes so you don’t have to make them. Now it’s your turn. Get in the kitchen, melt some chocolate, and surprise yourself.
If you make this, drop a comment! I love hearing how it turns out in your kitchen. Did you add raspberries? Did you use peanut butter? I want to know. And if you need more easy, impressive desserts, check out my classic peanut butter cookies or my best-ever bourbon peach cobbler. They’re equally foolproof and equally delicious. Happy cooking!
FAQs
Q: Can I make this recipe in advance?
A: Yes! You can mix the batter and store it in the fridge for up to 24 hours. Just bring it to room temperature for 10 minutes before baking. If you fill the ramekins ahead of time, cover them with plastic wrap and refrigerate. When ready to bake, let them sit out for 10 minutes, then bake. You may need to add 1-2 minutes to the baking time if they’re cold.
Q: Why did my lava cakes turn out solid?
A: You likely overbaked them. Lava cakes are delicate. Every oven is different. If your cakes came out solid, reduce the baking time by 1-2 minutes next time. The center should still jiggle slightly when you shake the ramekin. That jiggle is what creates the lava center.
Q: Can I use milk chocolate instead of semi-sweet?
A: You can, but it will be sweeter. Semi-sweet or bittersweet chocolate (60-70% cacao) provides a better balance of sweetness and richness. Milk chocolate might make the dessert too sweet. If you use milk chocolate, reduce the sugar by 1 tablespoon.
Q: Do I need to grease the ramekins?
A: Yes, absolutely. Butter the ramekins generously and dust with cocoa powder or sugar. This prevents the cakes from sticking and makes unmolding easier. If you skip this step, you’ll end up with broken cakes and a sticky mess.
Q: Can I freeze the batter?
A: Yes, you can freeze the batter in the ramekins. Cover them tightly with plastic wrap and freeze for up to 1 month. Thaw in the refrigerator overnight. When ready to bake, let them sit at room temperature for 15 minutes, then bake as directed. You may need to add 1-2 minutes to the baking time.
Q: What if I don’t have ramekins?
A: You can use a muffin tin. Grease the muffin cups well and fill them 3/4 full. Bake for 8-10 minutes. They’ll be smaller, but the technique is the same. You can also use small oven-safe bowls, but make sure they’re greased.
Q: Is this recipe gluten-free?
A: The basic recipe uses all-purpose flour, so it’s not gluten-free. However, you can substitute 1 tablespoon of almond flour or gluten-free all-purpose flour. The result is almost identical. Almond flour adds a nice nutty flavor and works well in this recipe.
Pin This Recipe!
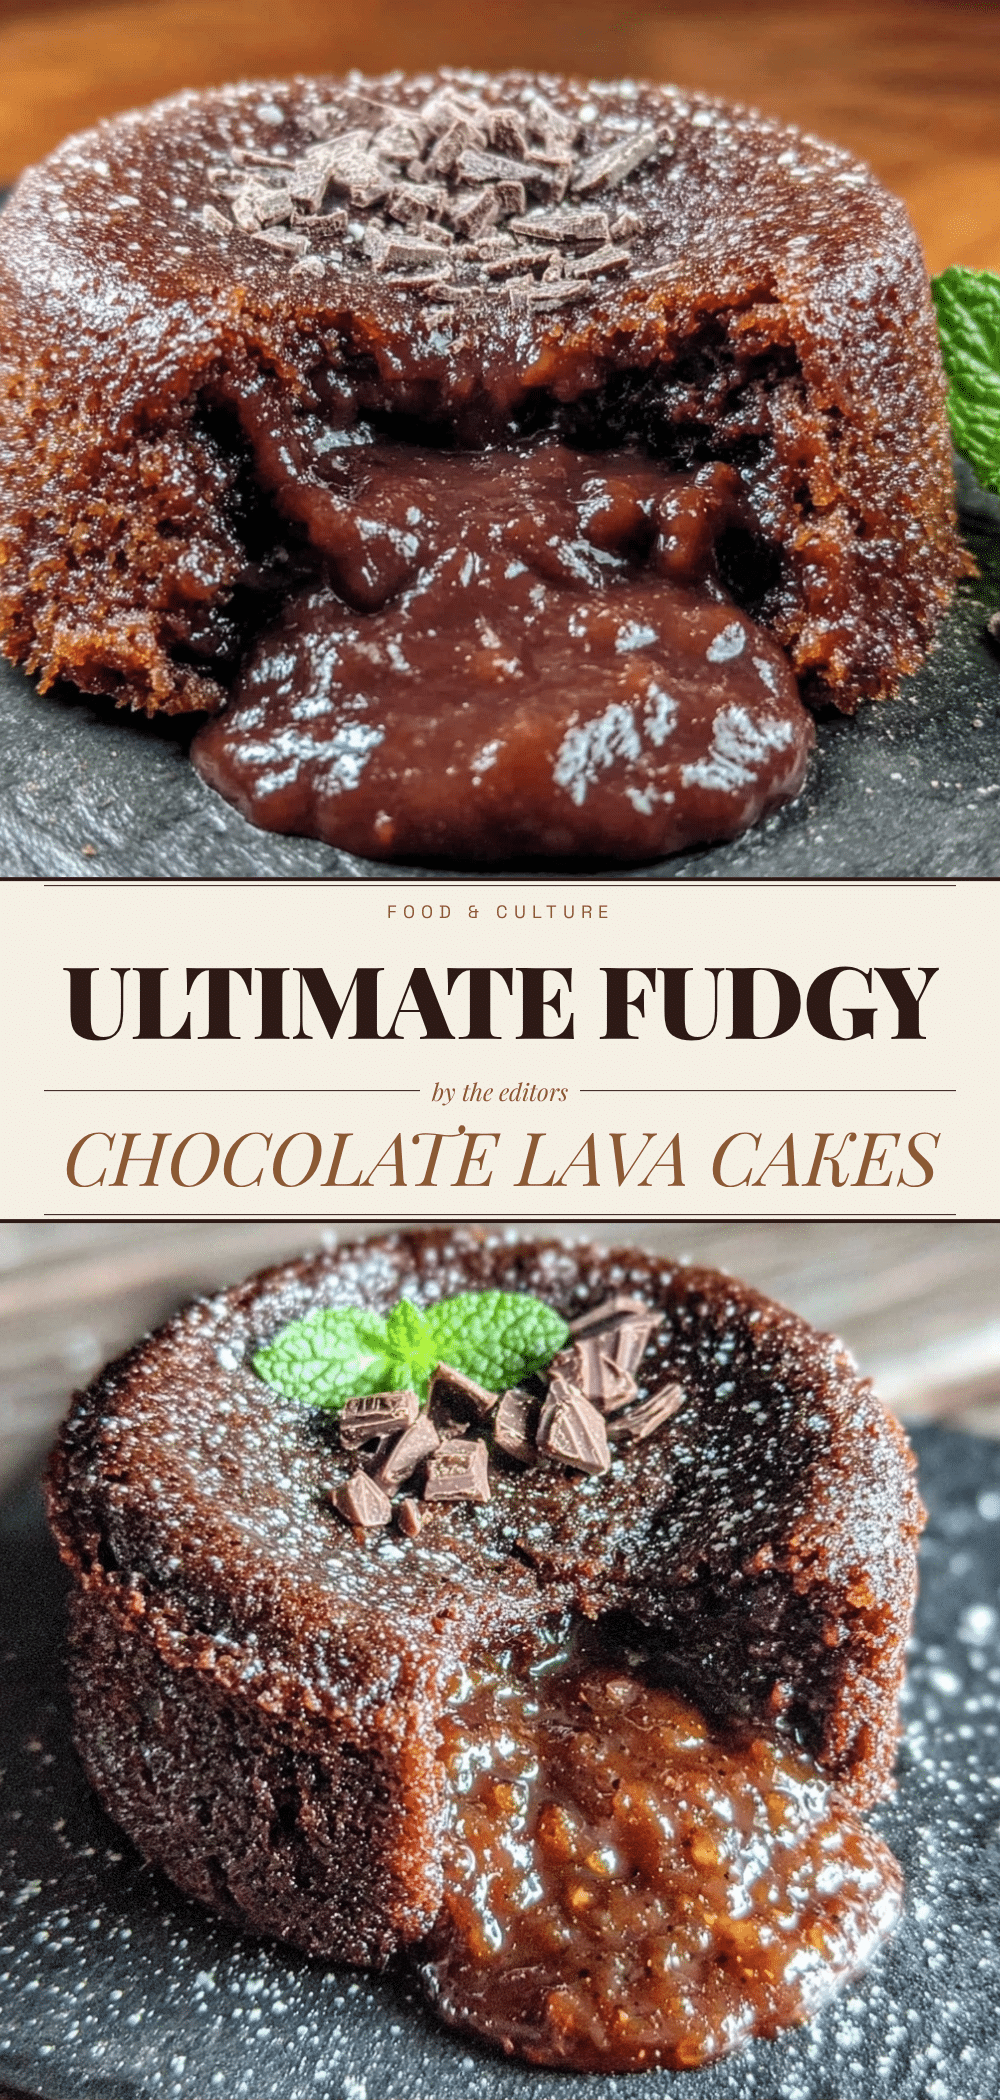
Fudgy Chocolate Lava Cakes: The One Trick for Perfect Lava
- Total Time: 20 minutes
- Yield: 4 servings 1x
Description
A quick, restaurant-quality dessert featuring a tender cake exterior and a warm, liquid chocolate center. This recipe takes only 15 minutes of active time and relies on precise timing and the ‘jiggle test’ for success.
Ingredients
- 100g (3.5 oz) semi-sweet chocolate chips
- 113g (4 oz / 1 stick) unsalted butter, softened
- 2 large eggs, room temperature
- 1 egg yolk, room temperature
- 1/4 cup (50g) granulated white sugar
- 1 tablespoon (8g) all-purpose flour
- 1/4 teaspoon (1.5g) salt
- 1/2 teaspoon (2.5ml) pure vanilla extract
- Powdered sugar, for dusting
Instructions
- Break chocolate into pieces and place in a heatproof bowl with cubed butter. Microwave in 30-second intervals, stirring between each, until smooth and glossy. Set aside to cool slightly for 2 minutes.
- In a separate medium bowl, whisk eggs, extra yolk, sugar, and salt vigorously for about 2 minutes until pale, thick, and ribbon-like.
- Pour the melted chocolate mixture into the egg mixture and whisk gently until combined and smooth.
- Fold in the flour using a spatula or whisk until no white streaks remain. Do not overmix.
- Generously butter 4 (6-ounce) ramekins and dust with cocoa powder or sugar, tapping out excess.
- Divide batter evenly among ramekins (filling them about 3/4 full). Place ramekins on a baking sheet.
- Preheat oven to 425°F (220°C). Bake for 12 minutes. The edges should be set, but the center must still jiggle slightly like gelatin when shaken.
- Remove from oven and let sit for 1 minute. Place a plate upside down over each ramekin, flip, and gently lift the ramekin to unmold.
- Dust with powdered sugar and serve immediately.
Notes
The key to success is the ‘jiggle test’: the center should look slightly underdone and jiggle like gelatin, not water. Do not overbake. You can make the batter ahead and refrigerate for up to 24 hours; add 1-2 minutes to baking time if baking from cold. For gluten-free, substitute all-purpose flour with almond flour or GF flour.
- Prep Time: 5 minutes
- Cook Time: 12 minutes
- Category: Dessert
- Cuisine: French
Nutrition
- Serving Size: 1 lava cake
- Calories: 380
- Sugar: 28
- Sodium: 120
- Fat: 24
- Saturated Fat: 14
- Carbohydrates: 35
- Fiber: 3
- Protein: 6
Keywords: chocolate lava cake, molten chocolate cake, dessert, quick dessert, date night dinner, fudgy chocolate, easy baking


