There is a specific kind of panic that sets in around 3 PM on a Saturday in late August. You know the one. You’re staring at your grill, the sun is still blazing, and you realize your guest list is longer than your grill grate. I was in that exact spot last Labor Day, staring at a crowd of twenty people who were all expecting the same thing: the best burger they’ve ever had. Store-bought patties felt like a betrayal. Ordering pizza felt like giving up. That’s when I decided to do what every good host does when they’re overwhelmed—I simplified everything but the main event.
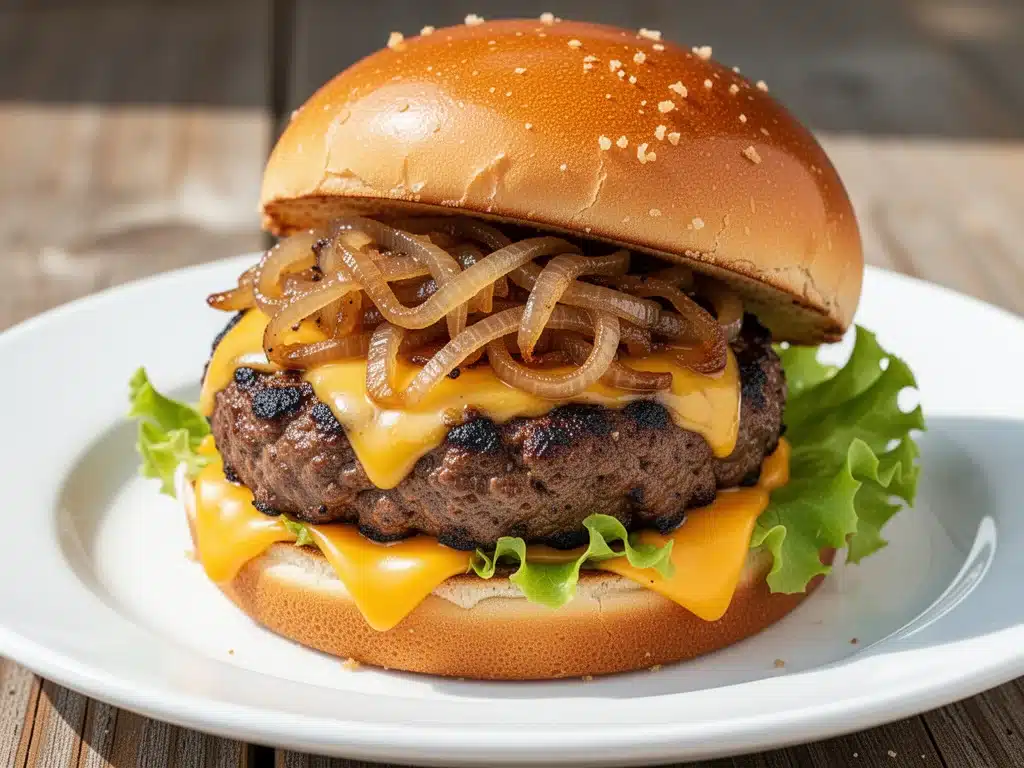
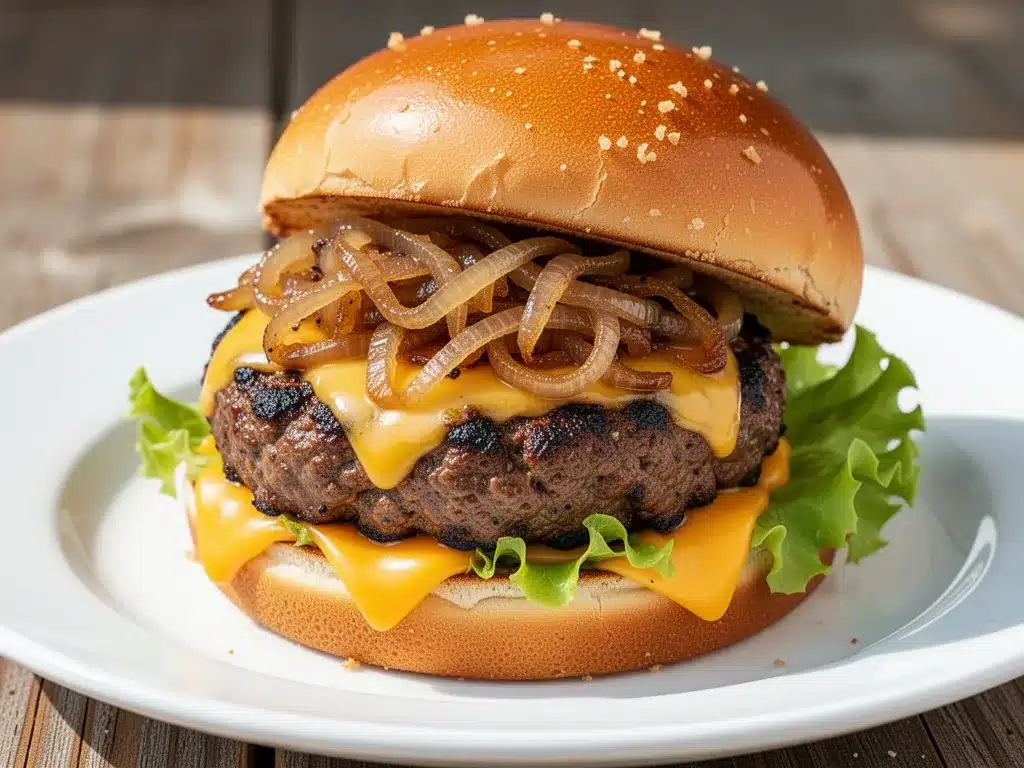
I went with smash burgers. Not just any smash burgers, but these juicy smash burgers with caramelized onion and cheddar. They cook in minutes, they feed a crowd without turning you into a sweaty mess, and they taste like you spent all day in the kitchen (even though you didn’t). The secret isn’t just the meat; it’s the contrast between the crispy, lacy edges and the soft, juicy center, topped with onions that have been slowly sweetened until they’re practically jammy. It’s the perfect balance of smoky, savory, and rich.
I’ve made this specific combo for three different backyard gatherings now, and every single time, someone asks for the recipe before they’ve even finished their first bite. It’s become my go-to Labor Day dinner because it solves the biggest problem of summer hosting: keeping the cook out of the heat while still serving something incredible. If you’ve been hesitant about smash burgers because you think they’re hard to master, let me tell you—they’re actually the easiest way to guarantee a hit. Here’s how I make sure every single patty is perfect.
Why You’ll Love This Recipe
Look, I’ve tried every burger method out there. Grilled thick patties? Great, but they take forever and dry out if you look at them wrong. Stovetop burgers? Fine, but they lack that char. Smash burgers hit the sweet spot. They’re fast, they’re flavorful, and they’re ridiculously satisfying. Here’s why this recipe has earned a permanent spot in my summer rotation:
Lightning Fast — Seriously, from raw meat to plate takes about 15 minutes. I can feed 20 people in the time it takes to grill one thick burger properly. This is crucial when you have hungry guests who might start eating the appetizers if you’re too slow.
Crispy Crust Magic — The smash technique creates this incredible Maillard reaction. You get these thin, crispy, browned edges that contrast with the tender center. It’s texture heaven. I’ve never gotten this kind of crust with any other method.
Flavor Bomb Toppings — Caramelized onions and sharp cheddar aren’t just garnishes; they’re the stars. The sweetness of the onions cuts through the richness of the beef and cheese perfectly. It’s a classic combination for a reason.
Customizable for Crowds — One of the best things about smash burgers is that everyone builds their own. You can set up a station with pickles, lettuce, tomato, and different sauces. It’s interactive and keeps people busy while you’re still cooking.
Forgiving for Beginners — You don’t need a meat thermometer or years of experience. If you can press down on a ball of meat, you can make this. I’ve taught my teenagers to make these, and they come out perfect every time.
This burger is my answer to “what’s for dinner” when I want to impress but also want to enjoy the party. It’s reliable, delicious, and totally summer-appropriate.
Ingredients You’ll Need
Before we get to the grill, let’s talk about what goes into these burgers. The beauty of smash burgers is that the ingredient list is short, but the quality matters. You don’t need fancy cuts, but you do need the right ratios.
Ground Chuck Beef (2 lbs / 900g) — This is non-negotiable. You need at least 80% lean and 20% fat. Lean beef will dry out and fall apart. I buy fresh ground chuck from my local butcher, or I grind it myself if I can. Pre-packaged lean beef just doesn’t work for this method.
Yellow Onions (2 large / about 400g) — You want large, sweet yellow onions. They caramelize beautifully and get that jammy texture. Sweet onions work too, but yellow gives better depth. Slice them thinly and evenly.
Sharp Cheddar Cheese (8 oz / 225g) — Block cheddar, shredded by you. Pre-shredded cheese has anti-caking agents that prevent it from melting smoothly. I use a sharp cheddar because the tang cuts through the fat. Colby Jack is a good alternative if you want milder flavor.
Burger Buns (8-10 buns) — Potato buns or brioche buns are my favorites. They’re soft enough to squish but sturdy enough to hold the juices. Toast them! I cannot stress this enough. Toasted buns prevent sogginess.
Butter (2 tablespoons) — For frying the onions. Salted butter adds flavor, but unsalted gives you more control. I use whatever is in the fridge.
Oil (2 tablespoons) — High smoke point oil like avocado or canola for the grill pan. Olive oil burns at high heat, so avoid it here.
Salt and Pepper — Kosher salt and freshly cracked black pepper. That’s it. Don’t overcomplicate the seasoning. The beef should taste like beef.
Optional Add-ins: Pickles (dill pickles for crunch), Letuce (iceberg for crispness), Tomato (sliced thin), Mayo (mixed with a little garlic powder and paprika for a special sauce). These are up to you, but the core combo of beef, onion, and cheddar is pure gold.
Shopping Tips
I always buy my meat a day ahead if I can. It tastes fresher. For the onions, buy them firm and heavy for their size. If they’re soft or sprouting, skip them. And for the cheese, buy the block. It’s worth the extra two minutes of shredding.
Equipment Needed
You don’t need a fancy grill to make these. In fact, some of the best smash burgers I’ve ever eaten were made on a stovetop griddle. Here’s what I actually use:
Cast Iron Skillet or Griddle — A 12-inch cast iron skillet is perfect. It holds heat incredibly well, which is crucial for the smash. A flat-top griddle is even better if you have one, as it lets you cook more at once. My old Lodge skillet has been with me for ten years and still performs like new.
Heavy-Sided Spatula — You need a spatula with a wide, flat edge. A thin fish spatula won’t cut it. I use a sturdy stainless steel one. It needs to be able to press down hard without bending.
Burger Press (Optional) — If you have a dedicated burger press, use it. If not, the bottom of a heavy pan or a mallet works fine. Just make sure it’s clean!
Small Saucepan — For caramelizing the onions. A non-stick pan works well here so you don’t have to scrub burnt bits later.
Sharp Knife — For slicing the onions evenly. A dull knife will crush the onions instead of slicing them.
Tongs — For flipping and handling the buns. Metal tongs are best because they won’t melt.
Aluminum Foil — To cover the patties while they cook. This helps the cheese melt and keeps the meat from drying out.
That’s it. No fancy gadgets. Just good, reliable kitchen tools that you probably already have.
How to Make It: Step-by-Step
Alright, let’s make this! I’m walking you through exactly how I do it, including the little tricks I’ve picked up over the years. The key here is speed and heat. These burgers cook fast, so you need to be ready.
Step 1: Prep the Onions (20-25 minutes)
Start with the onions because they take the longest. Slice your onions into thin half-rings. Heat a small saucepan over medium-low heat with the butter. Add the onions and a pinch of salt. Stir them well to coat. Cook slowly, stirring every few minutes, for about 20-25 minutes. They should turn a deep golden brown and become very soft. If they start to brown too fast, turn the heat down. You want sweet, jammy onions, not burnt ones. Set them aside and keep them warm.
Step 2: Form the Patties (5 minutes)
While the onions cook, form your meat. Divide your ground chuck into 8-10 equal balls, about 3-4 ounces each. Do not overwork the meat! Handle it gently. Overworking makes the burgers tough. Roll them into loose balls. Keep them in the fridge until you’re ready to cook. Cold meat smashes better than warm meat.
Step 3: Heat the Pan (5 minutes)
Place your cast iron skillet or griddle over high heat. Add the oil. Let it get smoking hot. This is crucial. If the pan isn’t hot enough, the meat will stick and won’t develop that crispy crust. Wait until the oil shimmers and just starts to smoke.
Step 4: Smash and Cook (2 minutes per side)
Place a meat ball in the hot pan. Immediately press down hard with your spatula or press. You want the patty to be thin, about 1/4 inch thick. Hold the pressure for 10 seconds, then release. Do not move it after this. Let it cook undisturbed for about 1.5 to 2 minutes. You’ll see the edges turn brown and crispy. If it’s sticking, your pan isn’t hot enough. Wait a bit longer.
Step 5: Flip and Cheese
Once the bottom is deeply browned and crispy, flip the patty. It should release easily from the pan. Immediately top with shredded cheddar cheese. Cover the pan with foil or a lid for 30-60 seconds. The steam will melt the cheese perfectly. Remove the foil.
Step 6: Toast the Buns
While the cheese melts, toast your buns cut-side down in the pan or on the grill. You can do this in the same pan after flipping the burgers. Toast until golden brown. This adds texture and prevents the bun from getting soggy.
Step 7: Assemble
Build your burger: Bottom bun, patty with melted cheese, a generous heap of caramelized onions, pickles if you like, top bun. Press down gently. Serve immediately.
Expert Tips & Tricks
Here’s everything I’ve learned from making these dozens of times. These tips will save you from my mistakes.
Keep the Meat Cold — This is the #1 tip. Cold meat sticks to the spatula less and smashes easier. If your meat warms up, put it back in the fridge for 10 minutes. I usually form the balls, put them on a tray, and slide the tray into the fridge while I cook the first batch.
High Heat is Your Friend — You need a screaming hot pan. If you’re cooking on a stovetop, use high heat. If you’re using a grill, get it hot. The sear happens fast. If you’re not seeing browning after 2 minutes, your heat is too low.
Don’t Press After Smashing — Once you’ve smashed the patty, don’t press it again while it’s cooking. You’ll squeeze out all the juices. The initial smash is the only press you need.
Season After Smashing — Sprinkle salt and pepper on the top side of the patty right after you smash it. This ensures even seasoning. Don’t salt the meat ball before smashing; it can make the surface tacky.
Caramelize Onions Slowly — Do not rush the onions. Low and slow is the only way to get that sweet, jammy texture. High heat will burn them and make them bitter.
Use Foil to Melt Cheese — Covering the pan creates steam, which melts the cheese evenly without burning the bottom of the patty. It’s a simple trick that makes a huge difference.
Toast the Buns — I can’t say this enough. Toasted buns are essential for texture and structural integrity. A soft, untoasted bun will disintegrate under the weight of a juicy smash burger.
Variations & Substitutions
Once you’ve nailed the basic version, here’s how you can mix it up. I’ve tried all of these.
Bacon Cheddar Smash — Add a strip of crispy bacon on top of the cheese. It adds a smoky crunch that pairs perfectly with the sweet onions.
Spicy Jalapeño — Add sliced jalapeños and pepper jack cheese. It adds a nice kick. Great for people who like heat.
BBQ Bacon Onion — Swap the caramelized onions for onion rings and add BBQ sauce. It’s a different vibe but still delicious.
Veggie Option — You can use a plant-based burger patty, but the smash technique works best with real meat because of the fat content. If you use veggie patties, cook them gently to avoid breaking.
Dairy-Free — Use a dairy-free cheese alternative or skip the cheese entirely. The caramelized onions still provide plenty of flavor. My lactose-intolerant friend loves this version.
Serving & Storage
These burgers are best served immediately, hot off the grill. But here’s how to handle leftovers or prep ahead.
How to Serve: I usually set up a burger station. Bottom buns, patties, toppings, and sauces in separate bowls. Let everyone build their own. It’s fun and interactive. Serve with crispy fries or potato salad for a complete meal.
Reheating: Leftover burgers are tricky because the bun can get soggy. If you have leftovers, store the patties and onions separately from the buns. Reheat the patties in a skillet over medium heat for 1-2 minutes per side. Reheat the onions in a microwave or small pan. Toast a fresh bun and assemble. It won’t be quite as good as fresh, but it’s still tasty.
Storage: Store cooked patties and caramelized onions in an airtight container in the fridge for up to 3 days. Do not store assembled burgers; the buns will get soggy. The onions can be made up to 2 days ahead and reheated.
Freezing: You can freeze the caramelized onions for up to 3 months. They thaw beautifully and can be reheated in a pan. Do not freeze the cooked patties; they lose texture. Freeze the raw meat balls instead, if you want to prep ahead.
Nutrition Information
I’m not a nutritionist, but here’s the breakdown if you’re tracking. This is comfort food, so it’s rich.
Per Serving (based on 8 servings):
- Calories: 650
- Protein: 35g
- Carbs: 40g
- Fiber: 2g
- Sugar: 8g
- Fat: 38g
- Saturated Fat: 15g
- Cholesterol: 120mg
- Sodium: 700mg
What’s Good: High protein from the beef and cheese. Good source of calcium. The onions add some fiber and antioxidants.
What to Know: Higher in calories and fat due to the beef and cheese. Contains gluten and dairy. You can reduce calories by using leaner beef and less cheese, but you’ll lose some of the juiciness.
My Take: This is a treat. Enjoy it as part of a balanced meal with veggies or a salad. It’s way better than fast food, and you control the ingredients.
Final Thoughts
So that’s my go-to juicy smash burgers with caramelized onion and cheddar! I’ve talked your ear off, but when you make a recipe this often, you have a lot to say about it. This has saved my Labor Day dinners more times than I can count. It’s my answer to “what’s for dinner” when I’m tired, don’t want takeout, and still want something that tastes really good. My kids are happy, my guests are happy, and I’m happy because I’m not stressed about cooking.
Make it yours! Try different add-ins, swap in your favorite vegetables, adjust the garlic (though more is always better in my opinion). The best recipes are the ones you adapt to your family’s tastes. If you make this, drop a comment and let me know what you think! I love hearing how recipes turn out in your kitchen. And if something doesn’t work, tell me that too—I’m here to help troubleshoot.
Happy cooking! And I hope your kitchen smells half as good as mine does right now.
Frequently Asked Questions
Can I use lean beef (90/10 or 95/5)?
You can, but the burgers will be drier and less flavorful. The fat in 80/20 ground chuck is what keeps them juicy. If you must use lean beef, consider adding a little grated onion or a spoonful of mayo to the meat to add moisture. But for the best results, stick with 80/20.
Why did my patties stick to the pan?
Usually, this means the pan wasn’t hot enough when you added the meat. Wait until the oil is shimmering and just starting to smoke before adding the patties. Also, don’t move the patty after smashing it. Let it cook for a full 2 minutes so it releases naturally.
Can I make the caramelized onions ahead?
Yes! In fact, I recommend it. They taste even better the next day. Store them in an airtight container in the fridge for up to 3 days. Reheat them in a pan over medium heat before assembling the burgers.
What’s the best cheese to use?
Sharp cheddar is my top choice because the tang cuts through the fat. American cheese melts the best and is traditional for a reason. Colby Jack or Pepper Jack are also great options. Avoid pre-shredded cheese; it won’t melt as smoothly.
Can I cook these on a gas grill?
Absolutely. Preheat your grill to high. Use a cast iron skillet on the grill grates for the best sear, or cook directly on the grates if you’re careful. Just make sure the grates are clean and oiled to prevent sticking.
How do I keep the buns from getting soggy?
Toast them! Toasting creates a barrier between the bun and the juices. Also, don’t assemble the burger until right before serving. If you make them ahead, the steam from the hot patty will soften the bun quickly.
Can I double this recipe for a big party?
Yes! Just make sure you have enough space on your cooking surface. You might need to cook in batches. Keep the cooked patties warm in a low oven (200°F) while you finish the rest. Don’t stack them; keep them in a single layer to stay crispy.
Pin This Recipe!
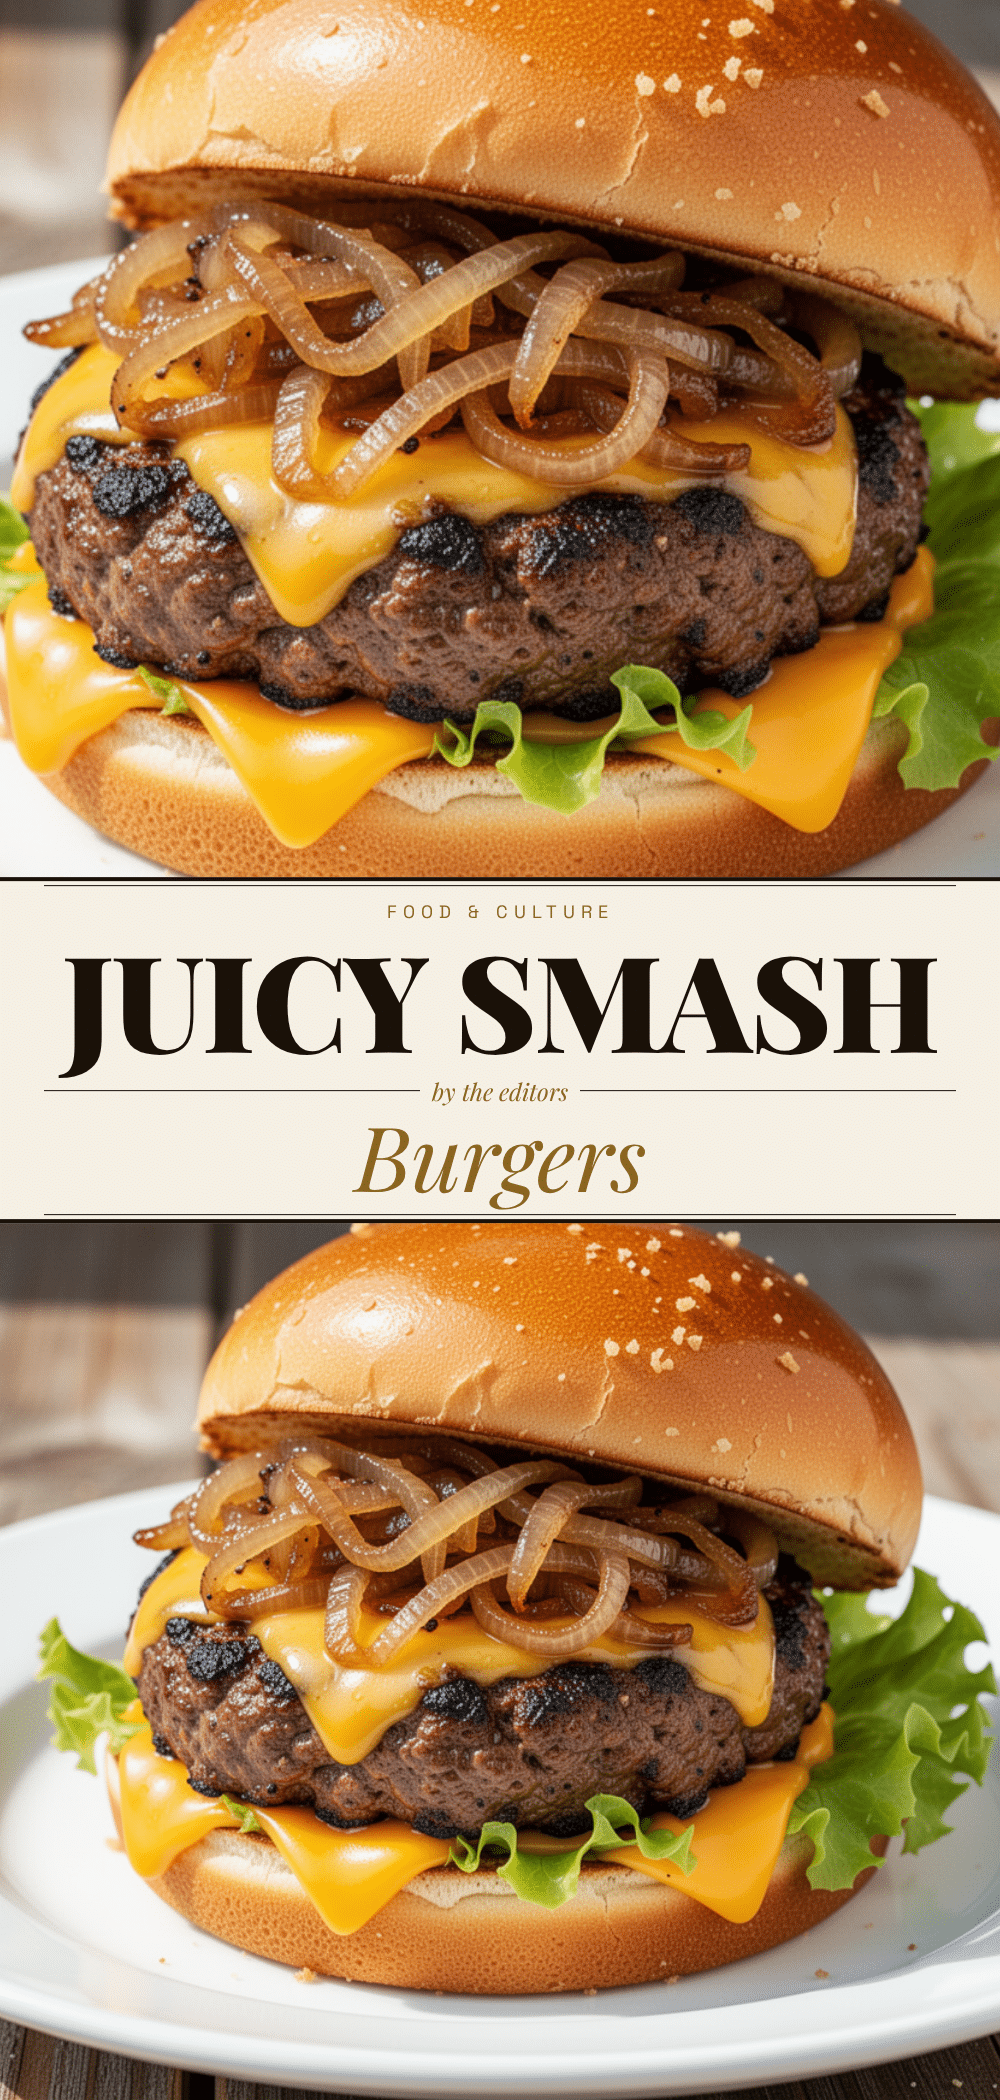
Juicy Smash Burgers: Best Labor Day Dinner
- Total Time: 45 minutes
- Yield: 8 servings 1x
Description
These juicy smash burgers with caramelized onion and cheddar are the perfect summer dinner. They cook in minutes, feed a crowd, and feature a crispy crust with a soft, juicy center.
Ingredients
- 2 lbs (900g) Ground Chuck Beef (80% lean / 20% fat)
- 2 large Yellow Onions (about 400g), sliced thinly
- 8 oz (225g) Sharp Cheddar Cheese, shredded from a block
- 8–10 Potato or Brioche Burger Buns
- 2 tablespoons Butter
- 2 tablespoons High smoke point oil (avocado or canola)
- Kosher salt and freshly cracked black pepper
- Optional: Dill pickles, Iceberg lettuce, Sliced tomato, Mayo mixed with garlic powder and paprika
Instructions
- Caramelize the onions: Slice onions into thin half-rings. Heat butter in a small saucepan over medium-low heat. Add onions and a pinch of salt. Cook slowly for 20-25 minutes, stirring occasionally, until deep golden brown and jammy. Set aside.
- Form the patties: Divide ground chuck into 8-10 equal balls (3-4 oz each). Handle gently to avoid toughening. Keep meat cold in the fridge until ready to cook.
- Heat the pan: Place a cast iron skillet or griddle over high heat. Add oil and let it get smoking hot.
- Smash and cook: Place a meat ball in the hot pan. Immediately press down hard with a heavy spatula to create a thin patty (about 1/4 inch thick). Hold pressure for 10 seconds, then release. Cook undisturbed for 1.5-2 minutes until edges are brown and crispy.
- Flip and add cheese: Flip the patty. Immediately top with shredded cheddar cheese. Cover with foil or a lid for 30-60 seconds to melt the cheese.
- Toast the buns: Toast buns cut-side down in the pan or on the grill until golden brown.
- Assemble: Build the burger with the bottom bun, patty with melted cheese, caramelized onions, and optional toppings. Serve immediately.
Notes
Keep the meat cold for easier smashing. Ensure the pan is screaming hot to prevent sticking and achieve a crispy crust. Do not press the patty after the initial smash. Season with salt and pepper after smashing. Toast buns to prevent sogginess. Caramelized onions can be made up to 2 days ahead.
- Prep Time: 30 minutes
- Cook Time: 15 minutes
- Category: Main Course
- Cuisine: American
Nutrition
- Serving Size: 1 burger with toppin
- Calories: 650
- Sugar: 8
- Sodium: 700
- Fat: 38
- Saturated Fat: 15
- Carbohydrates: 40
- Fiber: 2
- Protein: 35
Keywords: smash burgers, labor day dinner, caramelized onions, cheddar cheese, ground chuck, summer grilling, easy burger recipe, crispy crust


