I still remember the Tuesday night in November when I was absolutely exhausted. I had just come home from a double shift at work, my feet were throbbing, and the kids had already destroyed the living room. The last thing I wanted to do was spend an hour assembling individual enchiladas, rolling tortillas, and dealing with three separate pans. I just wanted something warm, cheesy, and flavorful that didn’t require a master’s degree in patience.
So, I did what any tired parent does: I opened the fridge, stared at a rotisserie chicken, a can of black beans, and a bag of frozen corn, and I threw it all into one skillet. I didn’t have a plan. I just wanted dinner. Ten minutes later, the kitchen smelled like cumin and roasted peppers, and my kids stopped complaining about homework to ask for seconds.
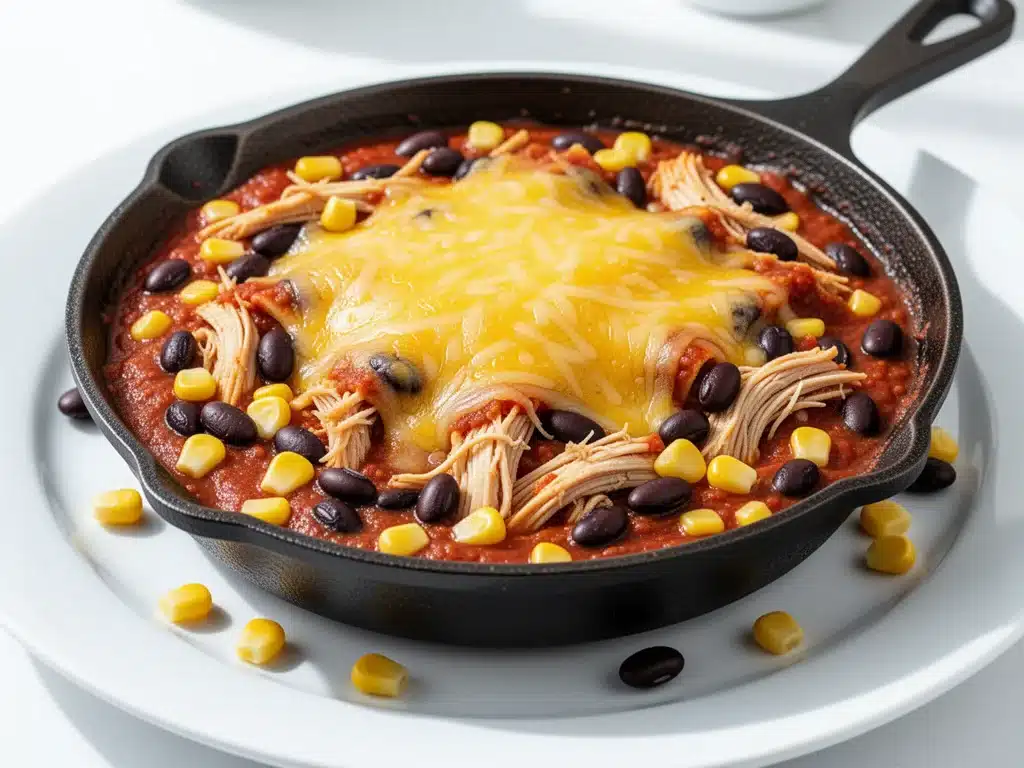
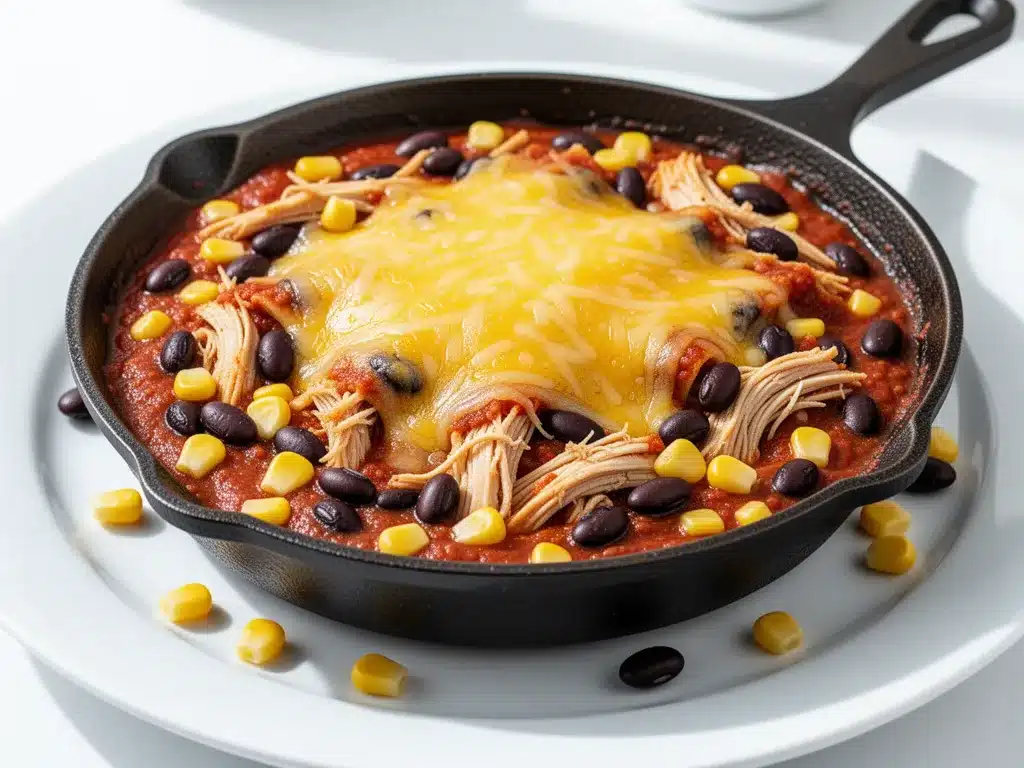
That accidental skillet became our family’s new holy grail. It’s what I call the “Cheesy Chicken Enchilada Skillet,” and it’s basically a deconstructed enchilada in the best way possible. You get all the flavors you love—spicy, creamy, savory, and cheesy—without the mess or the time commitment. It’s rustic, it’s hearty, and it tastes like you spent hours in the kitchen, even though it took me less than 30 minutes from start to finish.
If you’re looking for a way to get dinner on the table without the stress, this recipe is your answer. It’s got everything: tender chicken, hearty black beans, sweet corn, and a blanket of melted cheese that pulls apart perfectly. It’s the kind of meal that makes you feel like a hero, even on your worst days. Let’s make it.
Why You’ll Love This Cheesy Chicken Enchilada Skillet
There are about a dozen reasons I keep making this skillet, but let’s be real—we’re all busy. Here’s why this specific dish has earned a permanent spot in our weekly rotation.
Zero Assembly Line Required — Seriously, if you can chop and stir, you can make this. No rolling tortillas. No messy fingers. No worrying about the sauce leaking out the sides while it bakes. It’s just everything cooked together in one pan. I’ve made this while helping my daughter with math homework because it’s so hands-off once it’s in the oven.
Uses Up Leftovers — I love this recipe because it’s a leftover graveyard. Got half a rotisserie chicken? Perfect. Have a half-empty can of black beans? Throw them in. This skillet is forgiving. It doesn’t care if your measurements are slightly off. It just wants to be delicious.
Kid-Approved (Even the Picky Ones) — My youngest is a “no crust, no green, no texture” eater. But this? He loves it. The cheese hides the veggies, the chicken is soft, and the flavor is bold enough to satisfy my husband who thinks food should be “substantial.” It bridges the gap between toddler food and adult dinner.
Meal Prep Friendly — This stuff tastes even better the next day. I deliberately make a double batch on Sundays. By Wednesday, I’m heating up a bowl, and it still tastes fresh. The flavors meld together overnight, and the cheese gets even gooier.
Budget-Friendly — Chicken thighs, canned beans, frozen corn, and a bag of shredded cheese. You’re feeding four people for under $20. That’s a steal when you consider how much we spend on takeout.
This is my go-to when I need dinner to just work. No fancy techniques, no weird ingredients you have to drive to three stores to find. Just reliable, delicious, cheesy comfort food.
Ingredients You’ll Need
Here’s the best part: you probably have most of this already. This isn’t a recipe that requires a special trip to the specialty market. It’s pantry-friendly and fridge-clearing at the same time.
For the Base
Chicken (3 cups, diced or shredded) — I use rotisserie chicken because it’s fast, but boneless skinless chicken thighs work great too. If you’re cooking raw chicken, sear it first, then remove it and add it back in later. Thighs stay juicier than breasts in this dish.
Black Beans (1 can, 15oz / 425g) — Rinsed and drained. This is non-negotiable. Rinsing removes that metallic can taste and starchy slime. If you’re using dried beans, cook them first. But honestly? Canned is fine here.
Corn (1 cup / 150g) — Frozen corn works perfectly and is usually cheaper. Thaw it first, or toss it in straight from the bag. It adds a nice sweetness that balances the spice.
Red Bell Pepper (1 large, diced) — Adds color and a slight crunch. I love the contrast of the soft cheese and beans against the crisp pepper. Yellow or orange peppers work too, but red looks prettiest.
Onion (1 medium yellow, diced) — Sweetness and depth. Don’t skip this. If you’re sensitive to raw onion, cook it until it’s translucent before adding the spices.
For the Flavor
Enchilada Sauce (1.5 cups / 360ml) — I prefer mild or medium. If you like heat, use hot. I like to buy the bottle kind (like Herdez or Old El Paso) because it’s consistent. But homemade is great if you’re feeling ambitious. Just don’t use taco sauce; it’s too thin and watery.
Spices (1 tsp cumin, 1 tsp chili powder, ½ tsp smoked paprika, ½ tsp garlic powder) — This spice blend is the soul of the dish. Smoked paprika adds a depth that regular paprika can’t match. It makes it taste like it was cooked over an open flame.
Garlic (3 cloves, minced) — Fresh only. Jarred garlic just doesn’t have the punch here. Mince it fine so it distributes evenly.
For the Cheese
Shredded Mexican Blend Cheese (2 cups / 200g) — I buy pre-shredded for convenience, but grate your own if you want better melt. Look for a blend with cheddar, Monterey Jack, and queso quesadilla. It melts beautifully. Avoid pre-shredded if it’s coated in potato starch—it can get grainy.
Optional Toppings — Sour cream, fresh cilantro, diced avocado, sliced jalapeños. These are for the table, not the skillet. Let everyone customize their bowl.
Equipment Needed
You don’t need fancy equipment for this. Here’s what I actually use.
12-inch Skillet — Cast iron is my favorite because it holds heat well and goes from stovetop to oven seamlessly. If you have a non-stick skillet that is oven-safe to 400°F (200°C), that works too. Just make sure it’s big enough to hold everything without overcrowding.
Wooden Spoon or Spatula — For stirring. Silicone works too. Don’t use metal if you have non-stick.
Knife and Cutting Board — For chopping onions and peppers. Sharp knives are safer, honestly. I learned this the hard way with a dull paring knife and a slippery onion.
Oven — Obviously. Preheat it to 400°F (200°C).
Measuring Spoons — For the spices. eyeballing is fine, but if you’re new to this, measure.
Grater — Optional, if you’re grating your own cheese. Box grater works fine.
Tongs — For serving. Or just a big spoon. I use tongs to pick out the chicken pieces if I want to be precise, but a spoon is easier for scooping.
How to Make It: Step-by-Step
Alright, let’s make this! I’m walking you through exactly how I do it, including the little tricks I’ve picked up.
Step 1: Prep Your Ingredients (5 minutes)
Before you turn on the stove, chop your onion, dice the bell pepper, and mince the garlic. Measure out your spices. I know it seems fussy, but it makes the actual cooking way less stressful. Once you start cooking, things move fast. Have your beans rinsed and corn thawed. Set everything within arm’s reach.
Step 2: Sauté the Aromatics (3-4 minutes)
Heat a tablespoon of oil (olive or vegetable) in your 12-inch skillet over medium-high heat. Add the diced onion and bell pepper. Cook for 3-4 minutes, stirring occasionally, until the onion is translucent and the pepper is slightly softened. Add the minced garlic and cook for just 30 seconds. Garlic burns fast, so watch it closely. You want it fragrant, not brown.
Step 3: Add the Chicken and Spices (2 minutes)
Add the diced or shredded chicken to the skillet. Stir it with the onions and peppers. Sprinkle the cumin, chili powder, smoked paprika, and garlic powder over everything. Stir well to coat the chicken in the spices. Let it cook for 1-2 minutes so the spices toast slightly and release their oils. This step builds the flavor base. Don’t rush it.
Step 4: Build the Skillet (3 minutes)
Add the rinsed black beans and corn to the skillet. Pour in the enchilada sauce. Stir everything together until it’s well combined. The mixture should look like a thick, colorful stew. If it looks too dry, add a splash more sauce or a little water. If it looks too soupy, let it simmer for a minute to reduce. Bring it to a gentle bubble.
Step 5: Cheese Time (5-7 minutes)
Remove the skillet from the heat (if it’s not oven-safe, transfer the mixture to a baking dish). Sprinkle the shredded cheese evenly over the top. I like to leave a little gap in the middle so the cheese doesn’t burn. Put the skillet (or dish) in the preheated oven at 400°F (200°C). Bake for 5-7 minutes, or until the cheese is bubbly and golden brown. Keep an eye on it—ovens vary. You want melted, gooey cheese, not a brick of burnt dairy.
Step 6: Rest and Serve (2 minutes)
Take it out of the oven. Let it rest for 2 minutes. This allows the cheese to set slightly so it doesn’t slide off when you scoop. Garnish with fresh cilantro, a squeeze of lime, and a dollop of sour cream. Serve immediately while it’s hot. The cheese will start to firm up as it cools, so eat it fast.
Total Time: About 25-30 minutes (10 minutes active, 15-20 minutes mostly hands-off).
Expert Tips & Tricks
Here’s everything I’ve learned from making this dozens of times. These tips will save you from my mistakes.
Don’t Skimp on the Spices — The spice blend is what makes this taste like enchiladas and not just chicken stew. Toasting the spices in the oil for a minute makes a huge difference. It wakes up the cumin and chili powder. I learned this from a chef friend years ago, and I’ve never gone back to raw spices.
Use Good Enchilada Sauce — I’ve tried making my own sauce, and it’s good, but for a weeknight skillet, the bottled stuff is consistent and flavorful. Look for brands that don’t have high fructose corn syrup if you care about that. Herdez and Old El Paso are reliable. If you make your own, make sure it’s thick, not watery.
Chicken Thighs > Chicken Breasts — I know breasts are leaner, but thighs stay juicy in the oven. Breasts can dry out if you overcook them. Since this recipe bakes the chicken with the sauce, thighs are more forgiving. If you use breasts, cut them into smaller pieces so they cook faster.
Room Temperature Cheese — If you take your cheese out of the fridge 10 minutes before using it, it melts more evenly. Cold cheese can seize up. I know, I’m lazy, but it’s a small detail that matters for that perfect melt.
Customize the Heat — If you like it spicy, add a diced jalapeño with the onions, or use a hot enchilada sauce. If you’re feeding kids, stick to mild sauce and add jalapeños on the side. My kids hate heat, so I keep it mild and add hot sauce at the table.
Common Mistakes
- Sauce too watery: Don’t add too much enchilada sauce. Start with 1.5 cups. You can always add more, but you can’t take it away. If it’s too thin, simmer it longer before adding cheese.
- Chicken dry: If using raw chicken, don’t cook it too long before adding the sauce. Sear it, then add the liquid to keep it moist.
- Sticking to the pan: Make sure your skillet is well-oiled. Cast iron needs to be seasoned. Non-stick should be clean. If it’s sticking, lower the heat.
Variations & Substitutions
Once you’ve nailed the basic version, here’s how you can mix it up. I’ve tried all of these.
Vegetarian Version — Skip the chicken. Add an extra can of black beans and a cup of diced mushrooms. Sauté the mushrooms with the onions for extra umami. It’s just as hearty and satisfying.
Shrimp Enchilada Skillet — Swap chicken for 1lb of peeled and deveined shrimp. Add the shrimp in the last 2 minutes of cooking, just before the cheese. Shrimp cooks fast, so don’t overdo it. It turns into a seafood enchilada dish.
Green Enchilada Skillet — Swap red enchilada sauce for green tomatillo sauce. Add a can of drained green chiles. Top with queso fresco instead of cheddar. It’s tangier and fresher.
Beef Version — Use ground beef instead of chicken. Brown the beef with the onions, then drain the fat. Add the spices and continue as usual. It’s richer and heartier.
Gluten-Free — This recipe is naturally gluten-free, just check your enchilada sauce label. Some brands use wheat flour as a thickener. Most are GF, but always double-check.
Dairy-Free — Use dairy-free shredded cheese (like Violife or Daiya). It melts differently, but it works. Skip the sour cream or use a dairy-free alternative. It’s not quite the same, but it’s still tasty.
Serving & Storage
How to Serve — I usually serve this straight from the skillet at the dinner table. It looks rustic and stays warm. But here are other ways I’ve enjoyed it:
- Over Rice — Serve it over white or brown rice to soak up the sauce.
- With Tortilla Chips — Scoop it up like a dip. Kids love this.
- Salad Style — Put it over a bed of shredded lettuce with avocado. It’s like a deconstructed taco salad.
Side Dishes — Garlic bread (obviously), a simple green salad with lime vinaigrette, or roasted sweet potatoes. I keep sides simple so the skillet is the star.
Toppings Bar — When I have guests, I put out: extra cheese, sour cream, diced avocado, sliced jalapeños, fresh cilantro, and lime wedges. Everyone customizes their bowl.
Storage Instructions
Refrigerator: Store in an airtight container for up to 4 days. The sauce will thicken in the fridge—totally normal.
Reheating: Best method: Add to a skillet with a splash of milk or broth over low heat. Stir until heated through and creamy again. Microwave method: Heat in 30-second intervals, stirring between. Add a splash of liquid if it’s too thick. Never works: Trying to reheat in the pot you cooked it in. It always burns on the bottom. Ask me how I know.
Freezing: Honestly, this doesn’t freeze well because of the dairy. The cheese gets grainy and separated when thawed. Make it fresh or store in the fridge for up to 4 days.
Pro tip: If leftovers are drying out, stir in a tablespoon of butter and a splash of milk when reheating. Brings back that creamy texture.
Nutrition Information
I’m not a nutritionist, but here’s the breakdown if you’re tracking. This is per serving (based on 6 servings).
| Nutrient | Amount |
|---|---|
| Calories | 450 |
| Protein | 32g |
| Carbs | 28g |
| Fiber | 6g |
| Sugar | 4g |
| Fat | 22g |
| Saturated Fat | 9g |
| Sodium | 850mg |
What’s Good: High protein from chicken and beans. Good fiber from beans and corn. Calcium from cheese.
What to Know: Higher in sodium from the enchilada sauce and cheese. Contains dairy. Can be made gluten-free.
My Take: Look, this is comfort food. It’s not a diet recipe. But it’s way better than takeout, costs less, and I know exactly what’s in it. When I want to make it lighter, I use less cheese and add extra veggies. But usually? I just eat a reasonable portion and enjoy it.
Final Thoughts
So that’s my go-to Cheesy Chicken Enchilada Skillet! I’ve probably talked your ear off at this point, but when you make a recipe this often, you have a lot to say about it.
This has saved weeknight dinners more times than I can count. It’s my answer to “what’s for dinner” when I’m tired, don’t want takeout, and still want something that tastes really good. My kids are happy, my husband’s happy, and I’m happy because I’m not stressed about cooking.
Make it yours! Try different add-ins, swap in your favorite vegetables, adjust the spice level. The best recipes are the ones you adapt to your family’s tastes.
If you make this, drop a comment and let me know what you think! I love hearing how recipes turn out in your kitchen. And if something doesn’t work, tell me that too—I’m here to help troubleshoot.
Happy cooking! And I hope your kitchen smells half as good as mine does right now.
Frequently Asked Questions
Can I use chicken breasts instead of thighs?
You can, but thighs are juicier and more forgiving. If you use breasts, cut them into smaller pieces and don’t overcook them. They can dry out in the oven. I prefer thighs for this recipe because they stay tender even if you leave it in the oven a minute too long.
Can I make this ahead of time?
Sort of. You can prep all the ingredients (chop veggies, measure spices) the night before. But don’t assemble and bake it ahead because the cheese won’t melt properly, and the tortillas (if using) will get soggy. For this skillet, fresh is best. But you can definitely prep the components in advance.
Why did my sauce turn out watery?
Usually means you added too much enchilada sauce or the chicken released too much water. Start with 1.5 cups of sauce. If it’s too thin, simmer it longer on the stovetop before adding cheese. The liquid should reduce slightly so the sauce coats the chicken, not swims in it.
Can I freeze this?
I don’t recommend it. The cheese separates when frozen and thawed, and the texture becomes grainy. It’s best eaten fresh or stored in the fridge for up to 4 days. If you need to freeze it, freeze the chicken and bean mixture without the cheese, then add fresh cheese when you reheat it.
What kind of cheese is best?
A Mexican blend is classic because it has cheddar for flavor and Monterey Jack for melt. Queso quesadilla is great too. Avoid using only mozzarella—it’s too stringy and mild. You want a blend that melts well and has some flavor.
Can I use fresh corn instead of frozen?
Yes! Just cut the kernels off 2 ears of corn. It’s sweeter and adds a nice crunch. If you use canned corn, drain it well. Frozen is just more convenient and usually cheaper.
Is this recipe spicy?
It depends on the enchilada sauce you use. Mild sauce makes it mild. Hot sauce makes it hot. The spices (cumin, chili powder) add warmth, not intense heat. If you’re sensitive to spice, use mild sauce and skip the jalapeños. You can always add hot sauce at the table.
Pin This Recipe!
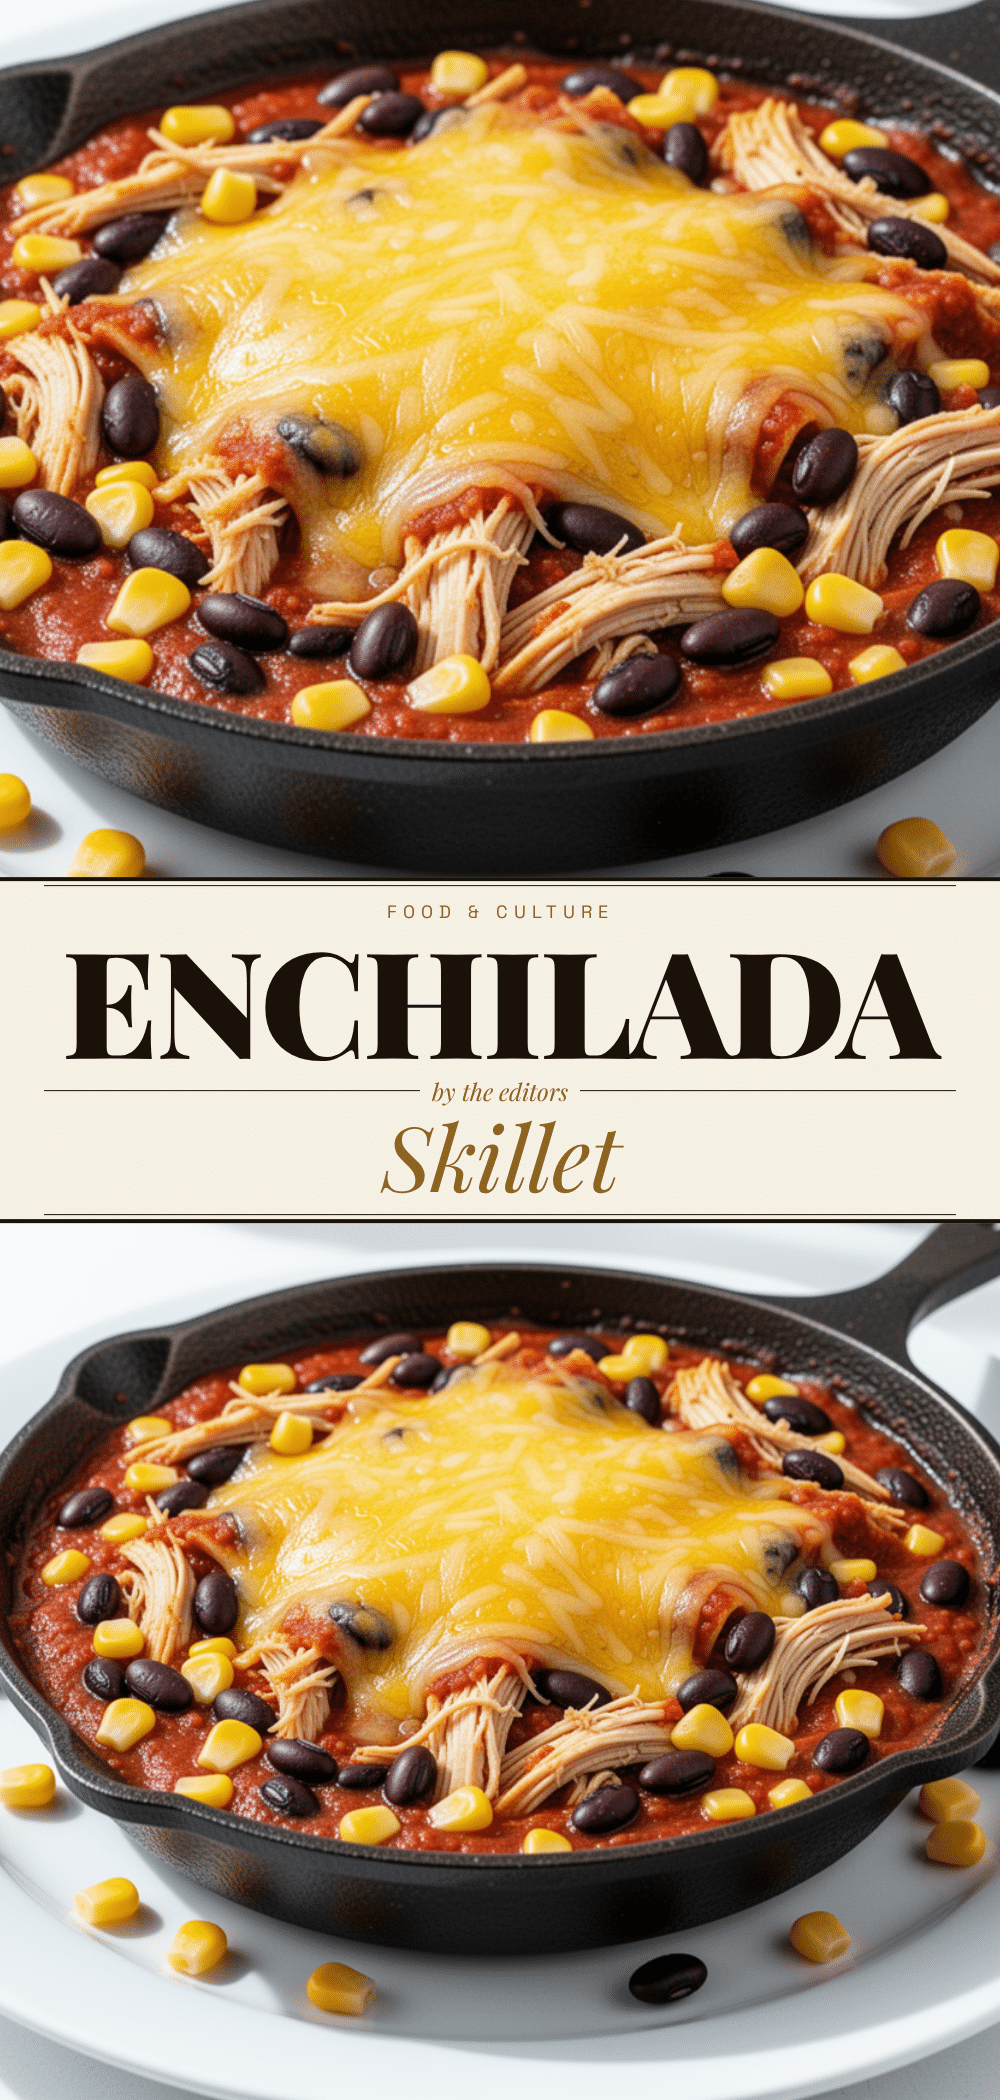
Cheesy Chicken Enchilada Skillet: Easy Family Dinner
- Total Time: 30 minutes
- Yield: 6 servings 1x
Description
A quick, one-pan deconstructed enchilada dish featuring tender chicken, black beans, corn, and melted cheese. Perfect for busy weeknights and ready in under 30 minutes.
Ingredients
- 3 cups diced or shredded chicken (rotisserie or boneless skinless thighs)
- 1 can (15oz / 425g) black beans, rinsed and drained
- 1 cup (150g) frozen corn, thawed
- 1 large red bell pepper, diced
- 1 medium yellow onion, diced
- 1.5 cups (360ml) enchilada sauce (mild, medium, or hot)
- 1 tsp cumin
- 1 tsp chili powder
- ½ tsp smoked paprika
- ½ tsp garlic powder
- 3 cloves garlic, minced
- 2 cups (200g) shredded Mexican blend cheese
- 1 tbsp olive or vegetable oil
- Optional toppings: sour cream, fresh cilantro, diced avocado, sliced jalapeños
Instructions
- Preheat oven to 400°F (200°C).
- Chop onion, dice bell pepper, and mince garlic. Measure spices.
- Heat oil in a 12-inch oven-safe skillet over medium-high heat. Add onion and bell pepper; sauté for 3-4 minutes until softened.
- Add minced garlic and cook for 30 seconds until fragrant.
- Add chicken to the skillet. Sprinkle with cumin, chili powder, smoked paprika, and garlic powder. Stir to coat and cook for 1-2 minutes to toast spices.
- Add black beans, corn, and enchilada sauce. Stir to combine and bring to a gentle bubble.
- Remove skillet from heat. Sprinkle shredded cheese evenly over the top.
- Place skillet in the preheated oven and bake for 5-7 minutes until cheese is bubbly and golden.
- Remove from oven and let rest for 2 minutes before serving.
- Garnish with optional toppings like cilantro, lime, or sour cream.
Notes
Chicken thighs stay juicier than breasts in this dish. If using raw chicken, sear it first. Ensure black beans are rinsed to remove metallic taste. Do not freeze this recipe as the cheese will separate and become grainy. For leftovers, reheat with a splash of milk or broth to maintain creaminess.
- Prep Time: 10 minutes
- Cook Time: 20 minutes
- Category: Main Course
- Cuisine: Mexican
Nutrition
- Serving Size: 1 bowl
- Calories: 450
- Sugar: 4
- Sodium: 850
- Fat: 22
- Saturated Fat: 9
- Carbohydrates: 28
- Fiber: 6
- Protein: 32
Keywords: chicken enchilada skillet, easy dinner, one pan meal, family friendly, weeknight dinner, cheesy chicken, mexican comfort food


