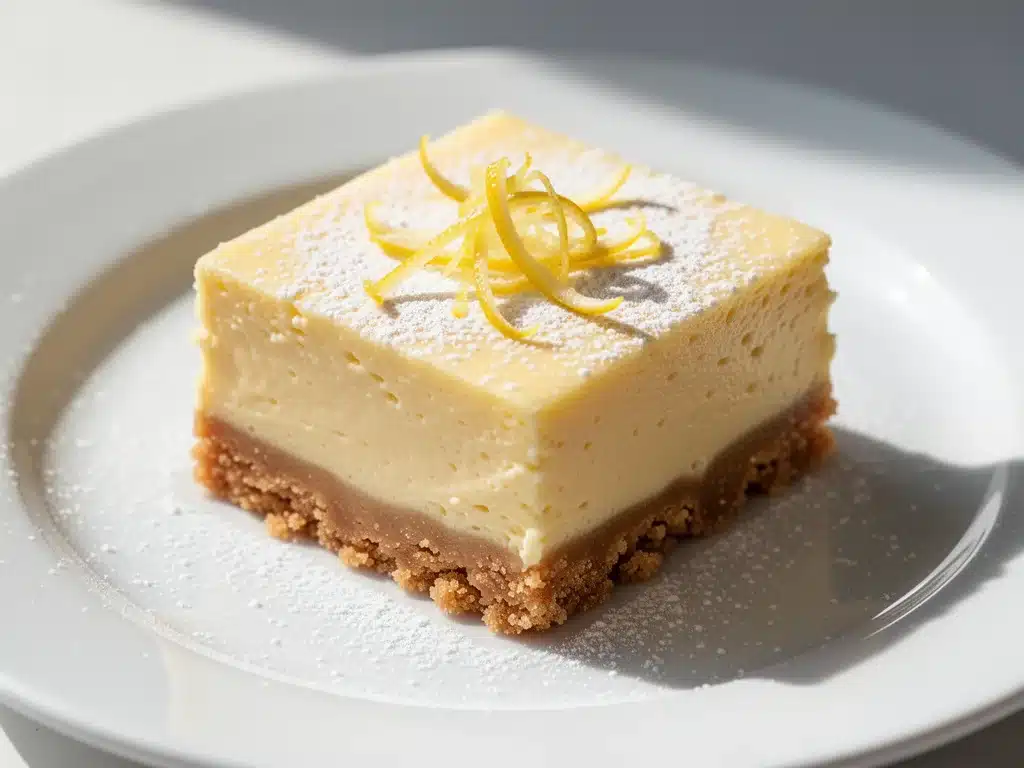
Last July, I was standing in my kitchen at 8:30 PM, wearing sweatpants, staring at a fridge that was 90% empty and 10% condiments. I had promised my daughter’s soccer team that I’d bring dessert the next morning. Not a cake—I didn’t have time to bake one. Not cookies—I didn’t have energy to stand over a mixer. I just needed something bright, something that didn’t require an oven, and something that wouldn’t make me look like I’d given up on life.
That night, I threw together what I now call my no-bake lemon cheesecake bars. It started as a desperate scramble: a box of lemon pudding, some cream cheese, a sleeve of graham crackers, and whatever lemon juice I could squeeze from a single meager lemon in the back of the crisper drawer. I expected it to be… okay. Maybe a little tart. Definitely weird.
Instead? My daughter’s coach asked for the recipe. My husband ate three before dinner. My daughter declared it “better than the bakery stuff.”
It’s become my go-to rescue recipe for busy weeknights, last-minute potlucks, and those moments when I want to feel like a decent human being without spending hours in the kitchen. These no-bake lemon cheesecake bars are light, tangy, and ridiculously easy. They’re perfect for hot summer evenings when you don’t want to turn on the oven, or for when you just want a dessert that feels fancy but takes five minutes to prep.
I’ve made this at least twenty times since that night. Each time, I tweak it slightly—more lemon, less sugar, different crumb bases—but the core remains the same: simple ingredients, zero baking, maximum payoff. If you’ve ever been stuck in a dessert rut, this is your escape hatch.
Why You’ll Love This Recipe
There are a dozen reasons I keep making these no-bake lemon cheesecake bars, but let’s be real—you don’t need another complicated dessert that requires a food processor, a springform pan, and three hours of chilling time. Here’s why this one works:
Stupid Simple — Seriously, if you can mix two bowls and press them into a pan, you can make this. I’ve walked my teenager through it over FaceTime. No baking skills required.
Lightning Fast — 10 minutes of active prep. The rest is just chilling. I make this on weeknights when I get home at 7pm and still want to feel like I accomplished something.
Pantry-Friendly — You probably have 80% of these ingredients already. I keep graham crackers, cream cheese, and lemon juice stocked just so I can make this on a whim.
Crowd-Pleaser — I’ve served this to my gluten-sensitive sister, my sugar-conscious friend, and my dad who thinks dessert is “unnecessary.” Everyone loved it.
Makes Amazing Leftovers — Actually tastes better the next day. The flavors meld, the texture firms up, and I deliberately make extra for lunch (yes, dessert for lunch is a thing).
Budget-Smart — Feeds 9-12 people for under $10. That’s less than one slice of cake at a fancy café.
This is my go-to when I need dessert to just work. No complicated techniques, no weird ingredients, just reliable, delicious food that makes everyone happy. And if you’re looking for other easy, no-bake options, check out my no-bake lemon bars for a variation that’s equally crowd-pleasing.
Ingredients You’ll Need
Here’s the best part: you probably have most of this already. This isn’t a recipe that requires a trip to three different specialty stores. It’s built on basics, with a few key items that make all the difference.
For the Crust:
Graham crackers (1 ½ cups / 150g, crushed) — I use regular graham crackers, not the honey-sweetened kind. The plain version lets the lemon shine. You can also use digestive biscuits if you’re outside the US. Crush them finely—no big chunks.
Unsalted butter (6 tablespoons / 85g, melted) — This binds the crust. Don’t skip it. Use real butter, not margarine. I melt mine in the microwave for 30 seconds.
Granulated sugar (2 tablespoons / 25g) — Just a touch to sweeten the crust. You can reduce to 1 tablespoon if you prefer a less sweet base.
For the Filling:
Cream cheese (8 oz / 225g, softened) — Full-fat only. Low-fat doesn’t set right and tastes bland. Take it out of the fridge 15 minutes before you start. Softened is key for smooth mixing.
Heavy cream (1 cup / 240ml, cold) — This gives the filling its airy, light texture. Don’t substitute milk or half-and-half unless you want a denser result. Whip it stiff.
Lemon juice (¼ cup / 60ml, fresh) — Fresh only. Bottled lemon juice tastes metallic and flat. Squeeze two lemons yourself. It’s worth the extra 2 minutes.
Lemon zest (1 tablespoon) — This is where the real lemon flavor lives. Grate the yellow part of the peel only. The white pith is bitter.
Confectioners’ sugar (1 cup / 100g) — Also called powdered sugar. It dissolves easily in the cream cheese mixture. Don’t use granulated sugar here—it won’t blend well.
Vanilla extract (1 teaspoon) — Just a splash to round out the flavors. Pure vanilla, not imitation.
For the Topping:
Whipped cream (½ cup / 120ml, optional) — For dollops on top. Or just skip it if you’re keeping it light.
Extra lemon zest — For garnish. Makes it look pretty and smells amazing.
Edible flowers or mint leaves — Optional, but they make it Instagram-worthy. I use mint because it’s easier to find.
If you’re wondering about substitutions, I’ve tested this with gluten-free graham crackers (they work, just press firmly), and with coconut cream instead of dairy cream (it’s heavier but still tasty). For a lower-sugar version, I use a sugar substitute like Swerve in the filling, but it changes the texture slightly.
Equipment Needed
You don’t need fancy equipment for this. Here’s what I actually use:
8×8 inch baking pan — I line it with parchment paper for easy removal. Non-stick spray isn’t enough; the crust sticks without the liner.
Food processor or zip-top bag — For crushing graham crackers. I use a food processor for speed, but a rolling pin and a bag work too. It’s more fun to crush with a pin.
Mixing bowls (2) — One for the crust, one for the filling. I use glass bowls because they’re easy to see through.
Electric mixer or whisk — A hand mixer makes whipping the cream and cream cheese faster. But a whisk and elbow grease work too. I’ve done it both ways.
Spatula — For folding the cream into the cream cheese. Silicone is best because it scrapes the bowl clean.
Measuring cups and spoons — Standard stuff. Dollar store versions work fine.
Zester or microplane — For the lemon zest. A regular grater works, but a microplane gives finer zest that blends better.
Refrigerator — Obviously. You need at least 4 hours, preferably overnight, for the bars to set. Plan ahead.
Don’t have a food processor? Crush the crackers in a bag with a rolling pin. Don’t have a hand mixer? Whip the cream by hand—it takes 5 minutes and gives you a workout. Don’t have a microplane? A regular grater works, just grate longer.
How to Make It: Step-by-Step
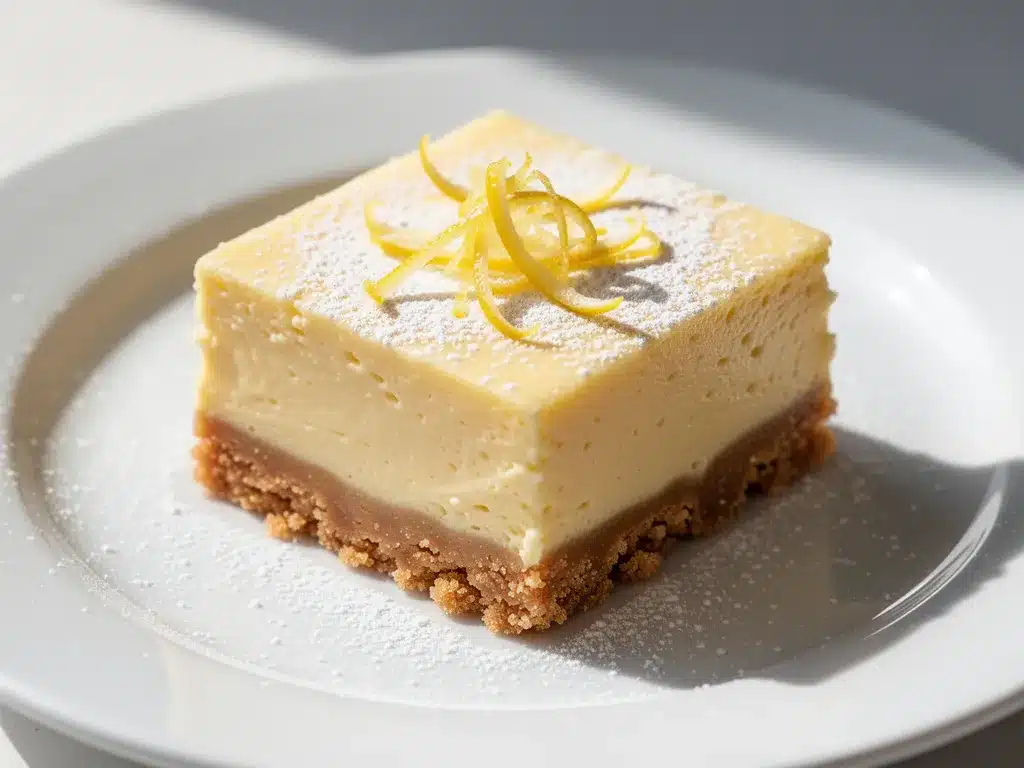
Alright, let’s make this! I’m walking you through exactly how I do it, including the little tricks I’ve picked up over the years.
Step 1: Prep Your Pan (2 minutes)
Line your 8×8 inch pan with parchment paper, leaving an overhang on the sides. This is crucial for easy removal later. Spray lightly with non-stick spray. Set aside.
Step 2: Make the Crust (5 minutes)
Crush your graham crackers into fine crumbs. I use a food processor for 30 seconds, but a rolling pin and zip-top bag work too. In a medium bowl, mix the crumbs with melted butter and sugar until it looks like wet sand. Press this mixture firmly into the bottom of your prepared pan. Use the bottom of a measuring cup to pack it down evenly. This takes 2 minutes, but don’t rush it—a loose crust means falling-apart bars.
Step 3: Whip the Cream (3 minutes)
In a large bowl, whip the cold heavy cream until stiff peaks form. This means when you lift the whisk, the cream stands up straight. Don’t over-whip it into butter, but don’t under-whip it either. It should hold its shape. Set aside.
Step 4: Mix the Cream Cheese Base (5 minutes)
In a separate bowl, beat the softened cream cheese until smooth. Add the confectioners’ sugar, lemon juice, lemon zest, and vanilla. Beat until fully combined and creamy. Scrape down the sides of the bowl. The mixture should be thick and smooth, not lumpy.
Step 5: Fold It Together (3 minutes)
Gently fold the whipped cream into the cream cheese mixture. Use a spatula and fold from the bottom up, rotating the bowl. Do this gently—overmixing deflates the cream and makes the filling dense. You’re looking for a light, airy mixture. It should look fluffy.
Step 6: Assemble and Chill (4+ hours)
Pour the filling over the crust. Smooth the top with a spatula. Cover with plastic wrap or foil. Refrigerate for at least 4 hours, preferably overnight. This is the hardest part—waiting. But it’s necessary for the bars to set properly.
Step 7: Cut and Serve
Remove the pan from the fridge. Lift the bars out using the parchment overhang. Place on a cutting board. Use a sharp knife to cut into 9 or 12 bars. Wipe the knife between cuts for clean edges. Garnish with extra lemon zest and mint if desired.
Total Time: About 15 minutes prep + 4 hours chilling.
Expert Tips & Tricks
Here’s everything I’ve learned from making these no-bake lemon cheesecake bars dozens of times. These tips will save you from my mistakes.
Softened Cream Cheese is Key
If your cream cheese is cold and stiff, you’ll get lumps. Take it out of the fridge 15 minutes before you start. If you forget, cut it into cubes and microwave for 10 seconds at a time. It should be soft but not melted.
Cold Cream Whips Better
Keep your heavy cream cold until the last minute. If it’s warm, it won’t whip properly. I keep it in the fridge until I’m ready to use it. If you’re in a hurry, chill your mixing bowl in the freezer for 10 minutes first.
Fold, Don’t Stir
When combining the cream cheese mixture with the whipped cream, fold gently. Stirring deflates the air you worked so hard to incorporate. You want a light, fluffy texture, not a dense one.
Press the Crust Firmly
A loose crust means your bars will fall apart. Press it down firmly and evenly. I use the bottom of a measuring cup to pack it. It takes 30 seconds but makes a huge difference.
Chill Overnight
Four hours is the minimum, but overnight is best. The flavors meld, the texture firms up, and the bars cut cleaner. I know it’s tempting to cut them early, but patience pays off.
Sharp Knife for Clean Cuts
Use a sharp knife and wipe it between cuts. A dull knife squishes the bars. I dip my knife in hot water and wipe it dry for even cleaner cuts.
Common Mistakes:
Mistake: Bars are too soft
Fix: They didn’t chill long enough. Give them another hour. If they’re still soft, next time use less lemon juice or more cream cheese.
Mistake: Crust is crumbly
Fix: You didn’t press it firmly enough, or you used too little butter. Pack it down harder next time.
Mistake: Filling is grainy
Fix: The cream cheese wasn’t softened enough, or you over-whipped the cream. Soften the cream cheese properly and fold gently.
Variations & Substitutions
Once you’ve nailed the basic version, here’s how you can mix it up. I’ve tried all of these.
Blueberry Lemon
Add 1 cup fresh or frozen blueberries to the filling. Fold them in gently after combining. The berries burst slightly, creating little pockets of flavor. My kids love this version.
Key Lime
Swap lemon juice and zest for key lime juice and zest. Use a graham cracker crust with a hint of lime zest. It’s tangier and more tropical. Great for summer.
Chocolate Drizzle
Melt ½ cup chocolate chips and drizzle over the top after chilling. Let it set in the fridge for 15 minutes. Adds a rich contrast to the bright lemon.
Gluten-Free
Use gluten-free graham crackers or almond flour for the crust. Everything else is naturally gluten-free. I’ve used Schär gluten-free graham crackers and they work great.
Dairy-Free
Replace cream cheese with dairy-free cream cheese (like Kite Hill) and heavy cream with coconut cream. It’s heavier but still tasty. My lactose-intolerant friend requests this version.
Lower Sugar
Use a sugar substitute like Swerve or Monk fruit in the filling. Reduce the confectioners’ sugar to ½ cup. It’s less sweet but still flavorful. I make this when I’m watching my sugar intake.
Coconut Crust
Replace graham crackers with crushed macadamia nuts or coconut flakes. Mix with coconut oil instead of butter. Adds a tropical vibe.
Seasonal Berries
Top with fresh strawberries, raspberries, or blackberries before serving. Adds color and freshness. Great for spring and summer.
Serving & Storage
How to Serve:
I usually serve these straight from the pan, cut into squares. They look rustic and homemade. But here are other ways I’ve enjoyed them:
Side Dishes:
– Fresh berries on the side
– A dollop of whipped cream
– A sprig of mint for garnish
– A glass of cold lemonade or iced tea
Toppings Bar:
When I have guests, I put out: extra lemon zest, fresh mint, whipped cream, and a drizzle of honey. Everyone customizes their bar.
Storage Instructions:
Refrigerator:
Store in an airtight container for up to 5 days. The bars will firm up further in the fridge. They’re best served cold.
Freezing:
Yes, these freeze well! Cut into bars, wrap individually in plastic wrap, then place in a freezer bag. Freeze for up to 2 months. Thaw in the fridge overnight. The texture holds up surprisingly well.
Pro tip:
If the bars seem too soft after thawing, let them sit in the fridge for an hour before serving. They’ll firm up again.
Nutrition Information
I’m not a nutritionist, but here’s the breakdown if you’re tracking.
Per Serving (based on 9 bars):
– Calories: 280
– Protein: 4g
– Carbs: 28g
– Fiber: 1g
– Sugar: 22g
– Fat: 18g
– Saturated Fat: 11g
– Cholesterol: 55mg
– Sodium: 180mg
– Calcium: 60mg
What’s Good:
– Decent protein from cream cheese
– Calcium from dairy
– Can add berries to boost nutrition
– More filling than it looks
What to Know:
– Higher in calories from cream and cheese
– Contains dairy and gluten
– Moderate sugar (use sugar substitute to reduce)
My Take:
Look, this is dessert with cream cheese and sugar. It’s not a diet food. But it’s way better than store-bought, costs less, and I know exactly what’s in it. When I want to make it lighter, I use the dairy-free version and skip the sugar. But usually? I just eat one bar and enjoy it.
Final Thoughts
So that’s my go-to no-bake lemon cheesecake bars! I’ve probably talked your ear off at this point, but when you make a recipe this often, you have a lot to say about it.
This has saved weeknight desserts more times than I can count. It’s my answer to “what’s for dessert?” when I’m tired, don’t want takeout, and still want something that tastes really good. My kids are happy, my husband’s happy, and I’m happy because I’m not stressed about cooking.
Make it yours! Try different add-ins, swap in your favorite fruits, adjust the lemon (though more is always better in my opinion). The best recipes are the ones you adapt to your family’s tastes.
If you make this, drop a comment and let me know what you think! I love hearing how recipes turn out in your kitchen. And if something doesn’t work, tell me that too—I’m here to help troubleshoot.
Happy cooking! And I hope your kitchen smells half as good as mine does right now.
Frequently Asked Questions
Q: Can I use bottled lemon juice?
A: You can, but fresh tastes so much better. Bottled lemon juice has a metallic taste that really shows up in no-bake desserts. If you must use it, use twice the amount because it’s less potent. But honestly, squeezing two lemons takes like 2 minutes. Buy pre-peeled lemon halves if you want to save time.
Q: My filling is too runny—what happened?
A: Usually means the cream cheese wasn’t softened enough, or you didn’t whip the cream stiffly enough. Soften the cream cheese properly and whip the cream until stiff peaks form. If it’s already runny, chill it longer. Next time, use less lemon juice.
Q: Can I make this ahead for a party?
A: Absolutely! Make it 2 days ahead and store in the fridge. It actually tastes better after a day. Cut it right before serving. I do this all the time for potlucks and get-togethers.
Q: Why did my crust fall apart?
A: You didn’t press it firmly enough, or you used too little butter. Pack it down harder next time. Use the bottom of a measuring cup to ensure it’s compact. Also, make sure the butter is fully melted and mixed in.
Q: Can I use a different crust?
A: Yes! Try graham cracker crumbs, digestive biscuits, or even crushed Oreos (remove the filling). Almond flour works for a gluten-free option. Just mix with butter and sugar, press firmly, and chill before adding the filling.
Q: How do I store leftovers?
A: Store in an airtight container in the fridge for up to 5 days. They’ll firm up further. For longer storage, freeze individually wrapped bars for up to 2 months. Thaw in the fridge overnight.
Q: Can I double this recipe?
A: Absolutely! Double everything and use a 9×13 inch pan. The cooking times stay the same. I do this when I’m feeding a crowd. Just make sure your mixing bowls are big enough for the filling.
Pin This Recipe!
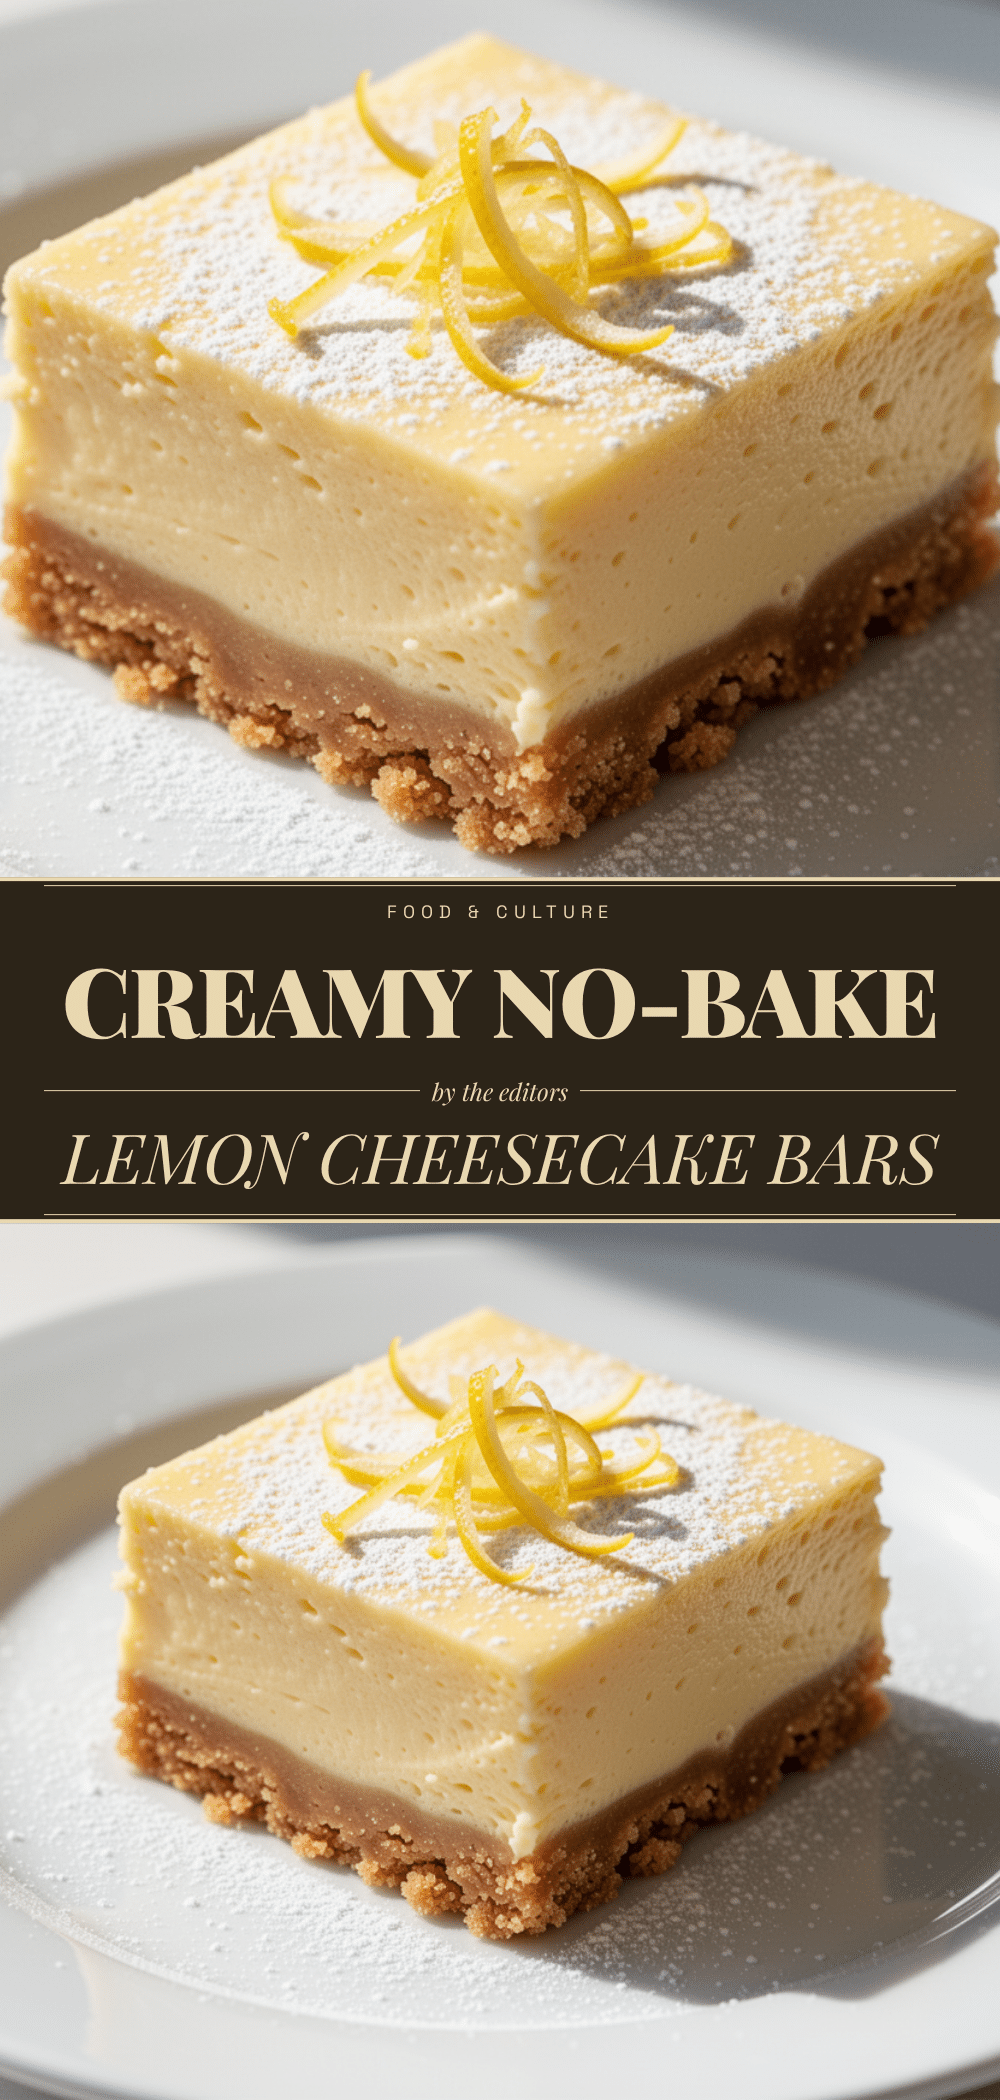

No-Bake Lemon Cheesecake Bars
- Total Time: 4 hours 15 minutes
- Yield: 9 servings 1x
Description
A light, tangy, and ridiculously easy 5-ingredient dessert that requires no baking. Perfect for busy weeknights, potlucks, or when you want a fancy treat without the effort.
Ingredients
- 1 ½ cups (150g) graham crackers, crushed
- 6 tablespoons (85g) unsalted butter, melted
- 2 tablespoons (25g) granulated sugar
- 8 oz (225g) cream cheese, softened
- 1 cup (240ml) heavy cream, cold
- ¼ cup (60ml) fresh lemon juice
- 1 tablespoon lemon zest
- 1 cup (100g) confectioners’ sugar
- 1 teaspoon vanilla extract
- ½ cup (120ml) whipped cream, optional for topping
- Extra lemon zest and mint leaves for garnish
Instructions
- Line an 8×8 inch baking pan with parchment paper, leaving an overhang on the sides, and spray lightly with non-stick spray.
- Crush graham crackers into fine crumbs. In a medium bowl, mix crumbs with melted butter and sugar until it resembles wet sand. Press firmly into the bottom of the prepared pan using the bottom of a measuring cup.
- In a large bowl, whip cold heavy cream until stiff peaks form. Set aside.
- In a separate bowl, beat softened cream cheese until smooth. Add confectioners’ sugar, lemon juice, lemon zest, and vanilla. Beat until fully combined and creamy.
- Gently fold the whipped cream into the cream cheese mixture using a spatula until light and airy. Do not overmix.
- Pour the filling over the crust and smooth the top. Cover with plastic wrap or foil and refrigerate for at least 4 hours, preferably overnight.
- Remove from fridge, lift bars out using parchment overhang, and cut into 9 or 12 bars. Garnish with extra lemon zest and mint if desired.
Notes
Ensure cream cheese is softened to avoid lumps. Keep heavy cream cold for best whipping results. Press the crust firmly to prevent crumbling. For clean cuts, use a sharp knife and wipe it between slices. Can be frozen for up to 2 months.
- Prep Time: 15 minutes
- Cook Time: 0 minutes
- Category: Dessert
- Cuisine: American
Nutrition
- Serving Size: 1 bar
- Calories: 280
- Sugar: 22
- Sodium: 180
- Fat: 18
- Saturated Fat: 11
- Carbohydrates: 28
- Fiber: 1
- Protein: 4
Keywords: no-bake, lemon cheesecake, easy dessert, 5-ingredient, summer dessert, crowd-pleaser, quick dessert


