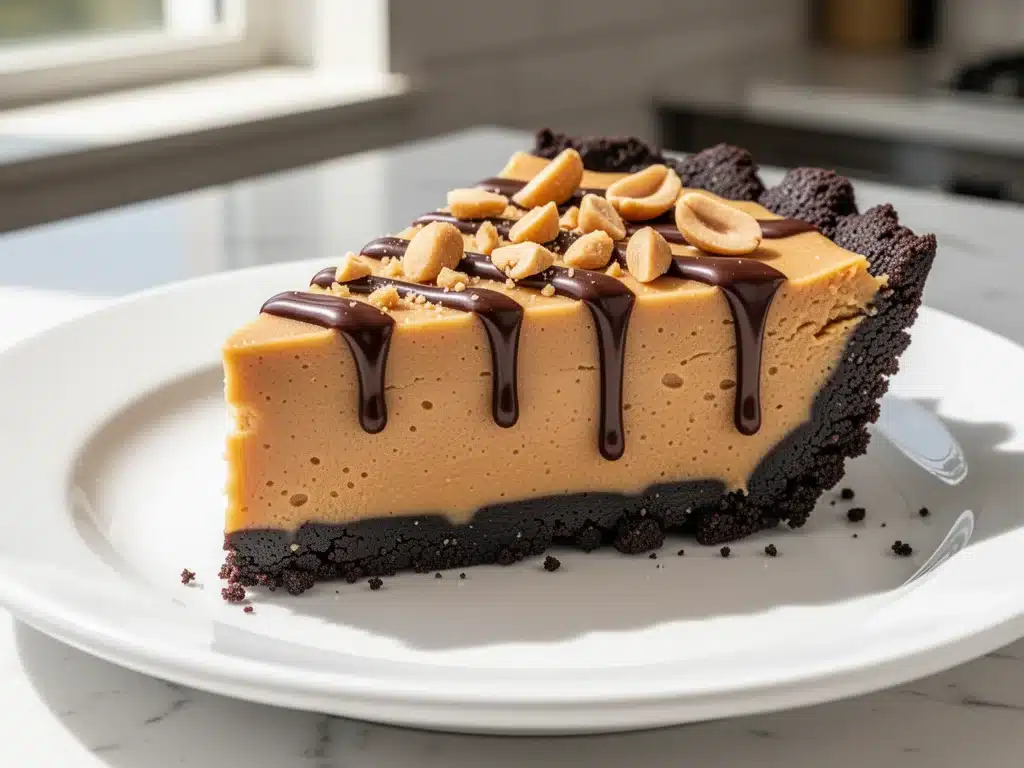
Last July, I stood in my kitchen sweating through a heatwave that made the air feel like a warm, wet towel. The oven was off-limits. The house was already at 82 degrees, and the idea of turning on the stove to boil water for pasta felt like a crime against humanity. I needed something cold, something sweet, and something that didn’t require standing over a hot stove. That’s when I decided to raid the freezer and the pantry for what I thought would be a sad, makeshift snack. It wasn’t. It became a dessert so good that my husband started asking, “Is it pie night?” even when it wasn’t.
This frozen peanut butter pie with chocolate cookie crust is the ultimate summer hack. It’s no-bake, which means zero heat in the house. It’s five ingredients, which means zero stress. And it tastes like a peanut butter cup exploded in the best way possible. I’ve made this pie at least twenty times since that sweltering July day, tweaking the ratios just enough to get the texture right—not too hard, not too soft, but perfectly creamy. It’s the kind of dessert that disappears before you can even take a photo, leaving you with an empty pie plate and a craving for more.
People always ask me why I bother with pie crusts when I can just buy them, or why I bother with pies at all when summer is for grilling burgers. But here’s the thing: there is nothing like a cold, creamy, chocolatey slice of pie on a hot afternoon. This frozen peanut butter pie hits that sweet spot between a dessert and a snack. It’s rich enough to feel indulgent but light enough to eat in two slices without feeling sluggish. I’ve served this to dinner guests who didn’t know it was no-bake, and they were convinced I’d spent hours in the kitchen. Spoiler: I spent ten minutes assembling it while the kids were napping.
If you’re looking for a dessert that saves you from the oven heat and saves your sanity, this is it. It’s frozen peanut butter pie perfection, and once you try it, you’ll wonder why you ever baked a pie in the summer.
Why You’ll Love This Recipe
There are about a dozen reasons I keep making this pie, but let’s be real—you probably only need three. This frozen peanut butter pie has completely changed our summer dessert game. It’s the only dessert I make when the thermometer hits 90 degrees, and it’s the one I request when I want something that feels fancy but takes zero effort.
- Zero Oven Required — Seriously. If you have a freezer and a mixing spoon, you can make this. I’ve made it in hotel rooms with mini-fridges when the AC was broken. It’s that easy.
- Five Ingredients Max — I’m not exaggerating. You need chocolate cookies, butter, peanut butter, cream cheese, and whipped topping. That’s it. No fancy gadgets, no hard-to-find ingredients, no complex techniques.
- Make-Ahead Magic — This pie actually gets better the longer it sits. I usually make it the night before a party, so I’m not stressed the day of. It holds up in the freezer for days, which is perfect for last-minute guests.
- Crowd-Pleasing Texture — It’s creamy but firm. It slices cleanly. It doesn’t melt into a puddle on your plate within five minutes (unlike some other no-bakes). The chocolate cookie crust stays crunchy until the very last bite.
- Budget-Friendly — You probably have most of this in your pantry or freezer already. A box of Oreos, a tub of Cool Whip, a block of cream cheese, and a jar of peanut butter. It costs less than $10 to make a whole pie.
This is my go-to when I need a dessert that just works. No complicated techniques, no weird ingredients, just reliable, delicious food that makes everyone happy. And honestly? It tastes like a premium dessert from a high-end bakery, but made in my messy kitchen.
Ingredients You’ll Need
Here’s the best part: you probably have most of this already. This frozen peanut butter pie relies on pantry staples and freezer basics. I’m particular about two things here: the peanut butter and the cookies. But don’t worry, I’ll tell you exactly what works and what to avoid.
For the Crust
Chocolate Sandwich Cookies (24-28 cookies) — I use Oreos because they’re readily available and the cream filling helps bind the crust. But if you’re a fan of Double Stuf, go for it. You’ll need about 24 regular cookies or 20 Double Stuf. The key is to get them into a fine crumb. If you’re lazy, you can put them in a food processor, but I usually just crush them in a bag with a rolling pin. It’s therapeutic.
Unsalted Butter (6 tablespoons / 85g) — Melted. This is what holds the crust together. I prefer unsalted so I can control the sweetness, but salted works if you reduce the sugar elsewhere (which there isn’t any in this recipe, so go ahead and use salted if that’s what you have).
For the Filling
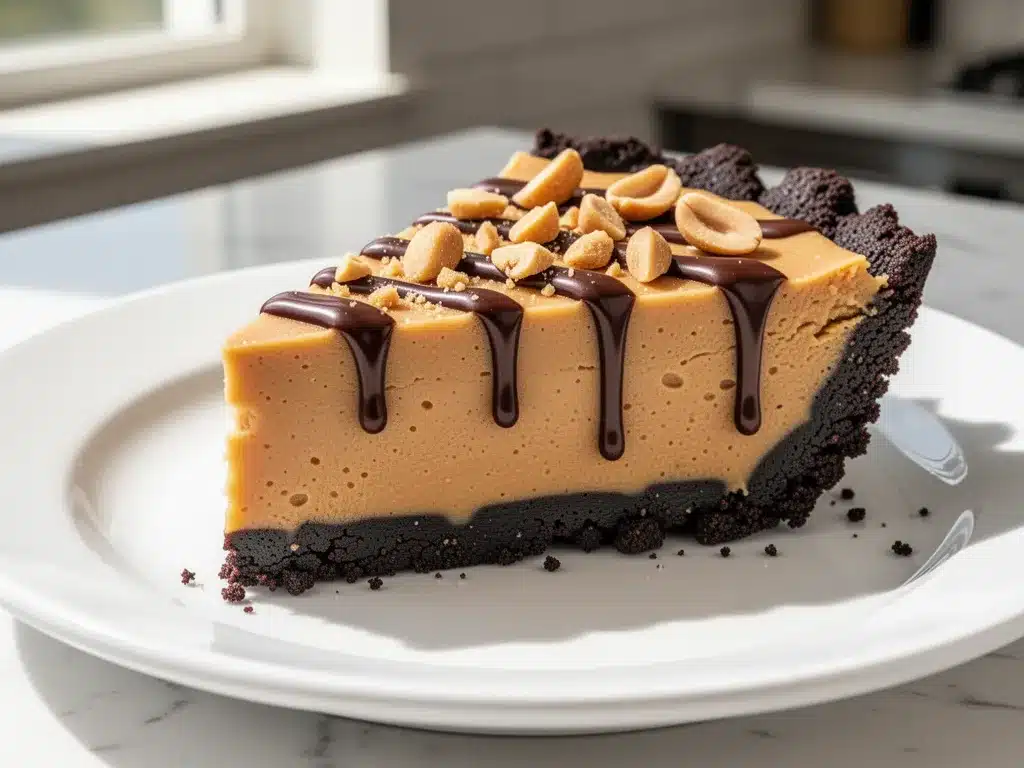
Cream Cheese (16 oz / 450g) — Full-fat block cream cheese. Not the spreadable kind in a tub. That has too much air and moisture, and your pie will be runny. Buy the brick, let it soften, and whip it. It makes a huge difference in texture.
Creamy Peanut Butter (1 cup / 250g) — This is non-negotiable. Do not use natural peanut butter where the oil separates. You need the processed kind like Jif or Skippy. The stabilizers in these help the pie set properly. If you use natural peanut butter, the oil will separate in the freezer, and you’ll get greasy spots. Trust me on this.
Whipped Topping (16 oz / 450g) — Thawed. I use Cool Whip because it’s consistent, but you can make your own whipped cream if you’re feeling fancy. If you use homemade whipped cream, you’ll need to stabilize it with a little gelatin or cornstarch, or it might weep. Thawed Cool Whip is the lazy, reliable choice.
Vanilla Extract (1 teaspoon) — Just a splash to round out the flavors. If you have almond extract, half vanilla and half almond is amazing here. It gives it that bakery-style peanut butter cup flavor.
Optional Garnish
Mini Chocolate Chips — Sprinkle on top for extra crunch and chocolate flavor. I always do this because it makes it look more professional.
Crushed Peanuts — A little extra crunch on top. Not everyone likes it, but I do.
Drizzle of Peanut Butter — Warm up a tablespoon of peanut butter and drizzle it over the top for a pretty finish. It’s not necessary, but it’s pretty.
Equipment Needed
You don’t need fancy equipment for this. Here’s what I actually use.
9-Inch Pie Dish — Glass or ceramic works best. I like glass because I can see the bottom crust to make sure it’s set. Metal pans work too, but glass is easier to clean.
Food Processor or Ziploc Bag — For crushing the cookies. A food processor is faster, but a rolling pin and a bag is cheaper and just as effective. I use the bag when I don’t want to wash a food processor bowl.
Mixing Bowls — Two medium bowls. One for the crust, one for the filling. I usually just use the same bowl for the crust if I’m washing it in between, but two is easier.
Electric Mixer — A hand mixer or stand mixer is best for whipping the cream cheese and peanut butter together. It takes the guesswork out of getting it smooth. I’ve tried doing it by hand, and it’s just not as smooth. Don’t suffer.
Spatula — A good rubber spatula for folding in the whipped topping. You need to be gentle so you don’t deflate the whipped cream. I use a wide, flexible spatula.
Freezer — Obviously. But make sure it’s set to 0°F or below. A colder freezer helps the pie set faster and keeps it firmer.
How to Make It: Step-by-Step
Alright, let’s make this! I’m walking you through exactly how I do it, including the little tricks I’ve picked up over the years.
Step 1: Prep Your Crust (5 minutes)
Start by crushing your chocolate cookies. If you’re using a food processor, pulse until they’re fine crumbs. If you’re using a bag, roll over them until they’re dusty. Don’t worry about tiny chunks; they’ll bake into the crust. In a medium bowl, mix the cookie crumbs with the melted butter. It should look like wet sand. If it’s too dry, add a little more butter. If it’s too wet, add more crumbs.
Step 2: Press the Crust (5 minutes)
Press the crumb mixture into the bottom and up the sides of your pie dish. Use the bottom of a glass to pack it down firmly. This is crucial. If you don’t pack it down, your crust will crumble when you slice it. I usually press it down, then use a spoon to smooth the top. Don’t worry about it being perfect; it’s a rustic pie.
Step 3: Whip the Cream Cheese (3 minutes)
In a large bowl, beat the softened cream cheese until it’s smooth and creamy. No lumps. If you’re using a hand mixer, this takes about 2-3 minutes. Scrape down the sides of the bowl. This step ensures your filling is silky, not grainy.
Step 4: Add the Peanut Butter (2 minutes)
Add the creamy peanut butter and vanilla extract to the cream cheese. Beat on medium speed until fully combined. The mixture should be smooth and uniform. If you see streaks of peanut butter, keep mixing. It takes a minute, but it’s worth it.
Step 5: Fold in the Whipped Topping (3 minutes)
This is the most important step for texture. Gently fold the thawed whipped topping into the peanut butter mixture. Use a spatula and cut down the middle, scrape the bottom, and fold over. Do this until it’s mostly combined, then stop. You want to keep the air in the whipped topping. If you overmix, you’ll deflate it, and the pie will be dense.
Step 6: Assemble and Freeze (4+ hours)
Pour the filling into the crust. Smooth the top with your spatula. If you’re adding mini chocolate chips or crushed peanuts, press them into the top now. Cover the pie with plastic wrap or foil. Freeze for at least 4 hours, but overnight is best. This allows the pie to set completely and the flavors to meld.
Step 7: Serve
Let the pie sit at room temperature for 5-10 minutes before slicing. This makes it easier to get clean slices. Use a sharp knife, wiping it between cuts. Serve with extra whipped cream or a drizzle of peanut butter if you’re feeling fancy.
Expert Tips & Tricks
Here’s everything I’ve learned from making this dozens of times. These tips will save you from my mistakes.
Softened Cream Cheese is Key — If your cream cheese is cold, it won’t mix smoothly with the peanut butter. You’ll get lumps. Take it out of the fridge 30 minutes before you start. If you forget, microwave it in 5-second bursts, stirring in between, until it’s soft.
Don’t Skip the Packing — I’ve made this pie with a loose crust, and it fell apart when I tried to slice it. Press that crust down hard. Use the bottom of a measuring cup to get it really tight.
Thaw the Whipped Topping Properly — If you thaw Cool Whip in the microwave, it can get soupy. Let it thaw in the fridge overnight. If you’re in a hurry, let it sit on the counter for 30 minutes. It should be soft but not liquid.
Use Peanut Butter with Stabilizers — As I mentioned, natural peanut butter will separate. Stick to the processed kind. If you’re allergic to peanuts, you can use sunflower seed butter, but the texture will be slightly different.
Store it Properly — Cover the pie tightly with plastic wrap, then foil. This prevents freezer burn and keeps it from absorbing other smells. My freezer smells like garlic and onions, and I don’t want my pie to taste like garlic.
Variations & Substitutions
Once you’ve nailed the basic version, here’s how you can mix it up. I’ve tried all of these.
Salted Caramel Version — Drizzle salted caramel sauce over the top before freezing. It adds a nice contrast to the sweet peanut butter.
Chocolate Chip Cookie Crust — Use chocolate chip cookies instead of Oreos. It’s a different vibe, but still delicious.
Protein-Packed — Use a protein peanut butter and Greek yogurt instead of some of the whipped topping. It’s lighter, but still tasty. My gym-buddy friend likes this version.
Vegan Option — Use vegan cream cheese, vegan whipped topping, and vegan cookies. It works surprisingly well. I’ve made this for my vegan sister, and she loved it.
Gluten-Free — Use gluten-free chocolate cookies. Just make sure they crush well. Some gluten-free cookies are too crumbly, so test a small batch first.
Serving & Storage
I usually serve this straight from the freezer, but let it sit for a few minutes to soften slightly. It’s best eaten within 3 days of making it, but it can last up to a week in the freezer.
Side Dishes: This pie is rich, so I usually serve it with something light. A simple green salad or some fresh berries cut through the richness. I also like it with a cup of black coffee.
Storage: Store in the freezer in an airtight container. If you don’t have a pie container, cover it tightly with plastic wrap and foil. It will last for up to 2 weeks, but it rarely lasts that long.
Reheating: You don’t reheat this pie. You let it thaw slightly. If it’s too hard to slice, let it sit on the counter for 10 minutes.
Meal Prep: Make this the night before a party. It’s the ultimate make-ahead dessert. Just pull it out of the freezer an hour before guests arrive.
Nutrition Information
I’m not a nutritionist, but here’s the breakdown if you’re tracking. Keep in mind, this is a rich dessert, so portions matter.
Per Serving (based on 8 servings):
- Calories: 380
- Protein: 6g
- Carbs: 35g
- Fiber: 2g
- Sugar: 25g
- Fat: 24g
- Saturated Fat: 10g
- Cholesterol: 30mg
- Sodium: 250mg
What’s Good: It has some protein from the cream cheese and peanut butter. It’s also a good source of calcium.
What to Know: It’s high in sugar and fat, which is expected for a peanut butter pie. If you’re watching your intake, stick to one slice.
My Take: Look, this is a dessert. It’s meant to be indulgent. I don’t feel guilty eating a slice of this. It’s homemade, so at least I know what’s in it. When I want to make it lighter, I use less whipped topping and more cream cheese, but it’s not the same. Usually? I just eat a reasonable portion and enjoy it.
Final Thoughts
So that’s my frozen peanut butter pie with chocolate cookie crust! I’ve probably talked your ear off at this point, but when you make a recipe this often, you have a lot to say about it.
This has saved summer dinners more times than I can count. It’s my answer to “what’s for dessert” when I’m tired, don’t want to bake, and still want something that tastes really good. My kids are happy, my husband’s happy, and I’m happy because I’m not stressed about cooking.
Make it yours! Try different add-ins, swap in your favorite cookies, adjust the peanut butter (though creamy is always better in my opinion). The best recipes are the ones you adapt to your family’s tastes.
If you make this, drop a comment and let me know what you think! I love hearing how recipes turn out in your kitchen. And if something doesn’t work, tell me that too—I’m here to help troubleshoot.
Happy cooking! And I hope your kitchen smells half as good as mine does right now.
Frequently Asked Questions
Can I use homemade whipped cream instead of Cool Whip?
You can, but you’ll need to stabilize it. Homemade whipped cream can weep and separate in the freezer. If you want to use it, add 1 tablespoon of powdered gelatin dissolved in 2 tablespoons of cold water, then whip it into the cream. Or, use a stabilizer like whipped cream topping mix. It’s an extra step, but it works.
Why is my pie too soft?
Usually, this means it didn’t freeze long enough. Let it freeze for at least 6 hours, or overnight. If it’s still too soft, your whipped topping might have been too runny when you mixed it. Make sure it’s thawed but not liquid.
Can I freeze this pie for longer than a week?
Yes, but the texture might suffer. After 2 weeks, the crust might get soggy, and the filling might develop ice crystals. For best quality, eat it within 2 weeks.
Can I use crunchy peanut butter?
You can, but it changes the texture. The pie will have chunks of peanut in it. Some people love this, but I prefer creamy for a smoother, more consistent texture. If you use crunchy, chop the peanuts smaller so they’re not too big.
Can I make this in a springform pan?
Yes, a springform pan works great. It makes it easier to remove the pie from the pan. Just make sure the bottom is sealed well so the crust doesn’t leak out.
Can I substitute almond butter for peanut butter?
Yes, almond butter works well. It has a slightly different flavor, but it’s still delicious. Just make sure it’s a smooth, processed almond butter, not natural almond butter.
How do I slice this pie cleanly?
Use a sharp knife. Dip it in hot water and wipe it dry between cuts. This helps the knife glide through the frozen filling without crushing the crust.
Pin This Recipe!
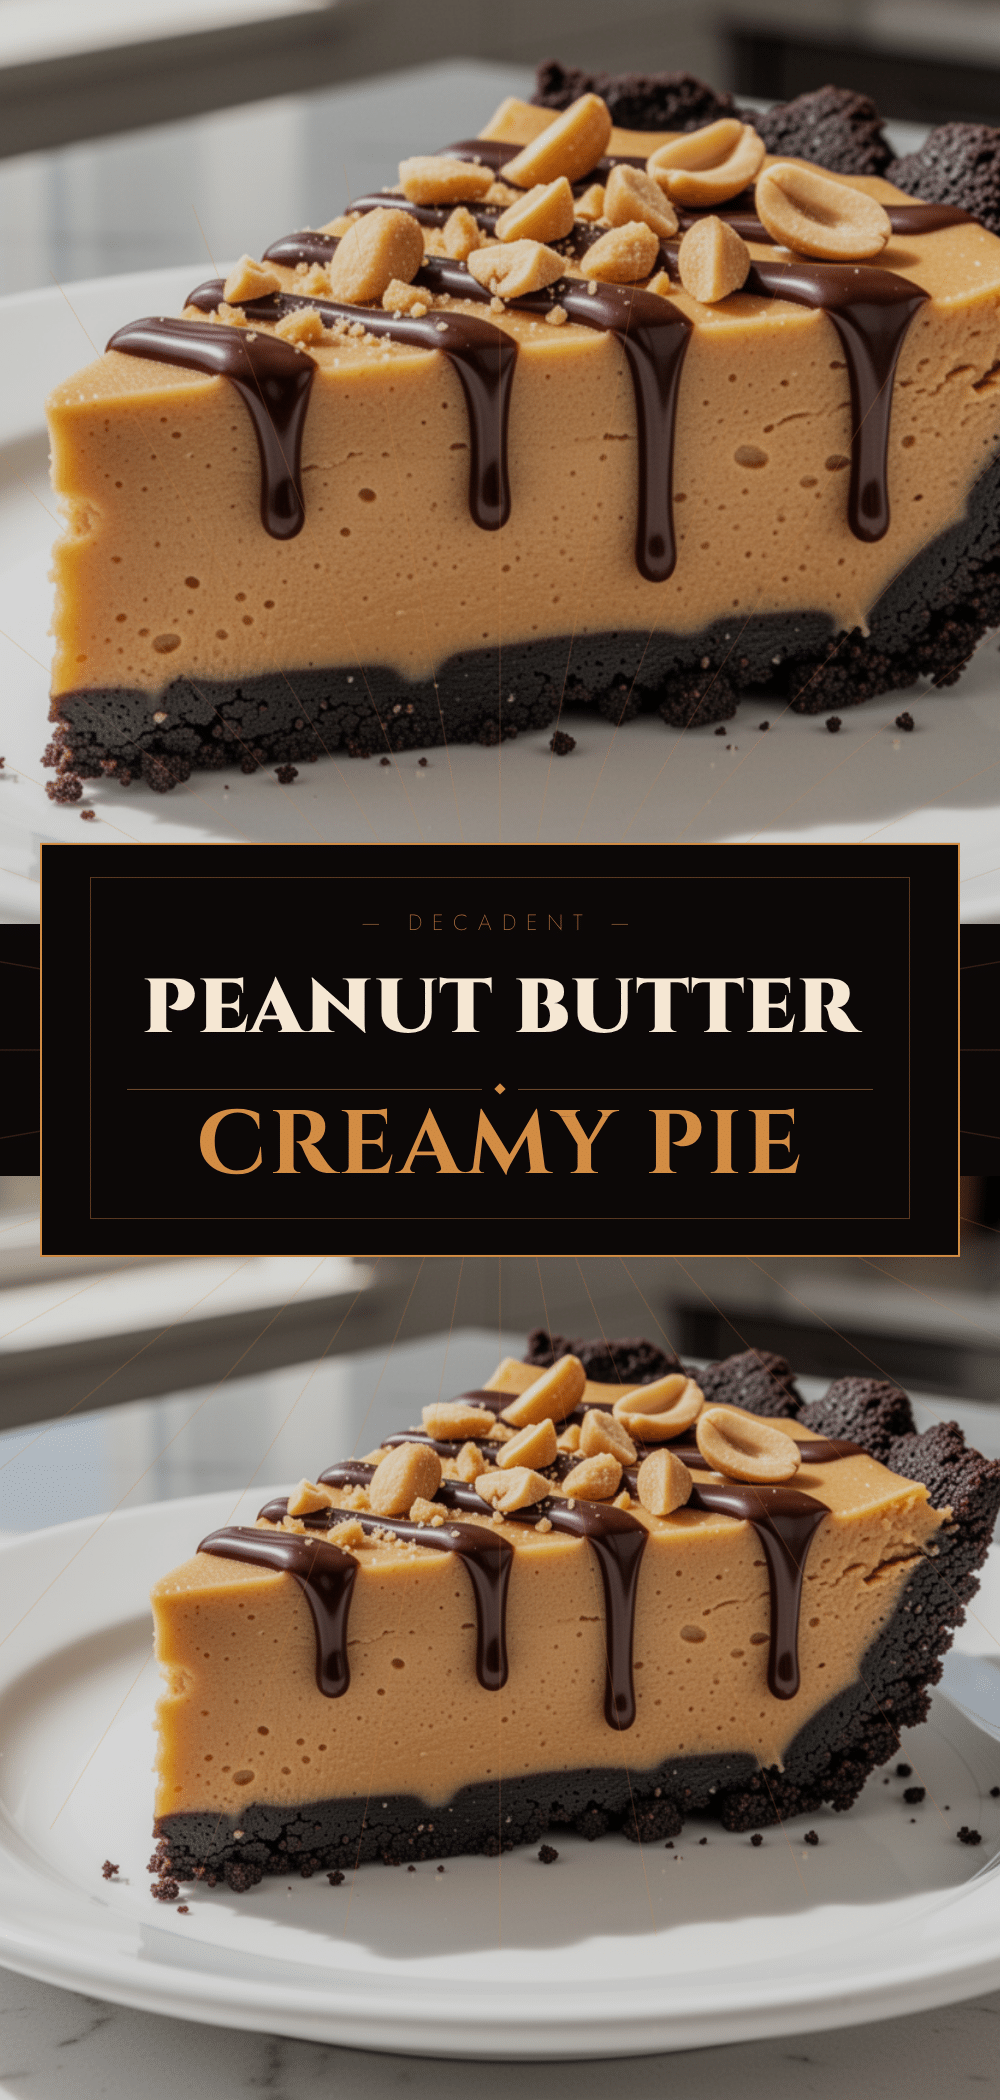
Frozen Peanut Butter Pie: Easy 5-Ingredient No-Bake Summer Dessert
- Total Time: 4 hours 15 minutes
- Yield: 8 servings 1x
Description
This no-bake frozen peanut butter pie features a crunchy chocolate cookie crust and a creamy, rich filling made with cream cheese, peanut butter, and whipped topping. It’s the perfect summer dessert that requires zero oven heat and comes together in minutes.
Ingredients
- 24–28 chocolate sandwich cookies (such as Oreos)
- 6 tablespoons unsalted butter, melted
- 16 oz full-fat block cream cheese, softened
- 1 cup creamy peanut butter (processed type like Jif or Skippy)
- 16 oz whipped topping (such as Cool Whip), thawed
- 1 teaspoon vanilla extract
- Optional: Mini chocolate chips for garnish
- Optional: Crushed peanuts for garnish
- Optional: Drizzle of warm peanut butter for garnish
Instructions
- Crush the chocolate cookies into fine crumbs using a food processor or by placing them in a Ziploc bag and crushing with a rolling pin.
- In a medium bowl, mix the cookie crumbs with the melted butter until the mixture resembles wet sand.
- Press the crumb mixture firmly into the bottom and up the sides of a 9-inch pie dish. Use the bottom of a glass to pack it down tightly.
- In a large bowl, beat the softened cream cheese with an electric mixer until smooth and creamy.
- Add the creamy peanut butter and vanilla extract to the cream cheese. Beat on medium speed until fully combined and smooth.
- Gently fold the thawed whipped topping into the peanut butter mixture using a spatula. Cut down the middle, scrape the bottom, and fold over until mostly combined, being careful not to deflate the topping.
- Pour the filling into the prepared crust and smooth the top with a spatula.
- If using, press mini chocolate chips or crushed peanuts into the top of the filling.
- Cover the pie with plastic wrap or foil and freeze for at least 4 hours, or overnight, until completely set.
- Before serving, let the pie sit at room temperature for 5-10 minutes to soften slightly for easier slicing.
- Slice with a sharp knife, wiping the blade between cuts, and serve.
Notes
Ensure the cream cheese is softened to avoid lumps. Do not use natural peanut butter as the oil will separate in the freezer. Thaw whipped topping in the fridge overnight or on the counter for 30 minutes; do not microwave as it can become soupy. Store covered tightly with plastic wrap and foil to prevent freezer burn. Best eaten within 3 days, but lasts up to 2 weeks in the freezer.
- Prep Time: 15 minutes
- Cook Time: 0 minutes
- Category: Dessert
- Cuisine: American
Nutrition
- Serving Size: 1 slice
- Calories: 380
- Sugar: 25
- Sodium: 250
- Fat: 24
- Saturated Fat: 10
- Carbohydrates: 35
- Fiber: 2
- Protein: 6
Keywords: no-bake dessert, frozen pie, peanut butter pie, summer dessert, easy dessert, chocolate cookie crust, make-ahead dessert


