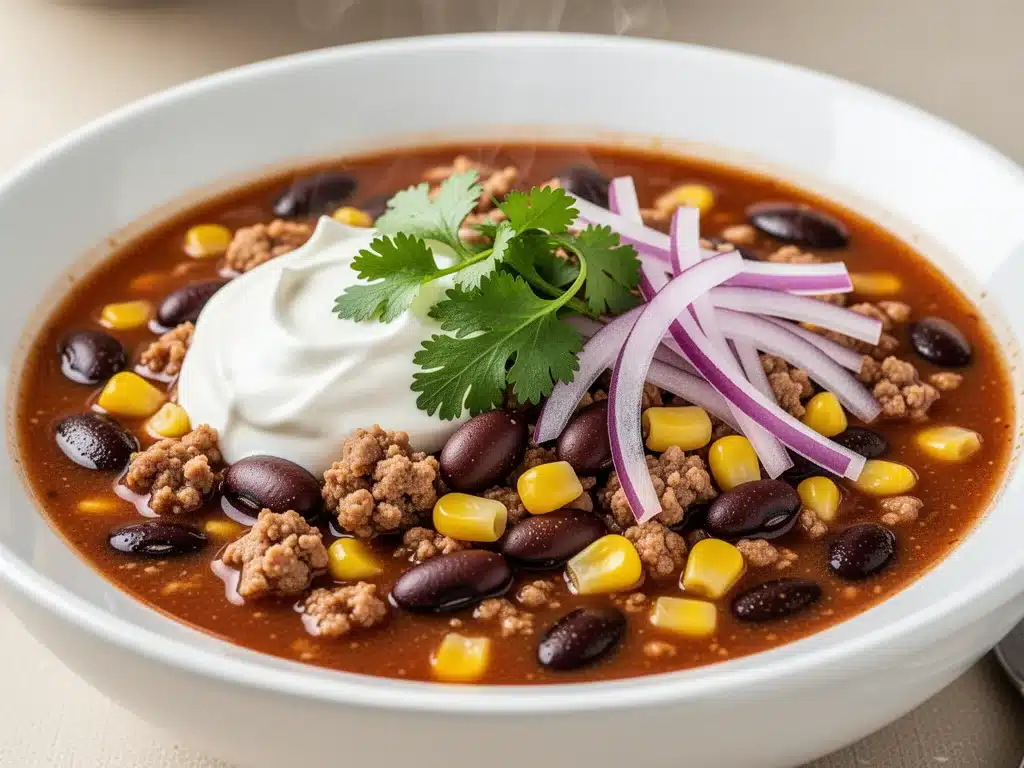
Last November, I was sitting on my kitchen floor because my toddler had decided that 6:00 PM was the perfect time for a meltdown. I was exhausted, the house was quiet except for the crying, and my brain was completely fried. I didn’t have the energy to chop, sauté, or think. I just wanted something warm, something that smelled like comfort, and something that wouldn’t take three hours to make. I reached into the pantry and pulled out a bag of ground turkey, a can of black beans, and a bag of frozen corn I’d bought on a whim two weeks prior.
I threw it all into the pot. No fancy technique. No hour-long simmer. Just a quick 30-minute simmer while I rocked my kid to sleep. When I tasted it twenty minutes later, I stopped. It wasn’t just “okay.” It was rich, smoky, and deeply flavorful. The turkey stayed tender, the beans were creamy without being mushy, and the corn added this unexpected sweetness that balanced the heat perfectly. I served it to my husband the next day, and he asked if I’d been to a restaurant. I had to tell him the truth: it was a happy accident born out of sheer exhaustion.
That accidental pot of healthy turkey chili with black beans and corn has been a staple in our house ever since. I’ve made it over 40 times in the last two years. I’ve tweaked it, tested it, and refined it until it’s foolproof. It’s the kind of meal that feels like a hug in a bowl but keeps you feeling light and energized afterward. It’s my go-to answer for “what’s for dinner?” when I’m tired but still want to feed my family something that actually tastes homemade. And honestly? It’s better than the heavy, greasy chili you’d get at most places.
There’s something magical about how quickly this comes together. You don’t need to marinate meat or roast vegetables for an hour. You just chop, dump, simmer, and eat. It’s the definition of a weeknight winner. If you’re looking for a recipe that’s nutritious, budget-friendly, and genuinely delicious, you’re in the right place. Let me show you how to make it.
Why You’ll Love This Healthy Turkey Chili
I’ve tried just about every chili recipe out there, from the super lean turkey versions to the heavy beef-and-lard classics. This healthy turkey chili strikes the perfect balance. It’s not a diet food—it tastes indulgent. But it’s packed with protein and fiber, so you don’t feel sluggish afterward. Here’s why this recipe has earned a permanent spot in my rotation:
It’s Actually Quick — Seriously, 30 minutes from start to finish. I know, I know, you’re thinking, “Chili needs time to simmer.” But with ground turkey and canned beans, you skip the long braise. I make this on Tuesday nights when I get home at 6:30 and need dinner on the table by 7:00. It just works.
It’s Packed with Protein and Fiber — The combination of lean ground turkey and black beans gives you a serious protein punch without the saturated fat of beef. The fiber from the beans keeps you full for hours. I used to feel bloated and sleepy after eating heavy chili, but this version leaves me feeling satisfied and ready to tackle the evening.
It’s a Flavor Powerhouse — Don’t let the word “healthy” fool you. This isn’t bland diet food. I use a robust blend of cumin, smoked paprika, and chili powder. The smoked paprika is the secret weapon—it adds that deep, smoky flavor you usually only get from slow-cooking beef for hours. It’s complex, warm, and deeply satisfying.
It’s Super Budget-Friendly — Ground turkey is often cheaper than beef, especially when you’re watching for sales. Canned beans and frozen corn are pantry staples that cost pennies. You can feed four people for under $20. That’s a lot of comfort for the price.
It Freezes Like a Dream — I make a double batch every time. Half goes into the freezer, and half goes into our bellies. Three months later, when I’m tired again, I pull it out, and it tastes just as good as the first time. It’s my emergency meal prep hack.
This chili has saved me from takeout more times than I can count. It’s reliable, delicious, and makes my kitchen smell amazing without taking over my entire evening. It’s the kind of recipe that makes you feel like a good cook, even when you’re running on empty.
Ingredients You’ll Need
Here’s the best part: you probably have most of this already. This healthy turkey chili with black beans and corn relies on simple, accessible ingredients. I’m particular about a few things, so let’s break down what you need and why.
Lean Ground Turkey (1.5 pounds / 680g) — I use 93/7 lean ground turkey. It’s juicy enough but not greasy. Avoid the 99% lean stuff unless you like dry meat—it’ll be like eating sawdust. If you can’t find ground turkey, ground chicken works too, but turkey has a better flavor profile for chili.
Yellow Onion (1 large, diced / about 250g) — This is your flavor base. Yellow onions are sweet when cooked and savory when raw. Dice them small so they melt into the sauce. I use a food processor if I’m being lazy, but hand-dicing gives better texture.
Garlic (4 cloves, minced / about 2 tablespoons) — Fresh garlic only. Jarred garlic has a metallic taste that ruins the subtle smokiness of this chili. Mince it finely so it distributes evenly. If you’re really short on time, you can use 2 teaspoons of garlic powder, but fresh is worth the extra minute.
Red Bell Pepper (1 large, diced / about 150g) — Adds sweetness and color. I like red peppers because they’re the sweetest, but green peppers work if you want a sharper, more traditional chili taste. Dice it to match the size of the onion.
Canned Black Beans (2 cans, 15 oz each / 425g each) — Rinse and drain them thoroughly. This removes the excess sodium and the starchy liquid that can make the chili gloopy. I use 2 cans for a hearty texture. If you prefer less bean-heavy chili, use 1 can.
Frozen Corn (1 cup / 150g) — Frozen corn is actually better than fresh here. It’s picked at peak ripeness and frozen immediately, so it’s sweet and tender. Fresh corn can be tough and stringy in chili. If you only have canned, drain it well, but frozen is my preference.
Crushed Tomatoes (1 can, 14.5 oz / 410g) — I use crushed tomatoes because they break down easily and create a thick sauce. Diced tomatoes work too, but they leave bigger chunks. If you only have diced, just simmer a bit longer to break them down.
Tomato Paste (2 tablespoons) — This adds depth and richness. It’s not just liquid; it’s concentrated tomato flavor. Stir it in with the spices before adding the liquid to “bloom” the flavors.
Chicken Broth (1 cup / 240ml) — Low-sodium is best so you can control the salt. Vegetable broth works for a vegetarian version, but chicken adds a nice savory backbone.
Chili Powder (2 tablespoons) — Use a good quality blend like McCormick or a local brand. Don’t use just cumin or just cayenne. Chili powder is a blend that includes cumin, garlic, oregano, and other spices. It’s the heart of the flavor.
Smoked Paprika (1 teaspoon) — This is the secret ingredient. It adds that smoky, bacon-like flavor without the meat. It’s essential for making this healthy turkey chili taste complex and rich.
Cumin (1 teaspoon) — Ground cumin adds warmth and earthiness. It’s a classic chili spice that pairs perfectly with the turkey.
Salt and Black Pepper — To taste. I usually start with 1 teaspoon of salt and ½ teaspoon of pepper, then adjust at the end.
Optional Toppings — Sour cream, shredded cheese, fresh cilantro, lime wedges, and sliced jalapeños. These add freshness and contrast to the rich chili.
Equipment Needed
You don’t need fancy equipment for this. Here’s what I actually use:
Large Dutch Oven or Heavy-Bottomed Pot — I use a 6-quart Dutch oven. It needs to be big enough to hold all the ingredients without overflowing. A heavy bottom prevents scorching, which is crucial for the tomato base.
Wooden Spoon — For stirring. It doesn’t scratch the pot and distributes heat well. Silicone works too.
Sharp Knife and Cutting Board — For chopping the onion, pepper, and garlic. A sharp knife makes chopping faster and safer.
Can Opener — Basic, but essential. I keep a manual one on the counter because it’s faster than the electric one.
Measuring Spoons — For the spices. I use a set of nested spoons for easy access.
Colander — For rinsing the beans and corn. If you don’t have one, you can drain them through a sieve or even just pour them into a bowl of water and scoop them out.
You don’t need a pressure cooker or slow cooker for this, though you can adapt it. The stovetop method is fastest and gives you the most control.
How to Make It: Step-by-Step
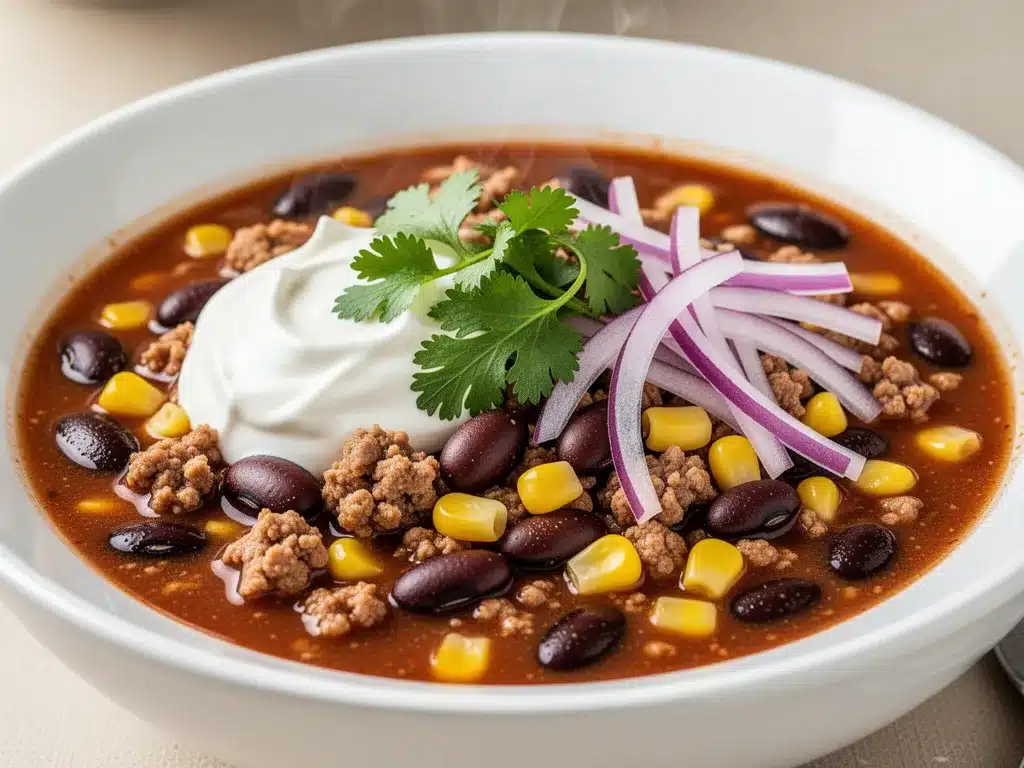
Alright, let’s make this! I’m walking you through exactly how I do it, including the little tricks I’ve picked up. It’s simple, but the order matters.
Step 1: Prep Your Ingredients (5 minutes)
Before you start cooking, dice your onion, red pepper, and mince your garlic. Rinse and drain your black beans. Measure out your spices. I know it seems fussy, but it makes the actual cooking way less stressful. Once you start cooking, things move fast, and you don’t want to be chopping while your onions are burning.
Step 2: Sauté the Aromatics (3-4 minutes)
Heat 1 tablespoon of olive oil in your Dutch oven over medium heat. Add the diced onion and red pepper. Cook for 3-4 minutes, stirring occasionally, until the onion is translucent and soft. Add the minced garlic and cook for 1 more minute. The garlic should smell fragrant but not brown. If it starts to brown, lower the heat immediately—browned garlic tastes bitter.
Step 3: Brown the Turkey (5-7 minutes)
Add the ground turkey to the pot. Break it up with your wooden spoon as it cooks. Cook for 5-7 minutes, stirring frequently, until the turkey is no longer pink. Drain any excess grease if there’s a lot of it. You want the turkey to be browned and crumbly, not steamed in its own juices.
Step 4: Bloom the Spices (1 minute)
Add the chili powder, smoked paprika, cumin, salt, and black pepper. Stir constantly for 1 minute. This step “blooms” the spices in the oil, releasing their essential oils and deepening the flavor. It’s a small step that makes a huge difference. You’ll smell the aroma change—it becomes richer and more complex.
Step 5: Add the Liquids and Simmer (15-20 minutes)
Stir in the tomato paste, crushed tomatoes, and chicken broth. Scrape up any browned bits from the bottom of the pot—those are flavor bombs. Bring the mixture to a boil, then reduce the heat to low. Cover partially and let it simmer for 15-20 minutes. This allows the flavors to meld and the sauce to thicken. Stir occasionally to prevent sticking.
Step 6: Add the Beans and Corn (5 minutes)
Stir in the rinsed black beans and frozen corn. Simmer for another 5 minutes, uncovered. The corn will heat through, and the beans will get hot. The sauce should be thick and hearty, not watery. If it’s too thick, add a splash of water or broth. If it’s too thin, simmer for a few more minutes.
Step 7: Taste and Adjust
Taste the chili. Add more salt if needed. If it’s too spicy, add a pinch of sugar or a dollop of sour cream. If it’s too bland, add a squeeze of lime juice or more chili powder. Adjust to your preference.
Step 8: Serve
Ladle into bowls and top with your favorite toppings. Serve with crusty bread or tortilla chips. Enjoy!
Expert Tips & Tricks
Here’s everything I’ve learned from making this dozens of times. These tips will save you from my mistakes.
Rinse Your Beans Thoroughly
I can’t stress this enough. Rinsing the beans removes the starchy liquid that can make the chili slimy. It also reduces sodium. Use a colander and run cold water over them until the bubbles stop. It takes 30 seconds and makes a big difference.
Bloom Your Spices
Adding spices to the hot oil before adding liquids unlocks their flavor. It’s a basic cooking technique, but people often skip it. Stir the spices with the onions and turkey for that extra minute. Your chili will taste deeper and more aromatic.
Don’t Skip the Smoked Paprika
Regular paprika is sweet and mild. Smoked paprika is, well, smoky. It mimics the flavor of long-simmered beef chili. It’s the key to making this healthy turkey chili taste rich and complex. Don’t substitute it with regular paprika unless you have to.
Simmer to Thicken
Chili tastes better when it’s thick. If your chili is too watery after adding the broth, simmer it uncovered for an extra 10 minutes. The liquid will evaporate, and the sauce will concentrate. This step is crucial for texture.
Make It Ahead
Chili always tastes better the next day. The flavors have time to meld and deepen. Make it the night before, let it cool, and refrigerate. Reheat gently on the stove. It’s even better than fresh.
Variations & Substitutions
Once you’ve nailed the basic version, here’s how you can mix it up. I’ve tried all of these.
Vegetarian Version
Swap the turkey for an extra can of black beans or add cooked lentils. Use vegetable broth instead of chicken broth. The flavor is still great, just different.
Spicy Version
Add a diced jalapeño with the onions. Use hot chili powder or add red pepper flakes. Serve with sliced jalapeños on top.
Green Chili Version
Swap the crushed tomatoes for 2 cans of diced green chiles. Add 1 cup of salsa verde. It’s tangy and fresh.
Slow Cooker Version
Brown the turkey and onions in a pan first, then add everything to the slow cooker. Cook on low for 6-8 hours or high for 3-4 hours. The flavor melds even more.
Instant Pot Version
Use the sauté function for browning, then pressure cook for 10 minutes. Quick release and add beans and corn. Simmer for 5 minutes to thicken.
Serving & Storage
How to Serve:
I usually serve this straight from the pot. Top with sour cream, shredded cheddar cheese, fresh cilantro, and a squeeze of lime. The cool creaminess of the sour cream balances the heat. Serve with cornbread or tortilla chips.
Storage:
Store in an airtight container in the fridge for up to 5 days. The flavors get better each day. Reheat gently on the stove, adding a splash of water if it’s too thick.
Freezing:
This chili freezes beautifully. Let it cool completely, then transfer to freezer bags or containers. Freeze for up to 3 months. Thaw in the fridge overnight and reheat on the stove. It tastes just as good as fresh.
Reheating:
Reheat on the stove over low heat, stirring occasionally. If using the microwave, heat in 1-minute intervals, stirring between. Add a splash of water or broth to loosen the sauce.
Nutrition Information
I’m not a nutritionist, but here’s the breakdown if you’re tracking. This is per serving (based on 6 servings).
- Calories: 320
- Protein: 28g
- Carbs: 25g
- Fiber: 8g
- Sugar: 6g
- Fat: 12g
- Saturated Fat: 3g
- Cholesterol: 70mg
- Sodium: 600mg
This healthy turkey chili is high in protein and fiber, making it a filling and nutritious meal. It’s lower in saturated fat than traditional beef chili. You can adjust the sodium by using low-sodium broth and beans.
Final Thoughts
So that’s my go-to healthy turkey chili! I’ve probably talked your ear off at this point, but when you make a recipe this often, you have a lot to say about it. This has saved weeknight dinners more times than I can count. It’s my answer to “what’s for dinner?” when I’m tired, don’t want takeout, and still want something that tastes really good. My kids are happy, my husband’s happy, and I’m happy because I’m not stressed about cooking.
Make it yours! Try different toppings, swap in your favorite vegetables, adjust the heat. The best recipes are the ones you adapt to your family’s tastes. If you make this, drop a comment and let me know what you think! I love hearing how recipes turn out in your kitchen. And if something doesn’t work, tell me that too—I’m here to help troubleshoot.
Happy cooking! And I hope your kitchen smells half as good as mine does right now.
Frequently Asked Questions
Can I use ground beef instead of turkey?
Yes, you can. Use 80/20 ground beef for more flavor, but it will be higher in fat. Brown it well and drain the grease. The cooking time is the same.
Why did my chili turn out watery?
Usually, this means you didn’t simmer it long enough. Let it simmer uncovered for an extra 10-15 minutes to thicken. Also, make sure you drained your beans and didn’t add too much broth.
Can I make this in a slow cooker?
Yes. Brown the turkey and onions first, then add everything to the slow cooker. Cook on low for 6-8 hours. Add the beans and corn in the last hour.
How long does this chili last in the fridge?
Up to 5 days in an airtight container. The flavors get better each day.
Can I freeze this chili?
Yes, it freezes well for up to 3 months. Thaw in the fridge and reheat on the stove.
What toppings go well with this chili?
Sour cream, shredded cheese, fresh cilantro, lime wedges, avocado slices, and diced onions. Any of these add freshness and contrast.
Can I use dry beans instead of canned?
Yes, but you’ll need to cook them first. Soak 1.5 cups of dry beans overnight, then cook until tender. This takes extra time, so canned is easier for weeknights.
Pin This Recipe!
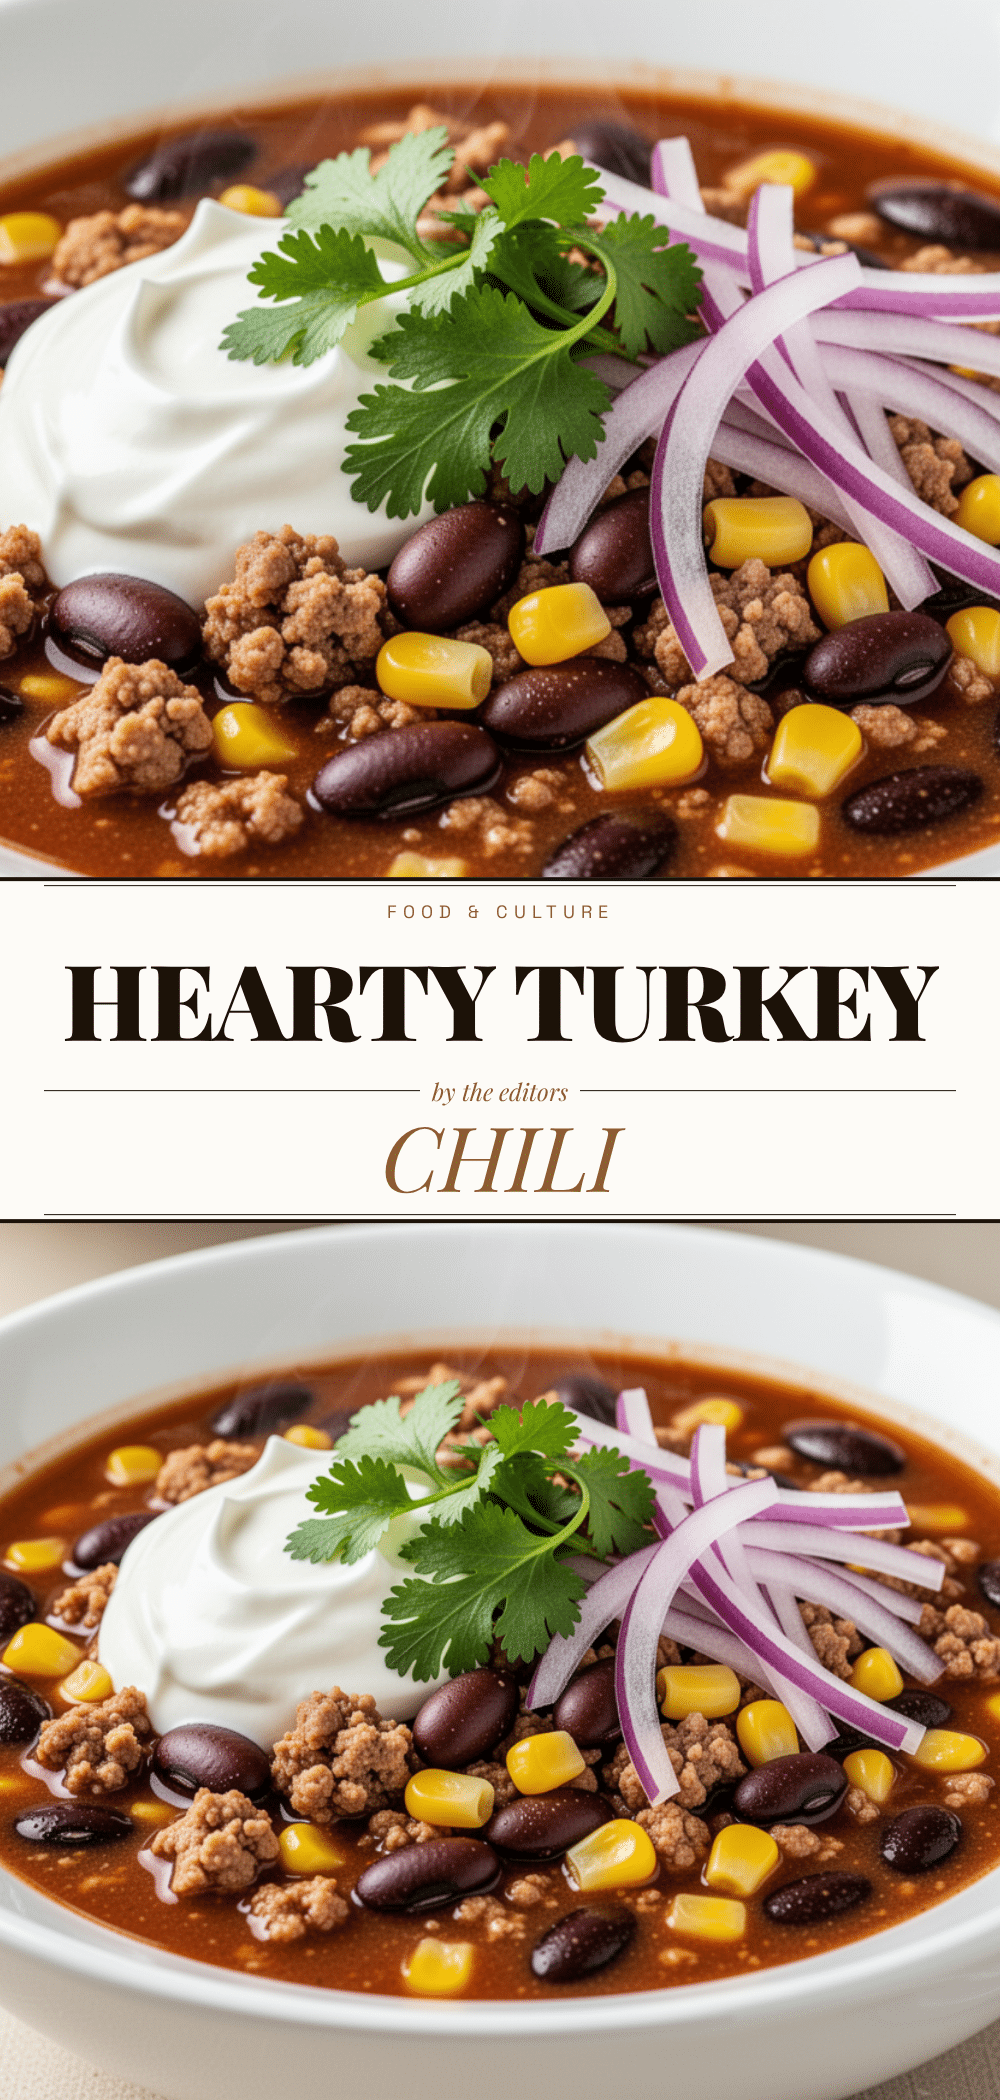

Healthy Turkey Chili: Best Easy 30-Minute Weeknight Dinner
- Total Time: 30 minutes
- Yield: 6 servings 1x
Description
A quick, flavorful, and nutritious turkey chili with black beans and corn that comes together in just 30 minutes. It’s packed with protein and fiber, budget-friendly, and perfect for busy weeknights.
Ingredients
- 1.5 pounds lean ground turkey (93/7)
- 1 large yellow onion, diced
- 4 cloves garlic, minced
- 1 large red bell pepper, diced
- 2 cans (15 oz each) black beans, rinsed and drained
- 1 cup frozen corn
- 1 can (14.5 oz) crushed tomatoes
- 2 tablespoons tomato paste
- 1 cup low-sodium chicken broth
- 2 tablespoons chili powder
- 1 teaspoon smoked paprika
- 1 teaspoon ground cumin
- 1 teaspoon salt (or to taste)
- 1/2 teaspoon black pepper (or to taste)
- 1 tablespoon olive oil
Instructions
- Prep ingredients: Dice the onion, red pepper, and mince the garlic. Rinse and drain the black beans. Measure out spices.
- Heat olive oil in a large Dutch oven or heavy-bottomed pot over medium heat. Add the diced onion and red pepper; cook for 3-4 minutes until soft and translucent.
- Add the minced garlic and cook for 1 minute until fragrant, being careful not to let it brown.
- Add the ground turkey to the pot. Break it up with a wooden spoon and cook for 5-7 minutes until browned and no longer pink. Drain excess grease if necessary.
- Add chili powder, smoked paprika, cumin, salt, and black pepper. Stir constantly for 1 minute to bloom the spices.
- Stir in the tomato paste, crushed tomatoes, and chicken broth. Scrape up any browned bits from the bottom of the pot.
- Bring the mixture to a boil, then reduce heat to low. Cover partially and simmer for 15-20 minutes to allow flavors to meld and sauce to thicken.
- Stir in the rinsed black beans and frozen corn. Simmer uncovered for another 5 minutes until heated through.
- Taste and adjust seasoning with more salt, pepper, or lime juice as needed.
- Serve hot with optional toppings like sour cream, shredded cheese, fresh cilantro, or lime wedges.
Notes
Rinse beans thoroughly to remove starchy liquid and reduce sodium. Bloom spices in oil for deeper flavor. Chili tastes better the next day as flavors meld. Can be frozen for up to 3 months. For a vegetarian version, swap turkey for extra beans and use vegetable broth.
- Prep Time: 5 minutes
- Cook Time: 25 minutes
- Category: Main Course
- Cuisine: American
Nutrition
- Serving Size: 1 bowl
- Calories: 320
- Sugar: 6
- Sodium: 600
- Fat: 12
- Saturated Fat: 3
- Carbohydrates: 25
- Fiber: 8
- Protein: 28
Keywords: healthy turkey chili, easy weeknight dinner, 30 minute meals, ground turkey recipes, black bean chili, high protein meals, budget friendly dinner


