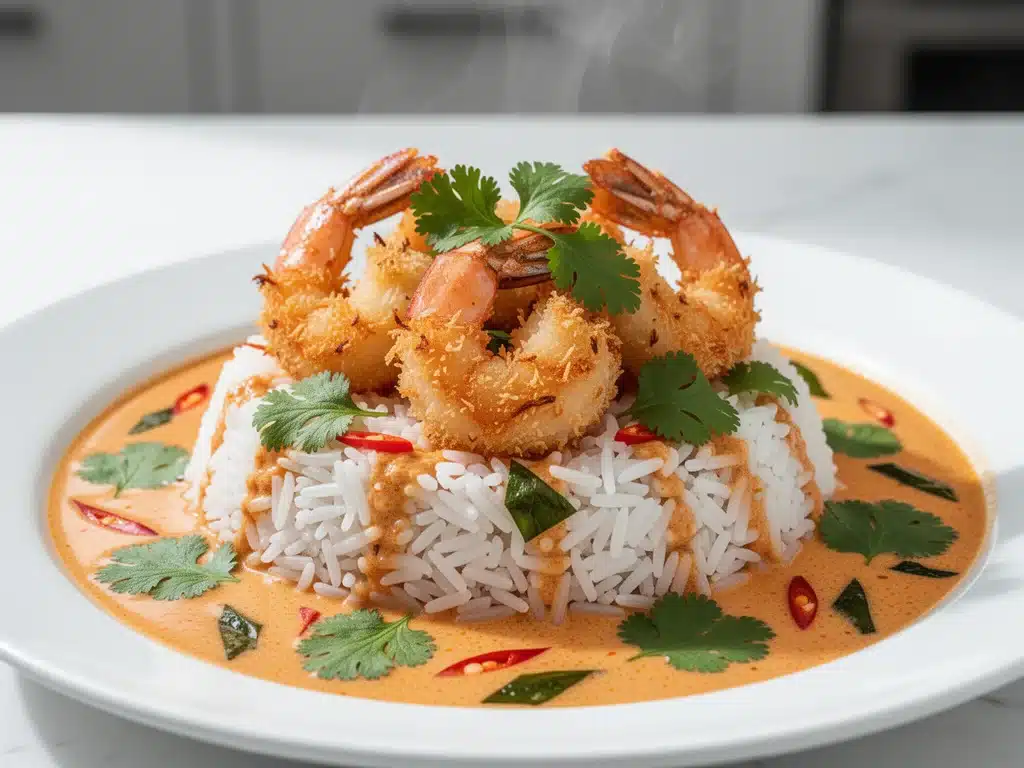
It was 7:15 PM on a Tuesday. I was standing in my kitchen, staring into the fridge like it held the secrets to the universe, when my husband walked in holding a bag of takeout menus. We had been through the usual routine: the “what do you want for dinner” dance, the collective shrug, and the inevitable sigh of exhaustion. I didn’t want Thai food again. I didn’t want pizza. I wanted something that felt like a hug but didn’t involve washing a mountain of dishes or spending an hour chopping vegetables.
That was the night I finally perfected this coconut shrimp curry. I’ve made it at least twenty times since then. Twenty. Because once you realize you can have restaurant-quality Thai curry on your table in 30 minutes using frozen shrimp, the magic is real. It’s creamy, it’s spicy in just the right way, and it smells like a vacation every time it simmers on the stove.
The best part? It’s forgiving. If you burn your rice (we’ve all been there), the curry is so good you’ll eat it anyway. If you run out of fresh cilantro, skip it—the coconut milk carries the flavor on its own. This coconut shrimp curry with jasmine rice and cilantro has completely changed our weeknight dynamic. No more stress. No more takeout guilt. Just good, warm, comforting food that makes everyone at the table happy.
Why You’ll Love This Coconut Shrimp Curry
There are about ten reasons I keep coming back to this recipe, but here are the big ones that make it a permanent fixture in our dinner rotation.
Lightning Fast — Seriously, if you can chop a onion and boil water, you can make this. From the moment I pull the frozen shrimp out of the freezer to the moment I plate it, it takes 30 minutes. I make this on weeknights when I get home at 7pm, tired and hungry. It’s faster than waiting for a delivery driver.
One-Pot Wonder — Okay, technically you need a pot for the rice, but the curry itself cooks in one skillet. That means less cleanup. As a parent of two, less cleanup is basically a religious experience. I love that I can throw everything in one pan and stir it until it’s done.
Pantry-Friendly — You probably have 80% of these ingredients already. Coconut milk, curry paste, shrimp, rice, basic spices. I keep red curry paste in my pantry at all times now, just so I can make this on a whim. It’s the ultimate “I have no idea what to eat but I have food” meal.
Customizable Heat — Love it spicy? Add more paste. Hate heat? Use mild paste and add a pinch of sugar. I’ve served this to my spice-tolerant brother and my mild-palate niece, and we both adjusted it to our tastes. It’s versatile without being complicated.
Makes Amazing Leftovers — Actually tastes better the next day. The flavors meld together overnight, and I deliberately make extra for lunch throughout the week. It reheats beautifully in the microwave, which is rare for curry dishes.
Budget-Smart — Feeds 4-6 people for under $20. That’s less than one meal at a Thai restaurant, and it’s way healthier. Shrimp is affordable if you buy frozen, and coconut milk is cheap. This is comfort food that doesn’t break the bank.
This is my go-to when I need dinner to just work. No complicated techniques, no weird ingredients, just reliable, delicious food that makes everyone happy.
Ingredients You’ll Need
Here’s the best part: you probably have most of this already. I’m particular about three ingredients here—the curry paste, the coconut milk, and the shrimp—but the rest is basic pantry stuff.
For the Curry Base
Red Curry Paste (2-3 tablespoons / 30-45g) — This is your flavor powerhouse. I use Maesri brand because it’s pure and doesn’t have weird fillers. If you want it spicy, use 3 tablespoons. For mild, stick to 2. Don’t buy the cheap stuff in the oil; look for the paste in the Asian aisle.
Coconut Milk (2 cans / 400ml each) — Full-fat is non-negotiable here. Light coconut milk makes a watery, sad curry. You want that rich, creamy texture. Shake the cans before opening, or stir the solids into the liquid. I like Thai Kitchen brand because it’s consistent.
Frozen Shrimp (1.5 pounds / 700g, peeled and deveined) — Frozen is actually better for weeknights because it’s pre-peeled and ready to go. Thaw them under cold water for 10 minutes while you prep the veggies. Fresh shrimp works too, but it’s more expensive and you have to do the peeling yourself.
Chicken Broth (1 cup / 240ml) — Low-sodium is best so you can control the salt. Vegetable broth works for a vegetarian version. I use Bone Broth when I have it for extra protein, but regular broth is fine.
Onion (1 medium, diced / about 150g) — Yellow onion is standard, but red onion has a nice pop of color. White onion is too sharp for this. Dice it small so it cooks quickly and melts into the sauce.
Garlic (4 cloves, minced / about 2 tablespoons) — Fresh only. No jarred garlic in this curry. It adds a sharpness that jarred stuff just doesn’t have. Mince it finely so it disperses evenly.
Ginger (1 tablespoon, fresh grated) — Fresh ginger is key. It adds warmth and brightness. If you’re being lazy, use 1 teaspoon ground ginger, but fresh tastes way better. Grate it with a microplane for best results.
For the Flavor Balance
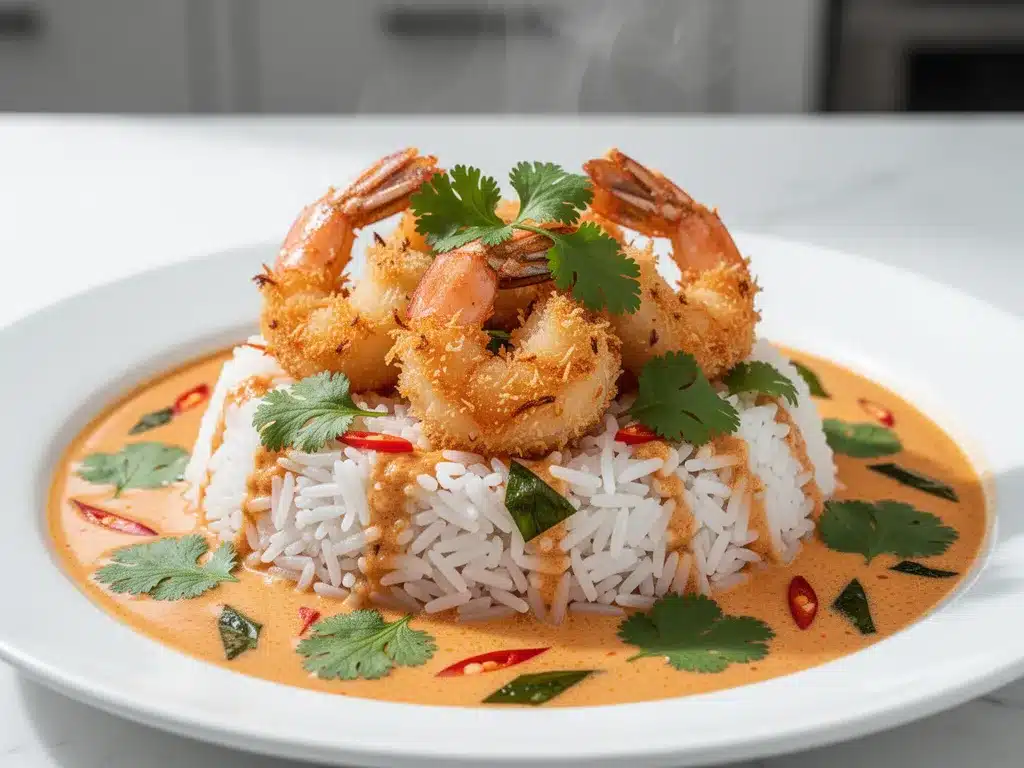
Fish Sauce (2 tablespoons / 30ml) — This is the secret umami bomb. It smells strong in the bottle but tastes savory and salty in the curry. Don’t skip it. If you hate fish sauce, use soy sauce, but you’ll lose some depth.
Palm Sugar (2 teaspoons / 10g) — Or brown sugar. It balances the heat of the curry paste. Palm sugar has a caramel-like flavor, but dark brown sugar works in a pinch.
Lime Juice (2 tablespoons / 30ml) — Freshly squeezed. Bottled lime juice tastes metallic and flat. Squeeze two limes right before serving. It brightens up the heavy coconut milk.
For the Veggies & Garnish
Red Bell Pepper (1 medium, sliced) — Adds sweetness and color. I like the crunch. Green bell pepper works too, but red is sweeter and looks prettier.
Bamboo Shoots (½ cup / 75g, sliced) — Optional, but traditional. They add a nice texture. If you can’t find them, skip them or use zucchini strips.
Jasmine Rice (2 cups / 400g uncooked) — Essential. The fragrant, sticky rice is the perfect vehicle for the curry. I use Thai Hom Mali rice, but any jasmine rice works.
Fresh Cilantro (½ cup, chopped) — Garnish. It adds freshness and color. If you’re one of those people who thinks cilantro tastes like soap, skip it or use basil. But honestly, it’s worth trying.
Sesame Seeds (1 tablespoon) — For crunch and presentation. Toast them in a dry pan for 2 minutes before sprinkling. Looks fancy, takes no effort.
Equipment Needed
You don’t need fancy equipment for this. Here’s what I actually use.
Large Skillet or Wok — I use a 12-inch stainless steel skillet. It needs to be big enough to toss the shrimp and veggies without spilling. A wok is traditional, but a deep skillet works just as well. I prefer stainless steel because it browns the shrimp better.
Rice Cooker or Medium Pot — I use a rice cooker for convenience. Set it and forget it. If you’re using a pot, bring water to a boil, add rice, reduce to low, cover, and simmer for 15 minutes. Don’t peek.
Sharp Knife — For chopping onion, garlic, and peppers. Dull knives make you cry more—learned this the hard way. A good chef’s knife is worth the investment.
Cutting Board — Any size works. I use plastic for easier cleanup. Wooden boards are nice but require more maintenance.
Wooden Spoon or Silicone Spatula — For stirring. Silicone works well for scraping the bottom of the pan. Don’t use metal on non-stick surfaces.
Microplane or Grater — For fresh ginger. A microplane makes it easy to get fine shreds. If you don’t have one, just mince the ginger as finely as possible.
Lime Squeezer — Optional but nice. Makes extracting juice easier. Or just squeeze by hand—it takes 30 seconds.
Measuring Cups and Spoons — Pretty standard stuff. Dollar store versions work fine. Accuracy matters less here than with baking, but still helps.
Colander — For rinsing rice and draining shrimp. Or just use a fine-mesh sieve.
How to Make It: Step-by-Step
Alright, let’s make this! I’m walking you through exactly how I do it, including the little tricks I’ve picked up.
Step 1: Prep Your Ingredients (5-8 minutes)
Before you start cooking, chop your onion, mince your garlic, and slice your bell pepper. I know it seems fussy, but it makes the actual cooking way less stressful. Thaw the shrimp under cold water and pat them dry with paper towels. Dry shrimp sear better; wet shrimp steam. Grate your ginger. Once you start cooking, things move fast.
Step 2: Cook the Jasmine Rice (15-20 minutes)
Rinse the rice until the water runs clear. This removes excess starch and prevents gummy rice. Add rice and water to your rice cooker or pot. If using a pot, use a 1:1.5 ratio of rice to water. Bring to a boil, cover, reduce to low, and simmer for 15 minutes. Remove from heat and let it sit, covered, for 5 minutes. Fluff with a fork. This should be done before you start the curry so everything is ready at the same time.
Step 3: Bloom the Curry Paste (2-3 minutes)
Heat 1 tablespoon of coconut cream (the thick part from the top of the can) in your large skillet over medium heat. Add the red curry paste and stir constantly for 2-3 minutes. This “blooms” the spices and releases their aromas. It will smell incredible. If it starts to stick, add a splash of broth. Don’t rush this step; it builds the flavor base.
Step 4: Build the Sauce (5-6 minutes)
Add the diced onion and cook for 2 minutes until softened. Add the garlic and ginger, and cook for 1 minute until fragrant. Pour in the rest of the coconut milk and the chicken broth. Stir well to combine. Add the fish sauce and palm sugar. Bring to a gentle simmer. Let it cook for 3-4 minutes to let the flavors meld. The sauce should be creamy and aromatic.
Step 5: Add the Veggies and Shrimp (5-7 minutes)
Add the sliced bell pepper and bamboo shoots. Cook for 2 minutes. Then add the thawed, dried shrimp. Cook for 3-4 minutes, stirring occasionally, until the shrimp are pink and opaque. Shrimp cook very quickly, so don’t overcook them or they’ll get rubbery. The sauce will thicken slightly as the shrimp release moisture.
Step 6: Finish and Serve (2 minutes)
Remove the skillet from heat. Stir in the lime juice. Taste and adjust seasoning. Need more salt? Add a splash of fish sauce. Too spicy? Add a bit more sugar or coconut milk. Too thin? Let it simmer for another minute. Serve immediately over the fluffy jasmine rice.
Step 7: Garnish
Sprinkle with fresh cilantro and toasted sesame seeds. Add a wedge of lime on the side for squeezing. The fresh herbs and citrus cut through the richness of the coconut milk perfectly.
Total Time: About 30 minutes (10 minutes active, 20 minutes mostly hands-off)
Expert Tips & Tricks
Here’s everything I’ve learned from making this dozens of times. These tips will save you from my mistakes.
Pat the Shrimp Dry
This is the #1 tip. Wet shrimp steam instead of sear. If you skip drying them, the curry will be watery and the shrimp won’t have that nice texture. I use paper towels and press them dry. It takes 30 seconds but makes a huge difference.
Bloom the Paste
Don’t just dump the curry paste into the liquid. Cook it in the coconut cream first. It unlocks the flavors and removes the raw taste. I’ve tried skipping this, and the curry just tastes flat. Trust me.
Balance the Flavors
Thai food is about balance: salty, sweet, sour, spicy. Taste your sauce before adding shrimp. It should be slightly too salty and slightly too sweet. The lime juice and shrimp will balance it out. If it’s bland, add more fish sauce or sugar.
Don’t Overcook the Shrimp
Shrimp cook in 3-4 minutes. If you leave them in too long, they turn into rubber bands. Add them at the end and pull them off the heat as soon as they turn pink. They’ll continue cooking in the residual heat.
Use Full-Fat Coconut Milk
Light coconut milk makes a thin, watery curry. You want the rich, creamy texture that only full-fat provides. Shake the can well before opening, or stir the solids into the liquid.
Common Mistakes (and how to avoid them)
Mistake: Sauce is too spicy
Fix: Add more coconut milk or a pinch of sugar. If it’s already spicy, stir in a dollop of coconut cream. It calms the heat down.
Mistake: Rice is gummy
Fix: Rinse the rice thoroughly before cooking. And don’t lift the lid while it’s simmering. Steam is key.
Mistake: Curry tastes flat
Fix: It needs acid. Add more lime juice. Or it needs salt. Add more fish sauce. Thai food lives on these balances.
Variations & Substitutions
Once you’ve nailed the basic version, here’s how you can mix it up. I’ve tried all of these.
Vegetarian Version
Swap shrimp for firm tofu or chickpeas. Use vegetable broth instead of chicken broth. Skip the fish sauce and use soy sauce or tamari. It’s just as creamy and delicious.
Chicken Curry
Use diced chicken breast or thighs instead of shrimp. Cook the chicken first, then remove it, make the sauce, and add it back at the end. Chicken takes longer to cook, so slice it thin.
Green Curry
Swap red curry paste for green. Green is usually spicier and has more herbal notes from basil and lemongrass. I love this version in the summer.
Yellow Curry
Yellow curry is milder and has turmeric and coriander notes. It’s great for kids or people who don’t like heat. Add potatoes and carrots for a heartier meal.
Gluten-Free
Curry paste is usually gluten-free, but check the label. Use tamari instead of fish sauce if you’re sensitive. Everything else is naturally gluten-free.
Dairy-Free
Coconut milk is dairy-free, so this recipe is already compliant. Just make sure your curry paste doesn’t contain dairy (rare, but possible).
Serving & Storage
I usually serve this straight from the skillet at the dinner table—it looks rustic and stays warm. But here are other ways I’ve enjoyed it:
Side Dishes:
- Crispy spring rolls (from the freezer section)
- Cucumber salad with vinegar and sugar
- Steamed broccoli with sesame oil
- Fresh lettuce wraps for scooping
Toppings Bar:
When I have guests, I put out: extra cilantro, crushed peanuts, lime wedges, chili flakes, and sliced green onions. Everyone customizes their bowl.
Wine Pairing:
Not a wine expert, but my wine-snob friend says Riesling or Gewürztraminer works great with this. Something off-dry to balance the spice.
Storage Instructions:
Refrigerator:
Store in an airtight container for up to 4 days. The sauce will thicken in the fridge—totally normal.
Reheating:
Best method: Add to a skillet with a splash of coconut milk or broth over low heat. Stir until heated through and creamy again. Microwave method: Heat in 30-second intervals, stirring between. Add a splash of liquid if it’s too thick.
Freezing:
This freezes well! The coconut milk might separate slightly, but it comes back together when reheated. Freeze in portions for up to 3 months. Thaw in the fridge overnight and reheat gently.
Meal Prep:
Make the curry on Sunday, store in the fridge. Reheat each night with fresh rice. Takes 5 minutes and tastes way better than fully reheated pasta.
Nutrition Information
I’m not a nutritionist, but here’s the breakdown if you’re tracking.
Per Serving (based on 4 servings, including rice):
- Calories: 480
- Protein: 35g
- Carbs: 45g
- Fiber: 3g
- Sugar: 6g
- Fat: 22g
- Saturated Fat: 14g
- Cholesterol: 180mg
- Sodium: 650mg
- Calcium: 120mg
What’s Good:
- High protein from shrimp
- Healthy fats from coconut milk
- Rich in antioxidants from spices
- Can add more veggies to boost nutrition
What to Know:
- Higher in calories from coconut milk
- Contains shellfish
- Moderate sodium (use low-sodium broth to reduce)
My Take:
Look, this is comfort food with coconut milk. It’s not a diet recipe. But it’s way better than takeout, costs less, and I know exactly what’s in it. When I want to make it lighter, I use light coconut milk and load up on vegetables. But usually? I just eat a reasonable portion and enjoy it.
Final Thoughts
So that’s my go-to coconut shrimp curry! I’ve probably talked your ear off at this point, but when you make a recipe this often, you have a lot to say about it.
This has saved weeknight dinners more times than I can count. It’s my answer to “what’s for dinner” when I’m tired, don’t want takeout, and still want something that tastes really good. My kids are happy, my husband’s happy, and I’m happy because I’m not stressed about cooking.
Make it yours! Try different add-ins, swap in your favorite vegetables, adjust the spice level. The best recipes are the ones you adapt to your family’s tastes.
If you make this, drop a comment and let me know what you think! I love hearing how recipes turn out in your kitchen. And if something doesn’t work, tell me that too—I’m here to help troubleshoot.
Happy cooking! And I hope your kitchen smells half as good as mine does right now.
Frequently Asked Questions
Can I use fresh curry paste instead of store-bought?
You can make your own, but it takes time and specific ingredients like galangal and kaffir lime leaves. For weeknights, store-bought is the way to go. Maesri or Royal Kitchen brands are reliable. If you make your own, start with 1 tablespoon and taste—it’s usually more potent.
Why is my curry too spicy?
Curry pastes vary in heat. If it’s too spicy, add more coconut milk or a pinch of sugar. Coconut fat helps neutralize the capsaicin. You can also add a dollop of coconut cream. Don’t add water—it dilutes the flavor without reducing the heat.
Can I make this ahead for a dinner party?
Yes! Make the curry up to 2 days ahead and store in the fridge. Reheat gently and add fresh lime juice before serving. Cook the rice fresh right before serving. The shrimp will absorb more sauce, so you might need to add a splash of broth when reheating.
Why did my coconut milk separate?
Coconut milk can separate if boiled too vigorously or if it’s low-fat. Keep the heat at a gentle simmer, not a rolling boil. If it separates, just stir it back in. It’s safe to eat, just looks messy. Using full-fat coconut milk helps prevent this.
Can I use canned coconut milk or only carton?
You must use canned coconut milk. Carton coconut milk is a beverage with added thickeners and less fat. It won’t make a creamy curry. Look for “full-fat” or “unsweetened” on the can.
How do I reheat leftovers without it getting dry?
Add a splash of coconut milk or broth to a skillet, add your leftover curry, and heat gently over low heat, stirring frequently. The extra liquid brings back the creamy texture. Microwave sort of works but tends to dry it out. If you do microwave, definitely add a splash of liquid first and heat in short bursts, stirring between.
Can I double this recipe?
Absolutely! Double everything and use your biggest pot. The cooking times stay the same. I do this when I’m meal-prepping or feeding a crowd. Just make sure your skillet is big enough for the sauce—you might need to use two pans or a very large skillet.
Pin This Recipe!
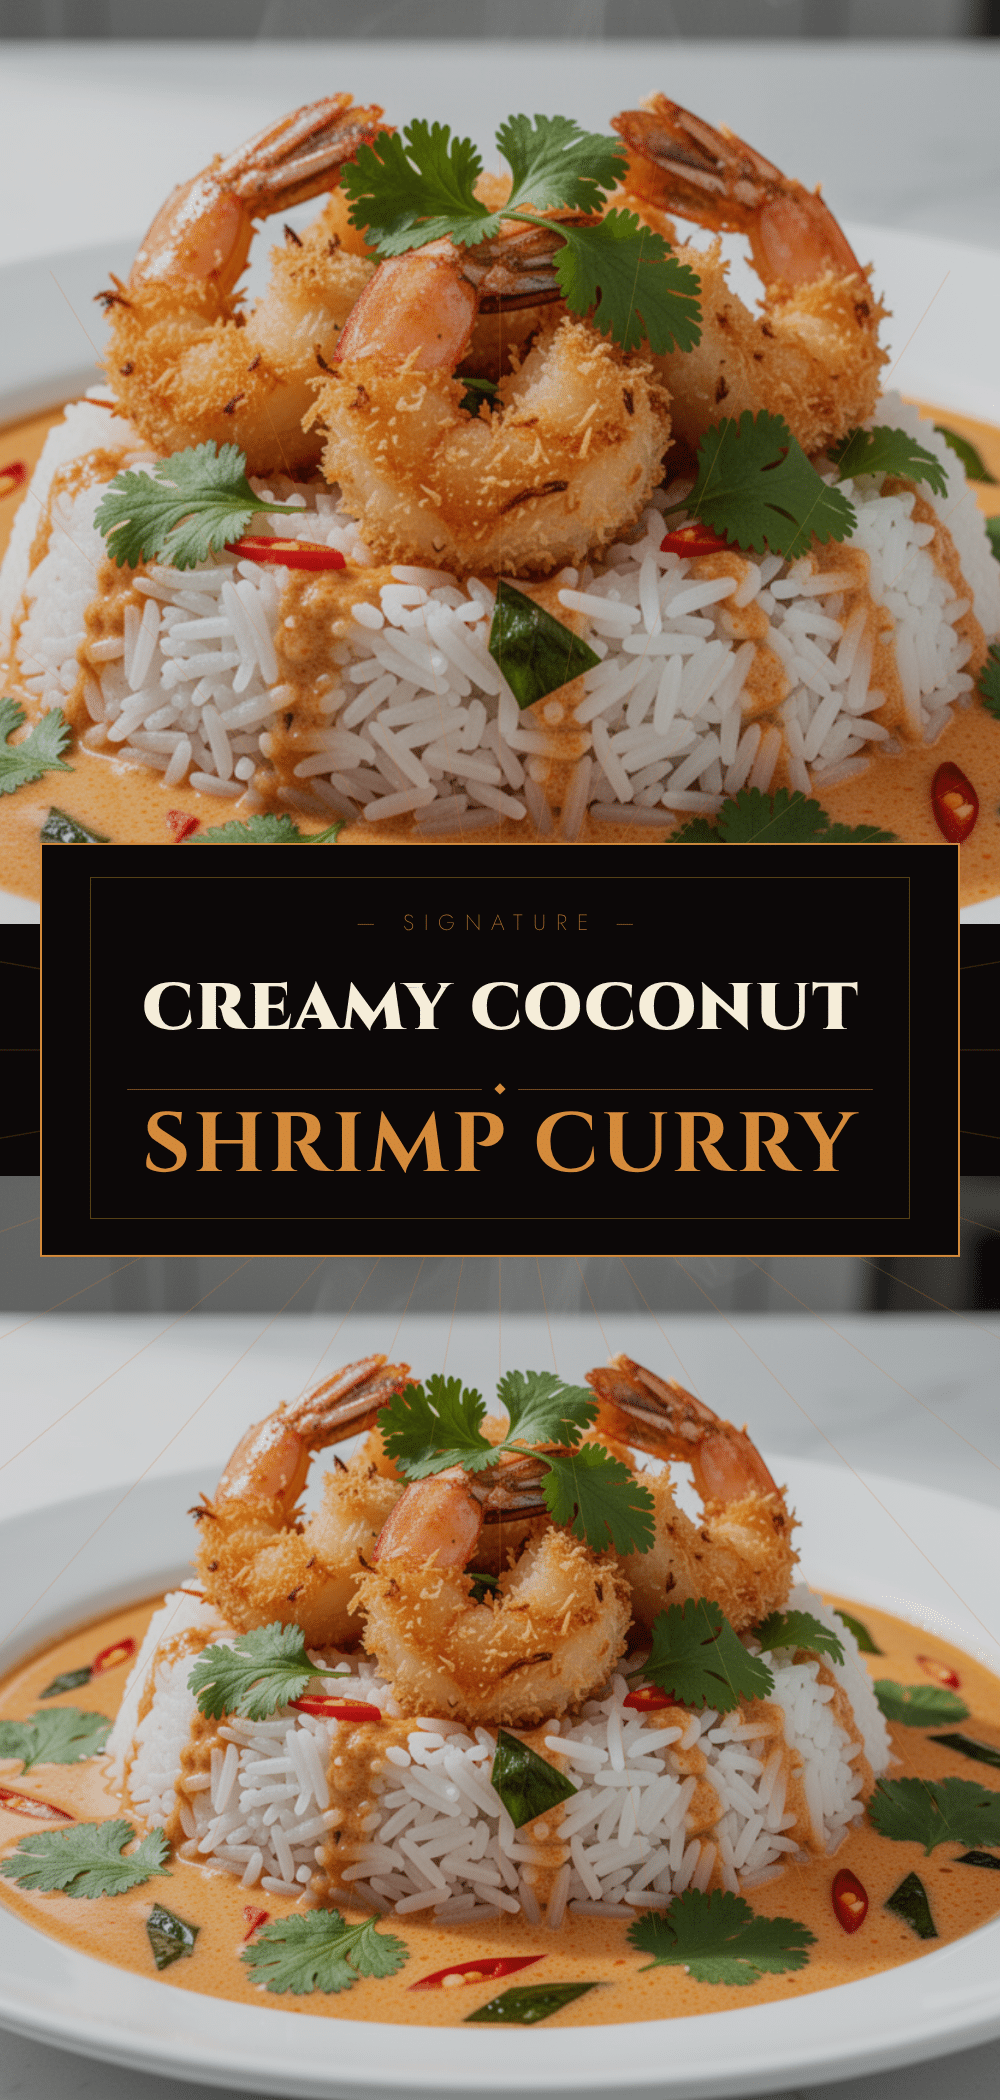

Coconut Shrimp Curry: 30-Minute Weeknight Dinner
- Total Time: 30 minutes
- Yield: 4 servings 1x
Description
A creamy, spicy, and forgiving Thai-inspired coconut shrimp curry that comes together in just 30 minutes using frozen shrimp and pantry staples. Perfect for busy weeknights, this one-skillet meal is budget-friendly and customizable to your heat preference.
Ingredients
- 2–3 tablespoons Red Curry Paste (e.g., Maesri brand)
- 2 cans (400ml each) Full-fat Coconut Milk
- 1.5 pounds (700g) Frozen Shrimp, peeled and deveined
- 1 cup (240ml) Low-sodium Chicken Broth (or Vegetable Broth)
- 1 medium Yellow Onion, diced
- 4 cloves Garlic, minced
- 1 tablespoon Fresh Ginger, grated
- 2 tablespoons Fish Sauce
- 2 teaspoons Palm Sugar (or dark brown sugar)
- 2 tablespoons Fresh Lime Juice
- 1 medium Red Bell Pepper, sliced
- ½ cup (75g) Bamboo Shoots, sliced (optional)
- 2 cups (400g) Jasmine Rice, uncooked
- ½ cup Fresh Cilantro, chopped
- 1 tablespoon Sesame Seeds
Instructions
- Prep ingredients: Chop onion, mince garlic, slice bell pepper, and grate ginger. Thaw shrimp under cold water and pat them completely dry with paper towels.
- Cook rice: Rinse jasmine rice until water runs clear. Cook in a rice cooker or pot with a 1:1.5 rice-to-water ratio. Simmer for 15 minutes, then let sit covered for 5 minutes before fluffing.
- Bloom paste: Heat 1 tablespoon of thick coconut cream from a can in a large skillet over medium heat. Add red curry paste and stir constantly for 2-3 minutes until fragrant.
- Build sauce: Add diced onion to the skillet and cook for 2 minutes until softened. Add garlic and ginger, cooking for 1 minute until fragrant. Pour in remaining coconut milk and chicken broth. Stir in fish sauce and palm sugar. Simmer for 3-4 minutes.
- Add shrimp and veggies: Add sliced bell pepper and bamboo shoots, cooking for 2 minutes. Add the dried shrimp and cook for 3-4 minutes, stirring occasionally, until shrimp are pink and opaque.
- Finish: Remove skillet from heat. Stir in fresh lime juice. Taste and adjust seasoning with more fish sauce, sugar, or lime as needed.
- Serve: Serve immediately over fluffy jasmine rice. Garnish with fresh cilantro, toasted sesame seeds, and lime wedges.
Notes
Pat shrimp dry before cooking to ensure they sear rather than steam. Bloom the curry paste in coconut cream to unlock flavors. Use full-fat coconut milk for a creamy texture. Adjust spice level by varying the amount of curry paste. This recipe freezes well for up to 3 months.
- Prep Time: 10 minutes
- Cook Time: 20 minutes
- Category: Main Course
- Cuisine: Thai
Nutrition
- Serving Size: 1 cup curry with 1/2
- Calories: 480
- Sugar: 6
- Sodium: 650
- Fat: 22
- Saturated Fat: 14
- Carbohydrates: 45
- Fiber: 3
- Protein: 35
Keywords: coconut shrimp curry, thai curry, weeknight dinner, 30 minute meals, one pot dinner, frozen shrimp recipes, thai food, creamy curry, easy dinner


