I was standing in my kitchen at 11 PM on a Saturday, staring into the open refrigerator like it held the secrets to the universe. It didn’t. It held half a jar of Biscoff spread, a bag of toffee bits I’d bought on a whim, and a carton of eggs that were definitely past their prime. I was tired. I was hungry. And I was pretty sure my only options were cereal or ordering takeout from the Chinese place down the street.
I didn’t want takeout. I wanted something sweet, something that felt like a treat but wouldn’t require a three-hour baking session. I wanted comfort. So, I did what any desperate home cook does: I threw everything I had into a bowl and hoped for the best.
That was three years ago. Today, I make these Biscoff cookie butter blondies with toffee bits at least twice a month. They’ve become my go-to when I need to impress guests without spending hours in the kitchen, when I want to bring something to a potluck that people actually remember, and honestly, when I just need a hug in dessert form. And the best part? They’re stupidly simple. You really can make them with just three core ingredients if you want to, though I always add the toffee because, well, life’s too short for plain blondies.
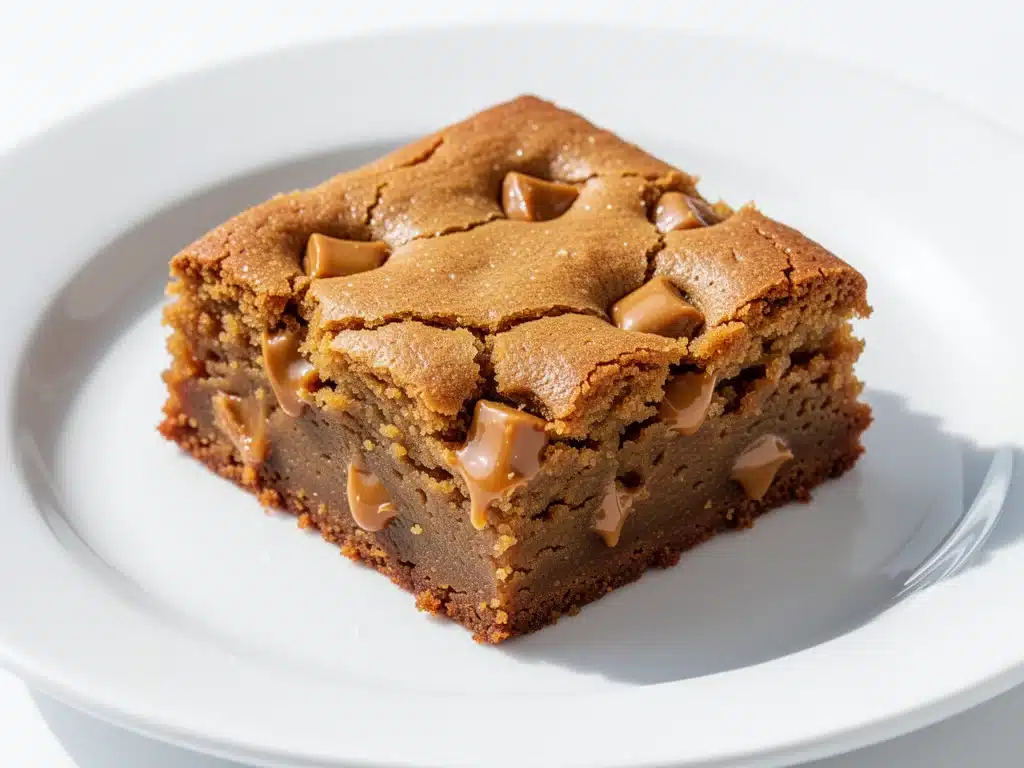
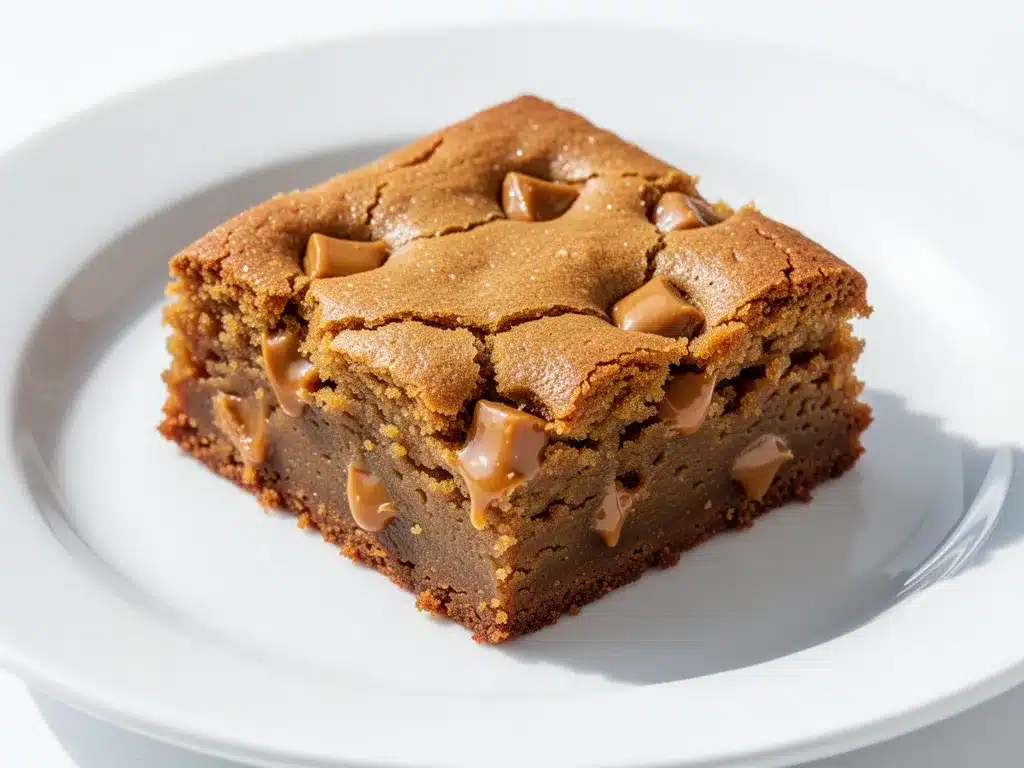
I’ve tested this recipe more times than I care to admit—probably 15 or 20 times. I’ve tried different flours, different sugars, different types of Biscoff spread (yes, there are differences). I’ve burned the edges, underbaked the centers, and once accidentally used salted butter instead of unsalted, which was a salty disaster. But through all those mistakes, I’ve landed on the perfect ratio. Crisp edges, chewy centers, pockets of gooey toffee, and that unmistakable spiced caramel flavor of Biscoff that just hits different.
People ask me if these are better than the ones from fancy bakeries. I don’t say anything. I just hand them a warm square with a pat of melting butter on top and watch their eyes close. That’s the verdict. These Biscoff cookie butter blondies with toffee bits are better than takeout, better than store-bought, and honestly, better than most café desserts. Let me show you how to make them.
Why You’ll Love This Recipe
There are about ten reasons I keep making these blondies, but here are the big ones. This isn’t just a cookie; it’s a mood. It’s a moment. It’s the dessert that saves Saturday nights.
- Stupid Simple Ingredients — Seriously, if you can mix batter, you can make these. I have a friend who can’t boil water without setting off the smoke alarm, and she made these last week. They turned out perfect. The main ingredients are pantry staples: butter, sugar, flour, and Biscoff spread. Plus the toffee bits, obviously.
- Lightning Fast Prep — 10 minutes of active time. That’s it. You mix, you pour, you bake. While it’s in the oven, you can answer emails, scroll through Pinterest (ironic, I know), or just sit on the couch. The house will smell amazing, and you’ll look like a genius.
- Chewy Perfection — I’m obsessed with the texture. These aren’t cakey. They aren’t crisp cookies. They are that perfect, dense, chewy blondie texture that clings to your teeth just a little bit. The Biscoff spread adds moisture that keeps them soft for days.
- Toasty, Gooey Contrast — The toffee bits add this salty, crunchy contrast to the sweet, spiced batter. It’s the kind of detail that makes people ask, “What is in this? It’s amazing.” It’s just toffee bits. But it’s the toffee bits.
- Make-Ahead Friendly — These actually taste better the next day. The flavors meld together, the chewiness intensifies, and they stay fresh in an airtight container for up to five days. I’ve made them on Sunday and eaten them through Friday. They’re still good. They’re still amazing.
- Crowd-Pleaser Status — I’ve served these to my picky brother, my gluten-intolerant sister (with a swap), and my wine-snob friend. Everyone loved them. Everyone asked for the recipe. Everyone came back for seconds.
This is my go-to when I need dessert to just work. No complicated techniques, no weird ingredients, just reliable, delicious food that makes everyone happy. And it’s cheaper than ordering delivery.
Ingredients You’ll Need
Here’s the best part: you probably have most of this already. I’m particular about three ingredients here, and I’ll tell you exactly why. Don’t skip the quality checks.
The Base
Unsalted butter (1 cup / 226g) — I use salted butter sometimes when I’m being lazy, but unsalted gives you better control over the final saltiness. Melt it completely. Don’t worry about it being too hot; it’ll cool down in the bowl.
Granulated sugar (1 cup / 200g) — This gives the blondies their crisp edges. Don’t swap for brown sugar if you want that specific texture. Brown sugar makes them cakey. I want crisp edges.
Light brown sugar (1 cup / 220g) — This is what makes them chewy. The molasses content is key. I use light brown sugar because it’s milder. Dark brown sugar is too intense for this recipe.
Biscoff spread (1 cup / 250g) — This is the star. Use the real stuff. Lotus Biscoff. Not the generic brand. The flavor is different, and I won’t have it. I’ve tried the generic brand in a pinch—it’s okay, but it lacks that spiced caramel depth. Buy the good stuff.
Eggs (2 large) — Room temperature is best, but cold eggs from the fridge work fine. I don’t stress about this one. Just whisk them with the sugars.
The Dry Stuff
All-purpose flour (2 cups / 250g) — Standard stuff. I always spoon and level my flour. Don’t scoop directly from the bag, or you’ll pack it in and get dense blondies. Spoon it into the measuring cup and level it off with a knife.
Baking powder (1 teaspoon) — Just a little bit. We don’t want these to rise too much. We want them dense and chewy.
Salt (½ teaspoon) — Even though the butter is unsalted, you need salt to balance the sweetness. Don’t skip it.
The Mix-Ins
Toffee bits (1 cup / 150g) — I buy the kind in the bag, not the chunks. Bits melt into the batter and create those gooey pockets. If you can’t find toffee bits, chopped Heath bars work too. I’ve done that. It’s good, but bits are easier.
Extra Biscoff spread (Optional, for swirling) — I like to dollop a little extra spread on top before baking. It creates those pretty marbled patterns. Not required, but pretty.
Equipment Needed
You don’t need fancy equipment for this. Here’s what I actually use.
9×9-inch baking pan — This is the classic size for blondies. I use a metal pan. Glass pans cook differently and can make the edges too dark. If you only have glass, reduce the oven temp by 25 degrees.
Large mixing bowl — Something big enough to handle the melted butter and sugar without splattering. I use a glass bowl because I can see the color change.
Whisk — For mixing the eggs and sugars. A whisk is faster than a spoon and gets rid of lumps.
Spatula — A silicone spatula is best for scraping the bowl and folding in the flour. You want to be gentle here. Overmixing makes tough blondies.
Parchment paper — I line the pan. Always. It makes cleanup so much easier, and it helps you lift the blondies out if you want to slice them on a cutting board. I don’t bother with non-stick spray if I use parchment.
Wire cooling rack — For cooling the blondies. I know, I know, I want to eat them hot. But hot blondies are messy and fall apart. Let them cool for 10 minutes. Trust me.
How to Make It: Step-by-Step
Alright, let’s make this! I’m walking you through exactly how I do it, including the little tricks I’ve picked up over the years.
Step 1: Prep Your Pan and Oven (2 minutes)
Preheat your oven to 350°F (175°C). Line your 9×9-inch baking pan with parchment paper, leaving an overhang on the sides. This overhang is crucial—it’s your handle for lifting the blondies out later. I grease the parchment lightly with butter spray, just to be safe.
Step 2: Mix the Wet Ingredients (5 minutes)
Melt the butter in the microwave or on the stove. Let it cool for a minute so it’s warm but not piping hot (hot butter cooks the eggs). Pour the melted butter into your large mixing bowl. Add both the granulated and brown sugars. Whisk vigorously for about 2 minutes. You want the mixture to look glossy and slightly thickened. This step is important—it aerates the sugars and helps create those crisp edges.
Whisk in the eggs one at a time, making sure each is fully incorporated before adding the next. Then, whisk in the Biscoff spread until the batter is smooth and uniform. It should look like a thick, spiced caramel sauce.
Step 3: Add the Dry Ingredients (3 minutes)
Sift the flour, baking powder, and salt over the wet mixture. I sift because it removes lumps and adds a little air, but you can also just whisk it in if you’re in a hurry. Fold the dry ingredients into the wet using your spatula. Stop as soon as you no longer see streaks of flour. Overmixing develops gluten, and we don’t want tough blondies. We want tender, chewy ones.
Step 4: Fold in the Toffee (2 minutes)
Pour in the toffee bits. Gently fold them into the batter. Reserve about ¼ cup of toffee bits to sprinkle on top later. You want some bits inside for gooey pockets, and some on top for pretty presentation.
Step 5: Bake (25-30 minutes)
Pour the batter into your prepared pan. Smooth the top with your spatula. Sprinkle the reserved toffee bits over the top. If you’re doing the swirl, dollop spoonfuls of extra Biscoff spread on top and use a knife to swirl them in.
Bake for 25-30 minutes. Here’s the tricky part: you want the edges to be golden brown and set, but the center to still look slightly underbaked. If you bake them until the center is fully set, they’ll be dry. The residual heat will finish cooking them as they cool. I usually pull them out at 25 minutes and check. If the center jiggles slightly, they’re done.
Step 6: Cool and Slice (30 minutes)
Let the blondies cool in the pan on a wire rack. I know this is the hardest part. But if you cut them hot, they’ll fall apart. Wait at least 15 minutes before slicing. For clean cuts, I chill them in the fridge for 30 minutes, then lift them out and slice with a sharp knife.
Expert Tips & Tricks
Here’s everything I’ve learned from making this dozens of times. These tips will save you from my mistakes.
Don’t Overbake — This is the #1 mistake. Blondies continue to cook on the hot pan after you take them out of the oven. If they look done, they’re done. Slightly underbaked is better than overbaked. You want a fudgy center, not a cakey one.
Room Temperature Eggs — If you have time, let your eggs come to room temperature. They incorporate into the batter more evenly, resulting in a smoother texture. I usually take them out of the fridge 15 minutes before I start.
Quality Matters — I’ve tried cheap Biscoff spread. It’s oily and lacks flavor. I’ve tried generic toffee bits. They’re hard and don’t melt. Invest in the good ingredients. Your taste buds will thank you.
The Parchment Lift — Never bake these directly in the pan. The parchment paper allows you to lift the entire slab out, making slicing and serving so much cleaner. It also prevents sticking, which happens with Biscoff spread because it’s sticky.
Storage is Key — Store these in an airtight container at room temperature for up to 5 days. If your kitchen is hot, put them in the fridge. They’ll firm up, but they’ll still be delicious. Bring them to room temperature before eating for the best texture.
Variations & Substitutions
Once you’ve nailed the basic version, here’s how you can mix it up. I’ve tried all of these.
White Chocolate Chip Blondies — Swap the toffee bits for white chocolate chips. It’s a classic combo. The toffee adds saltiness, but the white chocolate is sweeter and creamier. I like both, but for different occasions.
Peanut Butter Swirl — Instead of extra Biscoff, dollop peanut butter on top and swirl. The salty-sweet combo is incredible. Use creamy peanut butter for best results.
Gluten-Free — Use a 1:1 gluten-free flour blend. I’ve used Bob’s Red Mill and King Arthur, and both work great. The texture might be slightly more crumbly, but it’s still delicious.
Dairy-Free — Use vegan butter and dairy-free Biscoff spread (check the label—some are vegan, some aren’t). The toffee bits need to be checked too; some contain milk. This version is still good, just different.
Nut-Free — These are naturally nut-free, which is great for school events. Just double-check your toffee bits for cross-contamination warnings.
Serving & Storage
How to Serve: I usually serve these at room temperature. They’re best with a cup of coffee or a glass of cold milk. If you want to feel fancy, serve a square with a dollop of whipped cream and a drizzle of warm caramel sauce. But honestly? They’re perfect on their own.
Leftovers: Store in an airtight container at room temperature for up to 5 days. If you live in a hot climate, refrigerate them. They’ll last up to a week in the fridge.
Freezing: Yes, you can freeze these! Wrap individual squares in plastic wrap, then put them in a freezer bag. They’ll last for up to 3 months. Thaw at room temperature for 30 minutes. They taste just like fresh.
Pro Tip: If you’re bringing these to a potluck, bring them in the pan with the parchment paper. People can just grab a piece. Or slice them beforehand and put them in a container. Either way, they’ll disappear fast.
Nutrition Information
I’m not a nutritionist, but here’s the breakdown if you’re tracking. This is a rich, indulgent treat, so portion control is key.
Per serving (based on 16 squares):
- Calories: 280
- Protein: 3g
- Carbs: 38g
- Fat: 14g
- Sugar: 26g
- Sodium: 150mg
Look, this is dessert. It’s not a health food. But it’s homemade, so you know exactly what’s in it. No preservatives, no weird additives. Just butter, sugar, flour, and Biscoff. When I make these, I enjoy one square and call it a day. Sometimes two. No judgment here.
Final Thoughts
So that’s my go-to Biscoff cookie butter blondies with toffee bits! I’ve probably talked your ear off at this point, but when you make a recipe this often, you have a lot to say about it.
This has saved weeknight desserts more times than I can count. It’s my answer to “what’s for dessert?” when I’m tired, don’t want to order out, and still want something that tastes really good. My kids are happy, my husband’s happy, and I’m happy because I’m not stressed about cooking.
Make it yours! Try different mix-ins, swap in your favorite nuts, or just stick to the classic. The best recipes are the ones you adapt to your family’s tastes. And if you make these, drop a comment and let me know what you think! I love hearing how recipes turn out in your kitchen.
Happy baking! And I hope your kitchen smells half as good as mine does right now.
Frequently Asked Questions
Can I use a different pan size?
You can, but the baking time will change. If you use an 8×8 pan, the blondies will be thicker and might need 5-10 more minutes to bake. If you use a 9×13 pan, they’ll be thinner and bake faster—check them at 20 minutes. The 9×9 is ideal for the right thickness.
Why did my blondies turn out dry?
You probably overbaked them. Blondies continue to cook on the hot pan after removal. Pull them out when the center still looks slightly underbaked. Also, make sure you’re not packing your flour too tightly into the measuring cup.
Can I make this ahead for a party?
Absolutely. These are great make-ahead desserts. Bake them, let them cool completely, then store in an airtight container at room temperature for up to 5 days. Or freeze them for up to 3 months. Thaw before serving.
What if I can’t find Biscoff spread?
It’s becoming more widely available, but if you can’t find it, you can use a combination of peanut butter and caramel sauce. It’s not the same, but it’s close. Or try speculoos cookie butter from another brand. The flavor profile is similar.
Can I add nuts?
Yes! Chopped pecans or walnuts pair beautifully with Biscoff and toffee. Add ½ cup of chopped nuts when you fold in the toffee bits. Just make sure they’re not allergic to anyone you’re serving.
Do I need to sift the flour?
It’s not strictly necessary, but it helps remove lumps and aerates the flour for a smoother batter. If you’re in a hurry, you can just whisk it in. The blondies will still be delicious.
How do I get clean cuts?
Cool the blondies completely, then chill them in the fridge for 30 minutes. Lift them out of the pan using the parchment paper, then slice with a sharp knife. Wipe the knife between cuts for the cleanest slices.
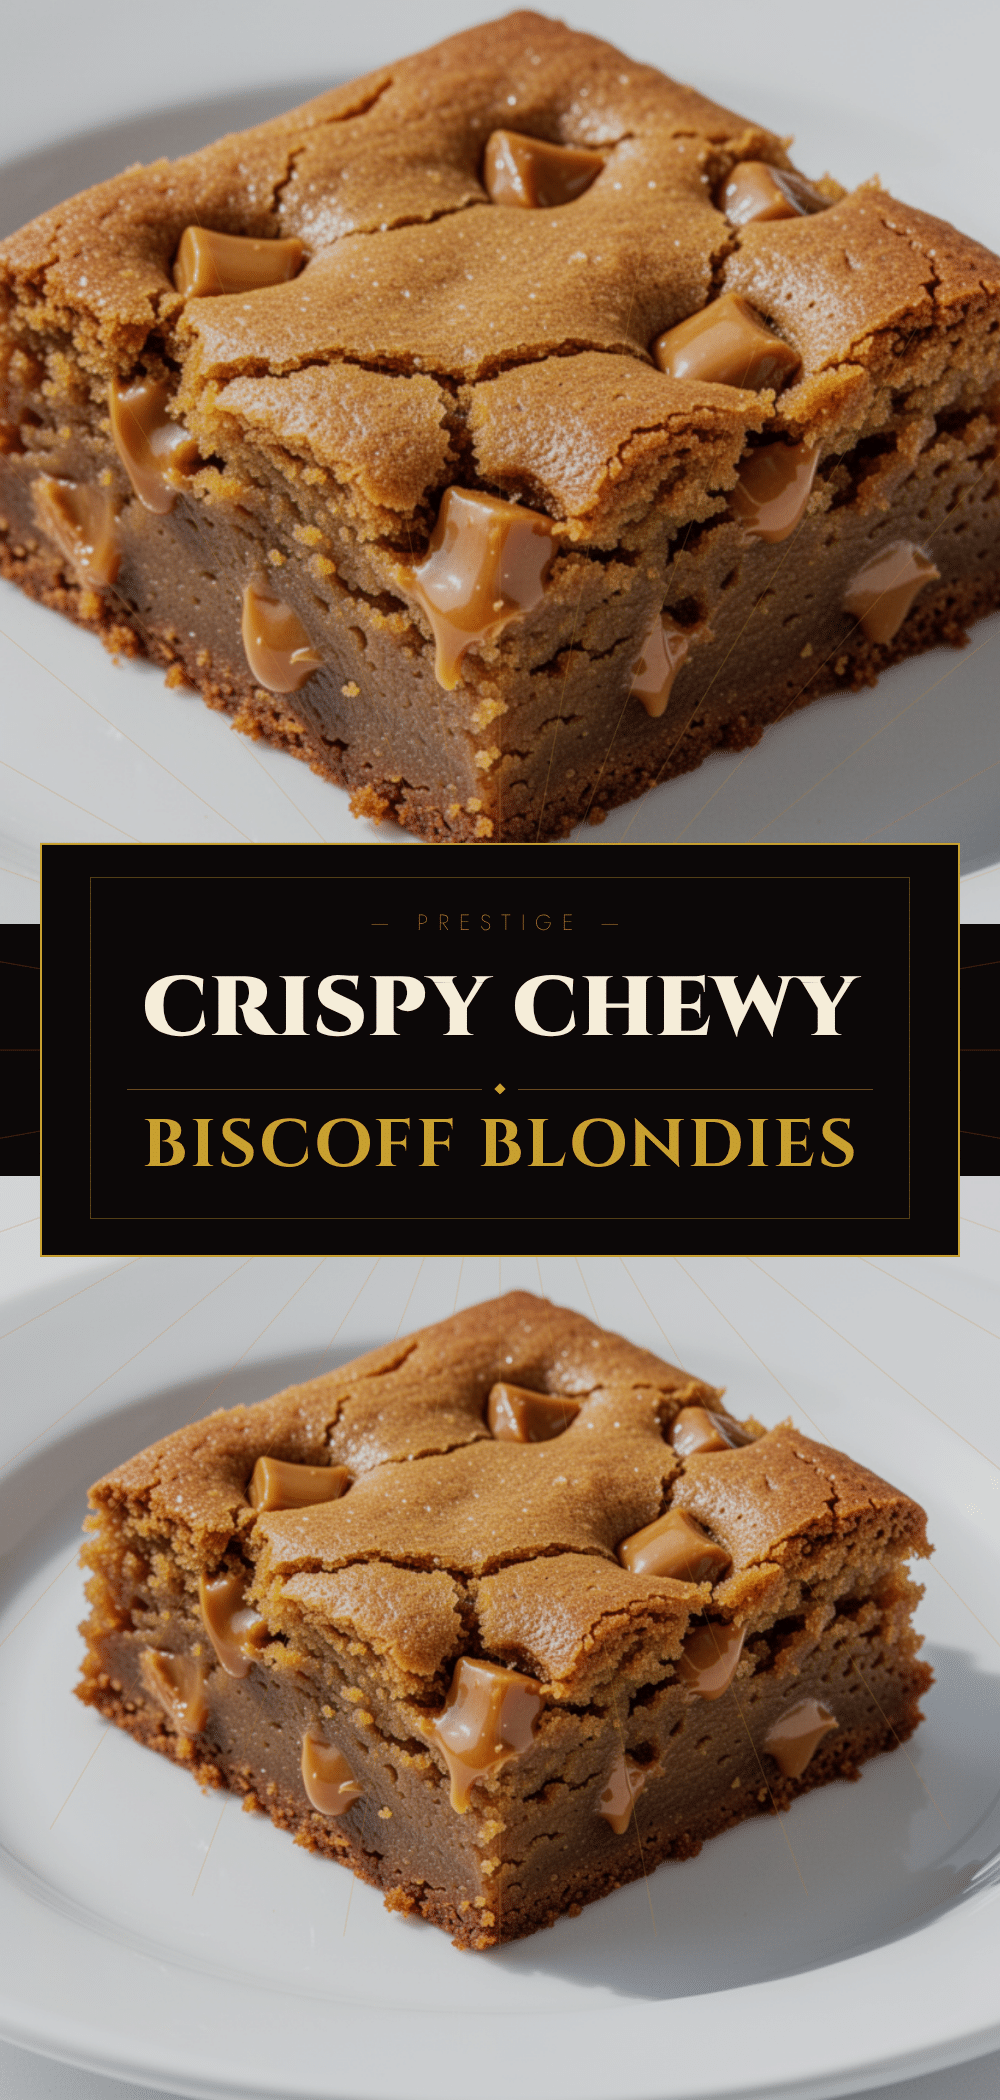
Pin This Recipe!
Biscoff Blondies: 3-Ingredient Easy Treat
- Total Time: 40 minutes
- Yield: 16 servings 1x
Description
These Biscoff cookie butter blondies with toffee bits are a simple, chewy dessert made with pantry staples. They feature crisp edges, gooey centers, and a rich spiced caramel flavor, ready in under 30 minutes of active time.
Ingredients
- 1 cup (226g) unsalted butter, melted
- 1 cup (200g) granulated sugar
- 1 cup (220g) light brown sugar
- 2 large eggs, room temperature
- 1 cup (250g) Lotus Biscoff spread
- 2 cups (250g) all-purpose flour
- 1 teaspoon baking powder
- ½ teaspoon salt
- 1 cup (150g) toffee bits
- Extra Biscoff spread (optional, for swirling)
Instructions
- Preheat oven to 350°F (175°C). Line a 9×9-inch baking pan with parchment paper, leaving an overhang on the sides, and lightly grease the parchment.
- Melt the butter and let it cool slightly. In a large mixing bowl, whisk the melted butter, granulated sugar, and brown sugar vigorously for about 2 minutes until glossy and thickened.
- Whisk in the eggs one at a time, ensuring each is fully incorporated. Whisk in the Biscoff spread until the batter is smooth.
- Sift the flour, baking powder, and salt over the wet mixture. Fold the dry ingredients into the wet using a spatula until just combined; do not overmix.
- Fold in the toffee bits, reserving about ¼ cup to sprinkle on top later.
- Pour the batter into the prepared pan and smooth the top. Sprinkle with reserved toffee bits and optionally dollop extra Biscoff spread on top, swirling with a knife.
- Bake for 25-30 minutes, or until edges are golden brown and the center still looks slightly underbaked.
- Cool in the pan on a wire rack for at least 15 minutes. For clean cuts, chill in the fridge for 30 minutes before lifting out and slicing.
Notes
Do not overbake; blondies continue to cook on the hot pan after removal. For best texture, let eggs come to room temperature. Store in an airtight container at room temperature for up to 5 days or freeze for up to 3 months. Use a 1:1 gluten-free flour blend for a gluten-free version.
- Prep Time: 10 minutes
- Cook Time: 30 minutes
- Category: Dessert
- Cuisine: American
Nutrition
- Serving Size: 1 square
- Calories: 280
- Sugar: 26
- Sodium: 150
- Fat: 14
- Saturated Fat: 8
- Carbohydrates: 38
- Fiber: 1
- Protein: 3
Keywords: Biscoff, blondies, cookie butter, toffee, easy dessert, 3-ingredient, chewy bars, Lotus Biscoff


