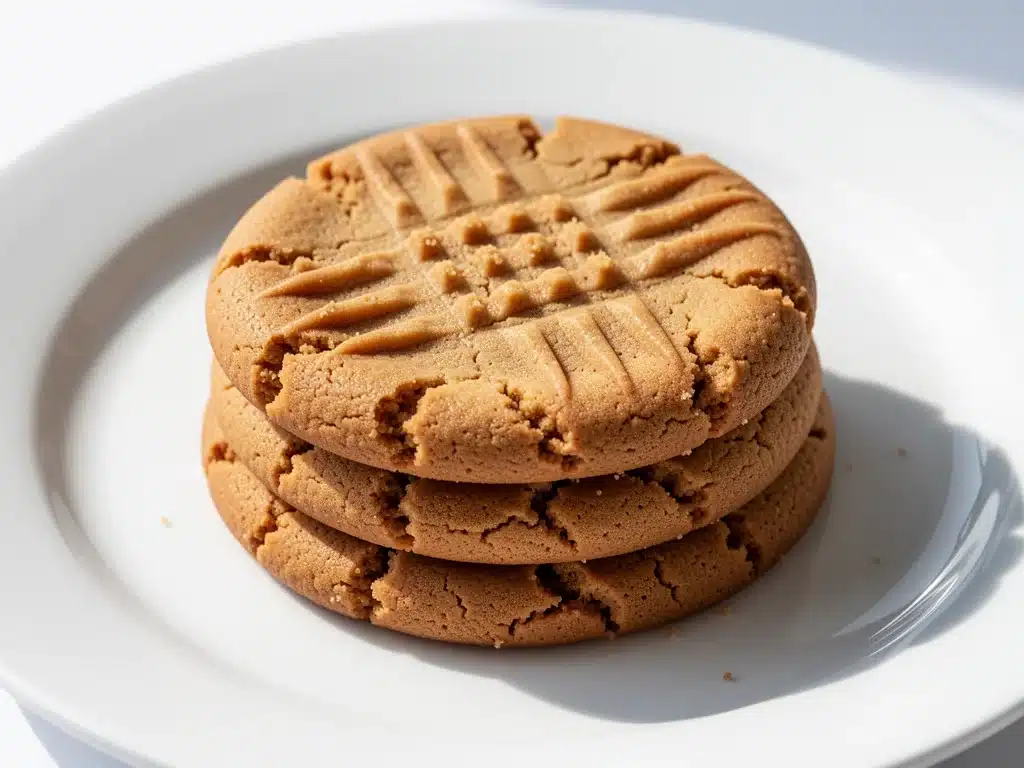
Let’s be honest for a second. If you’ve ever made peanut butter cookies from a box mix, you know that specific texture. It’s dry. It crumbles into dust before it even hits your mouth. It tastes like sweetened peanut powder and regret. I spent my twenties eating those things, convinced that’s just what peanut butter cookies were supposed to be.
Then, about three years ago, I tried my aunt’s recipe. Just six ingredients. No box mix. No weird additives. And suddenly, I was eating a cookie that was soft in the center, crisp on the edges, and actually tasted like real, salty-sweet peanut butter. It was a revelation. I’ve made these classic peanut butter cookies with crisscross fork pattern probably fifty times since then. They’re my go-to when I need to bring something to a potluck, when I want to bake with my kids on a rainy Saturday, or just when I need a little hug from the oven.
There’s something deeply satisfying about the ritual of it. The dough is sticky (yes, you’ll want to wash your hands), but the moment you press that fork into the balls to make that iconic crisscross pattern, you’re officially a baker. And the smell? Oh, the smell. Your whole house will smell like a high-end bakery. People will ask, “What is that?” And you’ll say, “Just some simple cookies,” while secretly feeling like a genius.
I’m sharing this recipe because it’s foolproof. I’ve tested it with different brands of peanut butter, adjusted for altitude, and even made it for friends with varying levels of baking skill (from my toddler to my professional chef friend). They all turned out perfect. This is the classic peanut butter cookies with crisscross fork pattern you’ve been searching for. It’s easy, it’s delicious, and it’s going to become a staple in your kitchen.
Why You’ll Love This Recipe
There are a hundred cookie recipes out there. Why this one? Because it respects your time and your taste buds. Here’s why these cookies have earned a permanent spot in my rotation:
- Six Ingredients, Maximum Flavor — Seriously. Just six. You don’t need vanilla extract (though I add it if I’m feeling fancy), you don’t need brown sugar, you don’t need eggs if you want a vegan version (more on that later). The peanut butter does all the heavy lifting. It’s rich, salty, and sweet all at once.
- Ready in 20 Minutes — From start to finish, including baking time, these take about 20 minutes. That’s faster than ordering takeout. I make these on weeknights when I have a sudden craving and don’t want to wait for a large order to arrive. They come out of the oven hot and gooey.
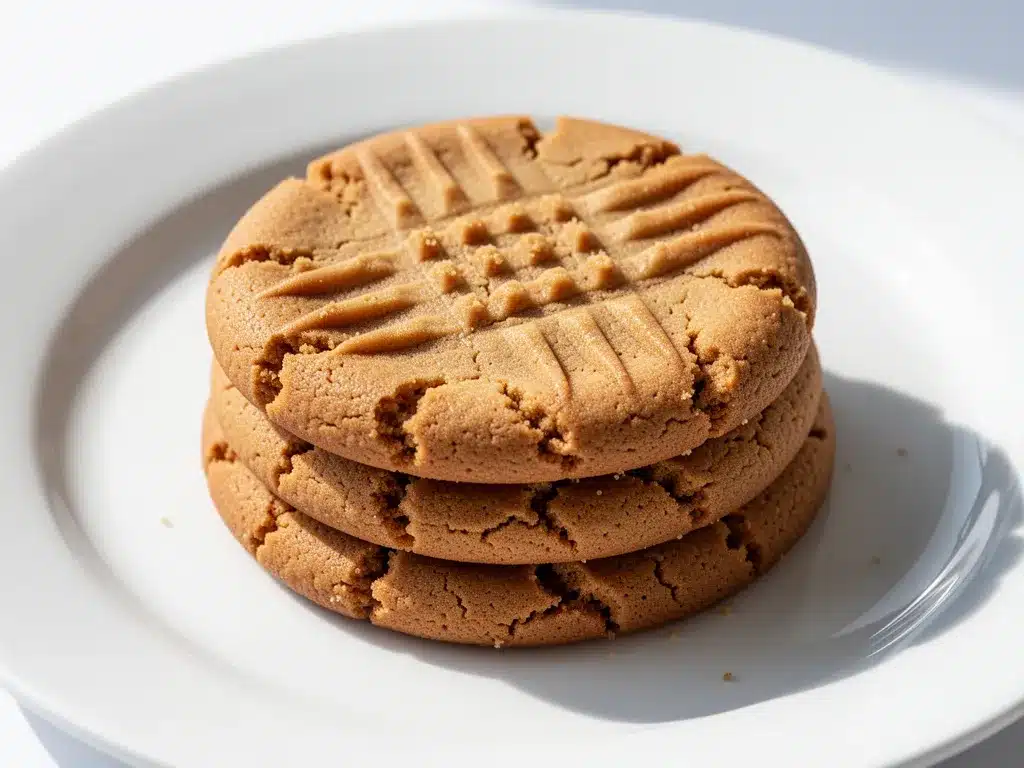
- The Perfect Texture — Not cakey, not flat, not hard as a rock. These cookies have a chewy center and a slightly crisp edge. The fork pattern isn’t just for looks; it helps the cookies spread evenly and creates those beautiful ridges that hold onto crumbs and extra salt.
- Freezer-Friendly Dough — Here’s my favorite trick. I often double the recipe and freeze the dough balls. When I want cookies, I just throw a few frozen balls on a baking sheet and bake them. It’s like having fresh-baked cookies on demand. This is a lifesaver when guests show up unexpectedly.
- Customizable — Want chocolate chips? Add them. Want a sprinkle of sea salt? Do it. Want to make them gluten-free? Easy swap. This base recipe is incredibly forgiving and adaptable to your preferences.
These cookies are my answer to “what should I bake?” when I’m bored. They’re reliable, delicious, and always make people happy. Whether you’re a seasoned baker or a total beginner, this recipe will give you confidence and a delicious reward.
Ingredients You’ll Need
I’m going to keep this simple. You probably have most of these items in your pantry right now. I’m particular about one or two things, but overall, this is a very accessible recipe. Here’s what you need to make the best classic peanut butter cookies with crisscross fork pattern:
The Base
Peanut Butter (1 cup / 250g) — This is the star. Use natural, creamy peanut butter. I like brands like Smucker’s Natural or Peter Pan Natural, but avoid the ones with added hydrogenated oils if you can. The key is that it should be smooth and spreadable. If your natural peanut butter has separated, stir it well until it’s uniform. You need 1 cup of the actual peanut butter, not the oil on top.
Granulated Sugar (1 cup / 200g) — This provides structure and crispness. Don’t substitute with brown sugar here unless you want a chewier, cakier cookie. Granulated sugar helps create that slight crunch on the edges.
Granulated Sugar (1 cup / 200g) — Wait, two cups of sugar? Yes. These cookies are sweet. But the salt in the peanut butter balances it out. If you’re very sensitive to sweetness, you can reduce to ¾ cup, but I recommend sticking with the full amount for the authentic taste.
Egg (1 large) — This acts as the binder. It holds everything together. If you’re making these vegan, see the substitutions section below. For the classic version, one large egg at room temperature is perfect.
Vanilla Extract (1 teaspoon) — Optional, but I highly recommend it. It adds a warm, aromatic depth that complements the peanut butter. Use pure vanilla extract, not imitation.
The Dry Ingredients
All-Purpose Flour (1 cup / 125g) — Just standard all-purpose flour. Don’t use cake flour or bread flour. Spoon and level it for accuracy. If you pack it down, your cookies will be dry.
Baking Soda (1 teaspoon) — This helps the cookies rise and spread. Make sure it’s fresh! If your baking soda is old, your cookies won’t rise properly and will be dense.
Salt (½ teaspoon) — Even though peanut butter is salty, you still need a little extra salt to balance the sweetness. Use table salt or kosher salt.
For the Fork Pattern
Extra Granulated Sugar (for rolling) — You’ll roll the dough balls in a little extra sugar before baking. This gives them that sparkling, crisp exterior. It’s a small step that makes a big difference in texture and appearance.
Optional Add-Ins
Chocolate Chips (½ cup) — If you like peanut butter cups, add chocolate chips. Fold them in after mixing the dough. They’ll melt slightly into the cookies.
Sea Salt Flakes — Sprinkle a little flaky sea salt on top right after baking. It’s addictive.
Equipment Needed
You don’t need fancy gadgets for this. Here’s what I actually use:
Mixing Bowls — One large bowl for mixing the dough. I use a glass or ceramic bowl because it’s heavy and doesn’t slide around.
Fork — A standard dinner fork. This is crucial for the crisscross pattern. Make sure it’s clean and dry.
Baking Sheets — Two standard 13×18 inch baking sheets. I line them with parchment paper for easy cleanup and even baking.
Cooling Rack — Essential. Let the cookies cool on the sheet for 5 minutes, then transfer to a rack. This prevents them from getting soggy from steam.
Measuring Cups and Spoons — Standard stuff. I use metal measuring spoons because they’re durable.
Cookie Scoop (Optional) — I love using a small ice cream scoop or a cookie scoop to portion the dough. It ensures uniform size, which means even baking. But a tablespoon works fine too.
How to Make It: Step-by-Step
Alright, let’s get baking! This is super easy, but there are a few tricks to get that perfect texture. I’ll walk you through it.
Step 1: Preheat and Prep (5 minutes)
Preheat your oven to 350°F (175°C). Line your baking sheets with parchment paper. This is non-negotiable for easy cleanup and preventing sticking. If you don’t have parchment, you can use a silicone baking mat, but parchment is cheaper and easier.
Step 2: Mix the Wet Ingredients (3 minutes)
In your large mixing bowl, combine the peanut butter, granulated sugar, egg, and vanilla extract. Use a wooden spoon or a sturdy spatula. Mix until it’s smooth and well combined. The dough will be thick and sticky. Don’t worry, that’s normal. If it’s too dry, add a teaspoon of milk. If it’s too wet, add a tablespoon of flour.
Step 3: Add the Dry Ingredients (2 minutes)
Add the flour, baking soda, and salt to the wet mixture. Stir until just combined. Be careful not to overmix. Once the flour disappears, stop mixing. Overmixing develops gluten, which makes cookies tough. You want tender cookies.
Step 4: Roll the Dough (5 minutes)
Place the extra granulated sugar in a small shallow bowl. Scoop tablespoon-sized portions of dough and roll them into balls. Roll each ball in the sugar, coating it completely. Place the balls on the prepared baking sheets, spacing them about 2 inches apart. They will spread, so give them room.
Step 5: Create the Crisscross Pattern (5 minutes)
This is the fun part. Take your fork and press down firmly on each dough ball to flatten it slightly. Then, rotate the fork 90 degrees and press down again in the opposite direction. This creates the classic crisscross pattern. Dip your fork in sugar between presses if the dough sticks. This helps the pattern stay crisp.
Step 6: Bake (10-12 minutes)
Bake the cookies for 10-12 minutes. They’re done when the edges are lightly golden and the centers look set but still soft. They will firm up as they cool. Don’t overbake them! They’ll be dry if you bake them until they’re hard in the oven.
Step 7: Cool and Serve (10 minutes)
Let the cookies cool on the baking sheet for 5 minutes. Then, transfer them to a wire rack to cool completely. This step is important for texture. Eat them warm for a gooey center, or let them cool for a crispier texture.
Expert Tips & Tricks
I’ve made these cookies dozens of times, and here are the secrets to getting them perfect every time:
- Use Creamy Peanut Butter — Crunchy peanut butter will work, but the cookies will be uneven. Creamy is the way to go for a smooth, consistent texture.
- Don’t Overmix — As I mentioned, overmixing makes tough cookies. Mix until just combined. It should take less than a minute.
- Chill the Dough (Optional) — If your kitchen is hot, or if you want thicker cookies, chill the dough balls for 30 minutes before baking. This prevents them from spreading too much.
- Rotate the Pan — If your oven has hot spots, rotate the baking sheet halfway through baking. This ensures even browning.
- Add Sea Salt — Sprinkle flaky sea salt on top right after baking. It’s a game-changer for flavor balance.
Variations & Substitutions
Once you’ve mastered the basic recipe, here are some fun ways to mix it up:
Vegan Version
Replace the egg with a “flax egg” (1 tablespoon ground flaxseed mixed with 3 tablespoons water, let sit for 5 minutes). The cookies will be slightly denser but still delicious.
Gluten-Free
Use a 1:1 gluten-free flour blend. Most brands work great. Make sure the blend includes xanthan gum, or add ½ teaspoon yourself.
Chocolate Peanut Butter
Roll the dough balls in cocoa powder instead of sugar, or fold in chocolate chips after mixing.
Mini Cookies
Use a cookie scoop to make smaller cookies. Bake for 8-10 minutes. Perfect for parties and gift-giving.
Serving & Storage
Serving Suggestions: These cookies are great on their own, but they’re also amazing with a glass of cold milk. I also like to crumble them over ice cream for a quick dessert.
Storage: Store cookies in an airtight container at room temperature for up to 5 days. They stay soft and chewy.
Freezing: You can freeze the baked cookies for up to 3 months. Thaw at room temperature. Or freeze the dough balls on a baking sheet, then transfer to a freezer bag. Bake from frozen, adding 1-2 minutes to the baking time.
Nutrition Information
I’m not a nutritionist, but here’s an estimate per cookie (makes about 24 cookies):
Calories: 120
Protein: 3g
Carbs: 14g
Fat: 7g
Sugar: 9g
These are treat cookies, so enjoy them in moderation. They’re richer in calories due to the peanut butter and sugar, but they’re also more filling than many other cookies because of the protein and fat.
Final Thoughts
These classic peanut butter cookies with crisscross fork pattern are simple, delicious, and incredibly satisfying. They’re the kind of recipe that reminds you why you love baking. No fuss, no fancy ingredients, just pure comfort food.
I hope you make these and enjoy them as much as I do. If you do, let me know how they turn out! And if you have any questions, drop them in the comments. Happy baking!
Frequently Asked Questions
Can I use crunchy peanut butter?
Yes, but the cookies will have a different texture. They’ll be less smooth and more rustic. If you prefer a smoother cookie, stick with creamy peanut butter.
Why did my cookies spread too much?
This usually happens if the dough was too warm or if the baking soda was old. Make sure your baking soda is fresh. Also, chilling the dough before baking can help prevent excessive spreading.
Can I freeze the dough?
Absolutely! Scoop the dough into balls, freeze them on a baking sheet, then transfer to a freezer bag. Bake from frozen, adding 1-2 minutes to the baking time.
How do I know when the cookies are done?
Look for lightly golden edges and set centers. They will firm up as they cool. Don’t wait until they’re hard in the oven, or they’ll be dry.
Can I make these gluten-free?
Yes! Use a 1:1 gluten-free flour blend. Most brands work well, but make sure it includes xanthan gum for structure.
Can I make these vegan?
Yes! Replace the egg with a flax egg (1 tbsp ground flaxseed + 3 tbsp water). The cookies will be slightly denser but still tasty.
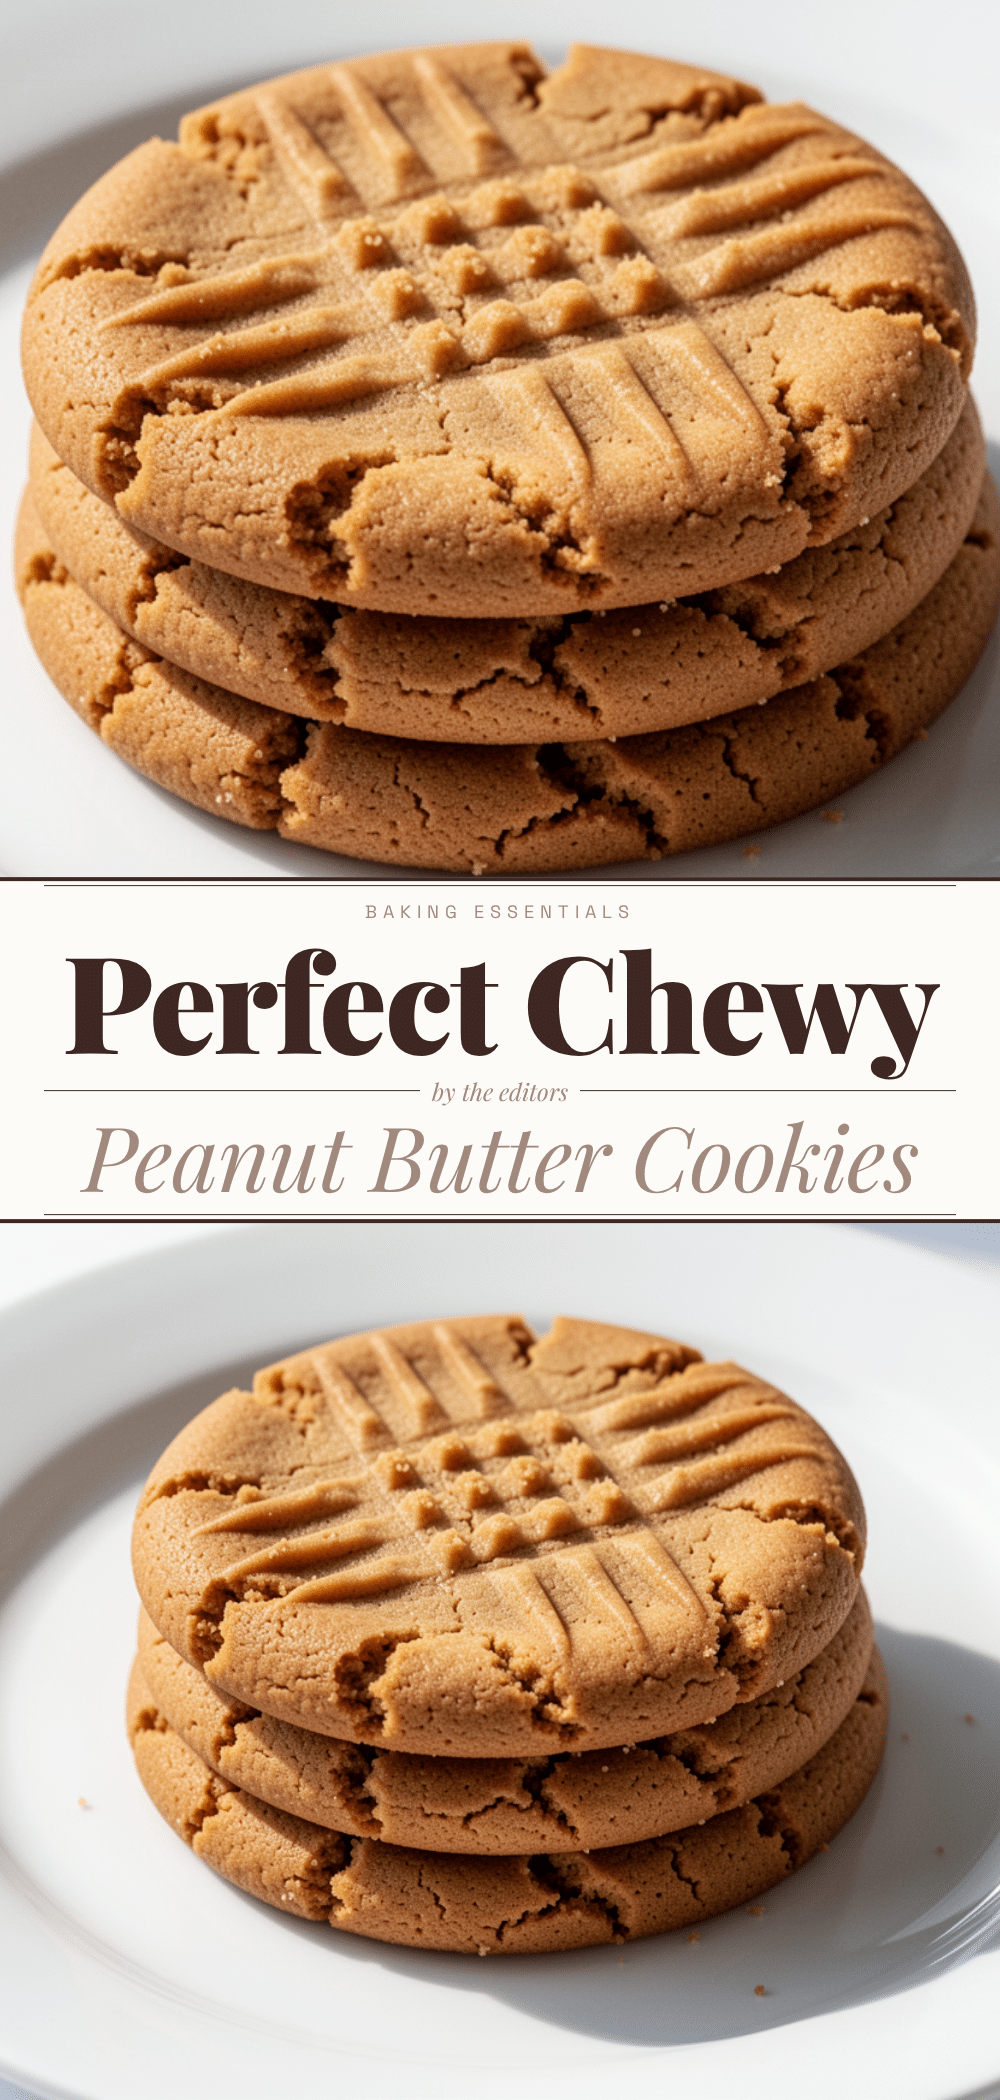
Pin This Recipe!
Classic Peanut Butter Cookies: 6-Ingredient Easy Recipe
- Total Time: 20 minutes
- Yield: 24 cookies 1x
Description
Soft in the center and crisp on the edges, these classic peanut butter cookies require only six simple ingredients and result in a delicious, foolproof treat with an iconic crisscross fork pattern.
Ingredients
- 1 cup (250g) creamy natural peanut butter
- 1 cup (200g) granulated sugar
- 1 large egg, room temperature
- 1 teaspoon vanilla extract
- 1 cup (125g) all-purpose flour
- 1 teaspoon baking soda
- 1/2 teaspoon salt
- Extra granulated sugar (for rolling dough balls)
- Optional: 1/2 cup chocolate chips
- Optional: Sea salt flakes
Instructions
- Preheat oven to 350°F (175°C) and line two baking sheets with parchment paper.
- In a large mixing bowl, combine peanut butter, granulated sugar, egg, and vanilla extract. Mix until smooth and well combined.
- Add flour, baking soda, and salt to the wet mixture. Stir until just combined, being careful not to overmix.
- Place extra granulated sugar in a small shallow bowl. Scoop tablespoon-sized portions of dough and roll them into balls.
- Roll each dough ball in the extra sugar to coat completely.
- Place dough balls on prepared baking sheets, spacing them about 2 inches apart.
- Press down firmly on each dough ball with a fork to flatten slightly, then rotate the fork 90 degrees and press down again to create a crisscross pattern.
- Bake for 10-12 minutes until edges are lightly golden and centers look set but still soft.
- Let cookies cool on the baking sheet for 5 minutes, then transfer to a wire rack to cool completely.
Notes
Use creamy peanut butter for best texture. Do not overmix the dough to avoid tough cookies. For thicker cookies, chill dough balls for 30 minutes before baking. Rotate baking sheets halfway through if your oven has hot spots. Store in an airtight container at room temperature for up to 5 days.
- Prep Time: 15 minutes
- Cook Time: 10-12 minutes
- Category: Dessert
- Cuisine: American
Nutrition
- Serving Size: 1 cookie
- Calories: 120
- Sugar: 9
- Sodium: 150
- Fat: 7
- Saturated Fat: 1.5
- Carbohydrates: 14
- Fiber: 1
- Protein: 3
Keywords: peanut butter cookies, classic cookies, easy baking, 6 ingredient recipe, crisscross cookies, gluten-free option, vegan option


