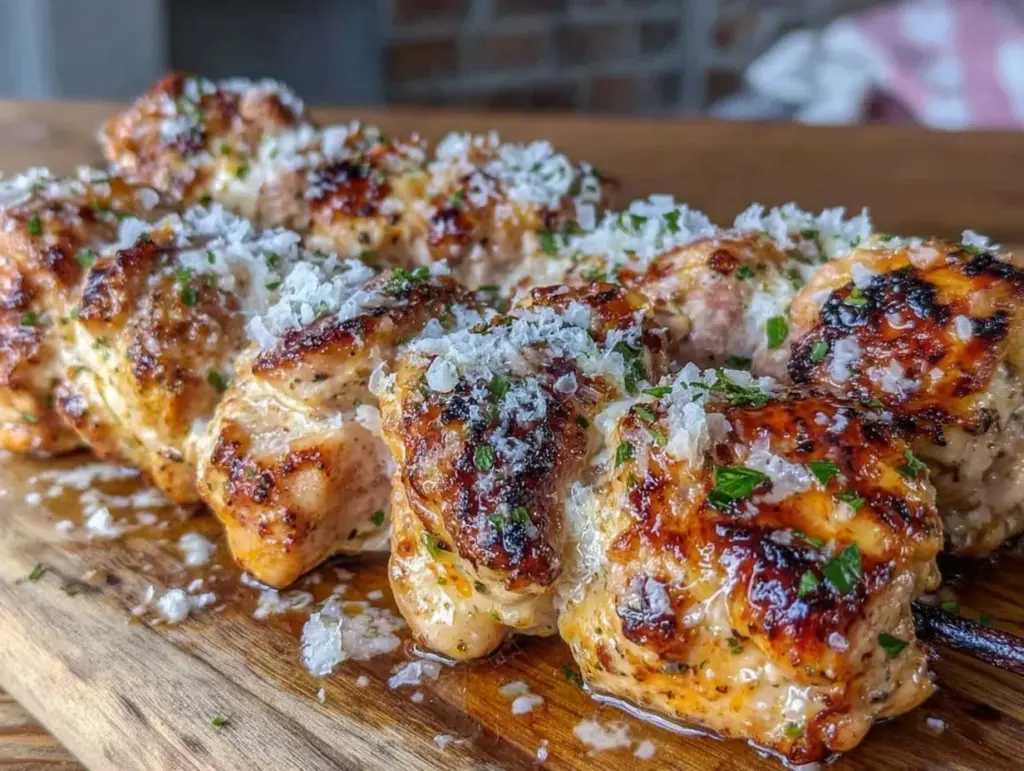
I still remember the first time I served these Crispy Garlic Parmesan Chicken Skewers. It was a rainy Saturday in November, and I had invited six friends over for what I thought would be a casual evening. I wanted something that felt fancy enough to impress but simple enough that I could actually talk to people instead of being stuck in the kitchen. I threw together a batch of these skewers, expecting them to be a decent snack. What I didn’t expect was for my friend Sarah to corner me ten minutes later and ask for the recipe because she was “addicted.”
That was three years ago, and this recipe has been a staple in my hosting rotation ever since. There is something undeniably magical about the combination of crispy, golden chicken, melted parmesan, and that punchy, aromatic garlic. It’s the kind of food that disappears before you can blink. I’ve made these Crispy Garlic Parmesan Chicken Skewers at birthday parties, holiday gatherings, and lazy Sunday dinners where we just wanted to feel a little luxurious. Every single time, the reaction is the same: surprise, delight, and immediate requests for seconds.
What I love most about this particular chicken skewer recipe is how forgiving it is. You don’t need to be a professional chef to get that perfect crunch. In fact, I’ve learned that the secret isn’t fancy equipment or rare ingredients—it’s patience and the right coating. When I first started making these, I rushed the dredging process, and the coating fell off in the pan. I felt defeated. But after a few tweaks, I realized that letting the chicken rest in the fridge for just twenty minutes before cooking was the game-changer. It locks everything in place.
These skewers are more than just dinner; they’re a conversation starter. They look beautiful on a platter, with that golden-brown hue and flecks of fresh parsley. They smell incredible as they cook, filling your home with the scent of roasted garlic and toasted cheese. Whether you’re serving them as an appetizer before a main course or as the star of a casual dinner party, they bring a level of comfort and indulgence that everyone appreciates. I’ve tested this recipe dozens of times, adjusting the garlic powder ratio and the type of cheese, until I landed on this perfect balance. It’s become my go-to for any occasion where I want to treat my guests to something special without spending hours prepping.
Why You’ll Love This Recipe
There are a few reasons why these Crispy Garlic Parmesan Chicken Skewers have earned a permanent spot in my weekly meal planning, especially when guests are coming over. It’s not just about the taste, though that’s definitely the main draw. It’s about the whole experience of making and sharing them.
- Impressive Presentation — Nothing says “I put effort into this” like a platter of golden skewers. They look restaurant-quality but take minimal active time. I once served these at a potluck, and people thought I’d bought them from a high-end bistro.
- Perfect Texture Contrast — The outside is shatteringly crisp, thanks to the panko breadcrumbs, while the inside stays juicy and tender. I’ve tried softer coatings, but they just don’t give you that same satisfying crunch with every bite.
- Flavor Bomb — Garlic and parmesan are classic for a reason. They complement each other perfectly. The garlic provides a sharp, savory punch, while the cheese adds a nutty, salty depth. It’s a flavor combination that never gets old.
- Easy to Eat — Skewers are inherently easy to eat. No plates, no forks needed if you’re standing around. This makes them perfect for mingling. I love how my guests can hold a skewer in one hand and a drink in the other.
- Quick Cooking Time — From prep to plate, these take about 20 minutes. I can throw them in the oven while I’m finishing up a salad or pouring wine. It’s efficient without feeling rushed.
- Make-Ahead Friendly — You can assemble the skewers up to 24 hours in advance and keep them in the fridge. This is a lifesaver when you’re hosting a large group. I prep them the morning of the party and just pop them in the oven when guests arrive.
This is my go-to when dinner needs to just work but still feel celebratory. It’s comfort food elevated by simplicity.
Key Ingredients
Let’s talk about what goes into these Crispy Garlic Parmesan Chicken Skewers. I’ve kept the ingredient list short because when you have good basics, you don’t need a long list of fancy items. Here is exactly what you need and why each part matters.
Chicken Breast
(1.5 lbs / 680g) — I use boneless, skinless chicken breasts. They are lean and cook quickly. Cut them into 1-inch cubes. Uniform size is key here so that every piece cooks at the same rate. If your cubes are different sizes, some will be dry while others are undercooked.
Panko Breadcrumbs
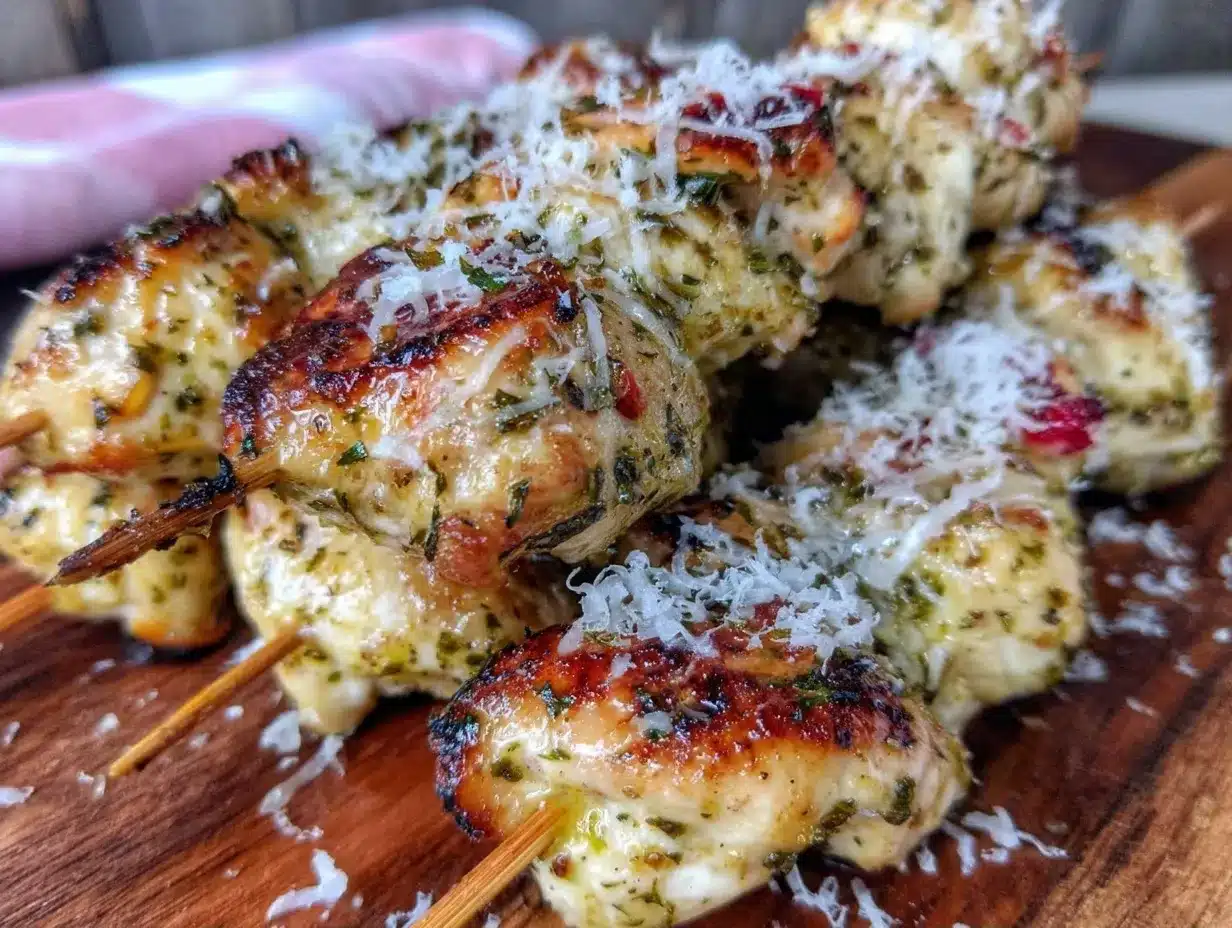
(1 cup / 90g) — This is non-negotiable for that signature crunch. Regular breadcrumbs are too fine and dense; they’ll make the coating heavy. Panko creates those airy, jagged shards of crispiness. I prefer the Japanese-style brands because they stay crispier longer. If you can’t find panko, you can pulse regular breadcrumbs in a food processor to break them up, but panko is best.
Grated Parmesan Cheese
(0.5 cup / 50g) — Freshly grated is the way to go. Pre-grated cheese often has anti-caking agents that prevent it from melting properly and sticking to the chicken. I buy a wedge of Parmigiano-Reggiano and grate it myself. It has a sharper, more complex flavor that really shines through.
Eggs
(2 large / ~100g) — The eggs act as the glue. They help the breadcrumb mixture adhere to the chicken. Whisk them well before dipping the chicken. If you’re worried about the coating falling off, you can add a teaspoon of water to the eggs to thin them slightly, making it easier to get an even coat.
Garlic Powder
(2 teaspoons / 6g) — This is where the flavor lives. Don’t skip this or substitute with fresh garlic in the coating, as fresh garlic can burn in the oven. Garlic powder distributes evenly and gives that consistent savory kick. I use a good quality brand because it makes a noticeable difference.
Italian Seasoning
(1 teaspoon / 2g) — This adds herbal notes that complement the garlic and cheese. It usually contains oregano, basil, and thyme. If you don’t have Italian seasoning, you can use a mix of dried oregano and basil, but the blend works best.
Butter
(2 tablespoons / 30g) — Melted butter is brushed over the skewers before baking. It helps the breadcrumbs brown evenly and adds richness. You can substitute with olive oil if you prefer, but butter gives that classic, rich flavor that pairs so well with parmesan.
Fresh Parsley
(2 tablespoons / 5g, chopped) — For garnish. It adds a pop of color and a fresh, peppery note that cuts through the richness of the cheese and chicken. It’s not just for looks; it balances the dish.
Tools Needed
You don’t need fancy equipment to make these Crispy Garlic Parmesan Chicken Skewers. Here’s what I use, along with some alternatives.
- Bamboo Skewers — I use 10-inch bamboo skewers. You’ll need about 8-10 skewers. Tip: Soak them in water for at least 30 minutes before using to prevent them from burning in the oven.
- Baking Sheets — I use two standard half-sheet pans. Make sure they are rimmed to catch any drips. If you don’t have two, you can bake in batches.
- Wire Rack — I highly recommend using a wire rack placed on top of the baking sheet. This allows air to circulate around the chicken, ensuring the bottom gets crispy too. If you skip the rack, flip the skewers halfway through.
- Three Shallow Bowls — You’ll need three bowls for the dredging station: one for flour (optional, but helps adhesion), one for beaten eggs, and one for the panko-parmesan mixture. I use shallow pie dishes because they make dipping easier.
- Pastry Brush — For brushing the melted butter over the skewers. A silicone brush is easiest to clean.
How to Make Crispy Garlic Parmesan Chicken Skewers
Ready to get cooking? Here is the step-by-step process. I’ve broken it down so you know exactly what to expect at each stage.
Step 1: Prep the Chicken (10 minutes)
Start by cutting your chicken breasts into 1-inch cubes. Try to keep them as uniform as possible. This ensures even cooking. If you have a large breast, cut it in half lengthwise first, then crosswise. Place the cubes in a large bowl. Pat them dry with paper towels. Moisture is the enemy of crispiness, so getting them dry helps the coating stick better.
Step 2: Set Up Your Dredging Station (5 minutes)
Arrange three shallow bowls in a row. In the first bowl, place 0.5 cup of all-purpose flour. Season the flour with a pinch of salt and pepper. In the second bowl, whisk the 2 large eggs until smooth. In the third bowl, mix the 1 cup panko breadcrumbs, 0.5 cup grated parmesan, 2 teaspoons garlic powder, and 1 teaspoon Italian seasoning. Mix this well so the flavor is distributed throughout the coating.
Step 3: Dredge the Chicken (5 minutes)
Take a handful of chicken cubes and dredge them in the flour, shaking off any excess. Next, dip them into the egg wash, making sure they are fully coated. Finally, press them into the panko mixture. Press firmly! You want the coating to stick. Roll the chicken around in the crumbs to ensure full coverage. Place the coated chicken on a clean plate. Repeat with the remaining chicken.
Step 4: Assemble the Skewers (5 minutes)
Thread the coated chicken cubes onto the soaked bamboo skewers. You can fit about 4-5 cubes per skewer, depending on the size. Leave a little space between the cubes so the heat can circulate. Don’t pack them too tightly, or they’ll steam instead of bake. Place the assembled skewers on a wire rack set over a baking sheet.
Step 5: Brush and Bake (15-18 minutes)
Preheat your oven to 400°F (200°C). Melt the 2 tablespoons of butter in the microwave. Using a pastry brush, lightly brush the tops of the chicken skewers with the melted butter. This helps them brown. Bake for 15-18 minutes. Halfway through, flip the skewers and brush the other side with butter. The chicken is done when the internal temperature reaches 165°F (74°C) and the coating is golden brown and crispy. If your oven runs hot, check them at 15 minutes.
Step 6: Garnish and Serve
Remove the skewers from the oven and let them rest for 2 minutes. This allows the juices to redistribute. Sprinkle with fresh chopped parsley. Serve immediately while hot and crispy.
Total Time: 40 minutes (15 prep, 25 cook).
Expert Tips
Here’s everything I learned from making these Crispy Garlic Parmesan Chicken Skewers too many times. I want you to get it right the first time.
Don’t Skip the Rest
After dredging the chicken, let the coated pieces rest on the plate for 10-15 minutes before skewering. This allows the egg and breadcrumbs to set. I learned this the hard way when my coating fell off in the oven. A short rest makes a huge difference in adhesion.
Use a Wire Rack
I cannot stress this enough. If you place the skewers directly on the baking sheet, the bottom will get soggy. The wire rack allows hot air to circulate underneath, keeping the entire skewer crispy. It’s a small step that makes a big impact.
Don’t Overcrowd the Pan
If you’re baking multiple batches, give each skewer some space. If they are touching, they will steam each other. Crowding leads to soft, soggy coatings. I usually bake two batches to ensure maximum crispiness.
Common Problems & Solutions
- Coating Falling Off: This usually happens if the chicken is too wet or if you didn’t press the breadcrumbs firmly enough. Pat the chicken dry and press hard.
- Soggy Bottoms: Use a wire rack. If you don’t have one, flip the skewers halfway through and place them on a new layer of parchment paper.
- Dry Chicken: Don’t overcook. Chicken breast cooks quickly. Check the temperature at 15 minutes. If it hits 165°F, take it out immediately.
Recipe Variations
Once you’ve nailed the basic version, here’s how to mix it up. These Crispy Garlic Parmesan Chicken Skewers are a great canvas for other flavors.
Spicy Kick
Add 1 teaspoon of cayenne pepper or red pepper flakes to the panko mixture. This adds a nice heat that balances the richness of the cheese. I love this version with a cool dipping sauce.
Herb Garden
Swap the Italian seasoning for a mix of dried rosemary and thyme. This gives a more earthy, rustic flavor. It pairs beautifully with roasted potatoes.
Lemon Pepper
Add the zest of one lemon to the panko mixture and use lemon pepper seasoning instead of garlic powder. This brightens up the dish and makes it feel lighter. It’s perfect for spring gatherings.
Dairy-Free Option
Swap the parmesan for nutritional yeast, which gives a similar cheesy, nutty flavor. Use olive oil instead of butter for brushing. The coating might be slightly less crisp, but the flavor is still great.
Gluten-Free
Use gluten-free panko breadcrumbs and gluten-free flour for the initial dredge. Many brands now make great gluten-free panko that holds up well.
Serving & Storage
Serving: I serve these Crispy Garlic Parmesan Chicken Skewers as an appetizer, but they can easily be a main dish with a side salad. They pair wonderfully with a light, tangy cucumber tomato feta salad or a watermelon feta salad to cut through the richness. For dipping, I love a simple garlic aioli or a spicy mayo. You can also serve them with a side of roasted vegetables or mashed potatoes.
Storage: These skewers are best eaten fresh. If you have leftovers, store them in an airtight container in the refrigerator for up to 3 days. To reheat, place them in a 400°F oven for 5-7 minutes to restore crispiness. Avoid the microwave, as it will make the coating soggy. They do not freeze well raw, but you can freeze cooked skewers for up to 2 months. Reheat in the oven to crisp up.
Nutrition Information
I’m not a nutritionist, but here’s the breakdown per skewer (approx. 2 skewers per serving).
| Nutrient | Amount |
|---|---|
| Calories | 280 |
| Protein | 25g |
| Carbs | 12g |
| Fat | 14g |
| Sodium | 350mg |
My Take: This is a protein-rich dish with a moderate carb count from the breadcrumbs. It’s indulgent due to the cheese and butter, but it’s a far cry from fried takeout. I know exactly what’s in it, and it feels like a treat rather than a cheat meal.
Final Thoughts
These Crispy Garlic Parmesan Chicken Skewers are more than just a recipe; they’re a way to bring people together. I love the sound of sizzling chicken, the smell of garlic filling the kitchen, and the sight of empty skewers on the table. It’s simple, it’s delicious, and it’s always a hit. I encourage you to make it your own—add some heat, swap the herbs, or change the dipping sauce. The possibilities are endless. If you make this, drop a comment! I love hearing how it turns out in your kitchen. Happy cooking!
FAQs
Can I use chicken thighs instead of breasts?
Yes, you can! Chicken thighs are juicier and more forgiving if you overcook them slightly. Just keep in mind that they have more fat, so the coating might be slightly less crisp. I recommend using boneless, skinless thighs and cutting them into similar-sized cubes.
Do I have to soak the bamboo skewers?
It’s highly recommended. If you don’t soak them, the wood can burn or splinter in the oven. Soak them in water for at least 30 minutes. If you’re in a hurry, you can soak them in boiling water for 10 minutes, but 30 minutes is safer.
Can I make these in an air fryer?
Absolutely! Air frying is a great way to get extra crispiness with less oil. Cook at 375°F (190°C) for 10-12 minutes, flipping halfway through. Keep an eye on them, as air fryers vary in power. They come out incredibly crunchy.
How do I prevent the coating from falling off?
The key is pressing the breadcrumbs firmly onto the chicken. Also, letting the coated chicken rest for 10-15 minutes before baking helps the coating set. If the chicken is too wet, pat it dry first. These steps ensure the coating stays put.
Can I prepare these ahead of time?
Yes, you can assemble the skewers up to 24 hours in advance. Keep them covered in the refrigerator. When you’re ready to cook, let them sit at room temperature for 15 minutes before baking. This helps them cook more evenly.
What dipping sauces go well with these?
I love a classic garlic aioli, a spicy mayo, or a simple ranch dressing. For something lighter, a lemon yogurt dip works beautifully. The savory chicken pairs well with both creamy and tangy sauces.
Pin This Recipe!
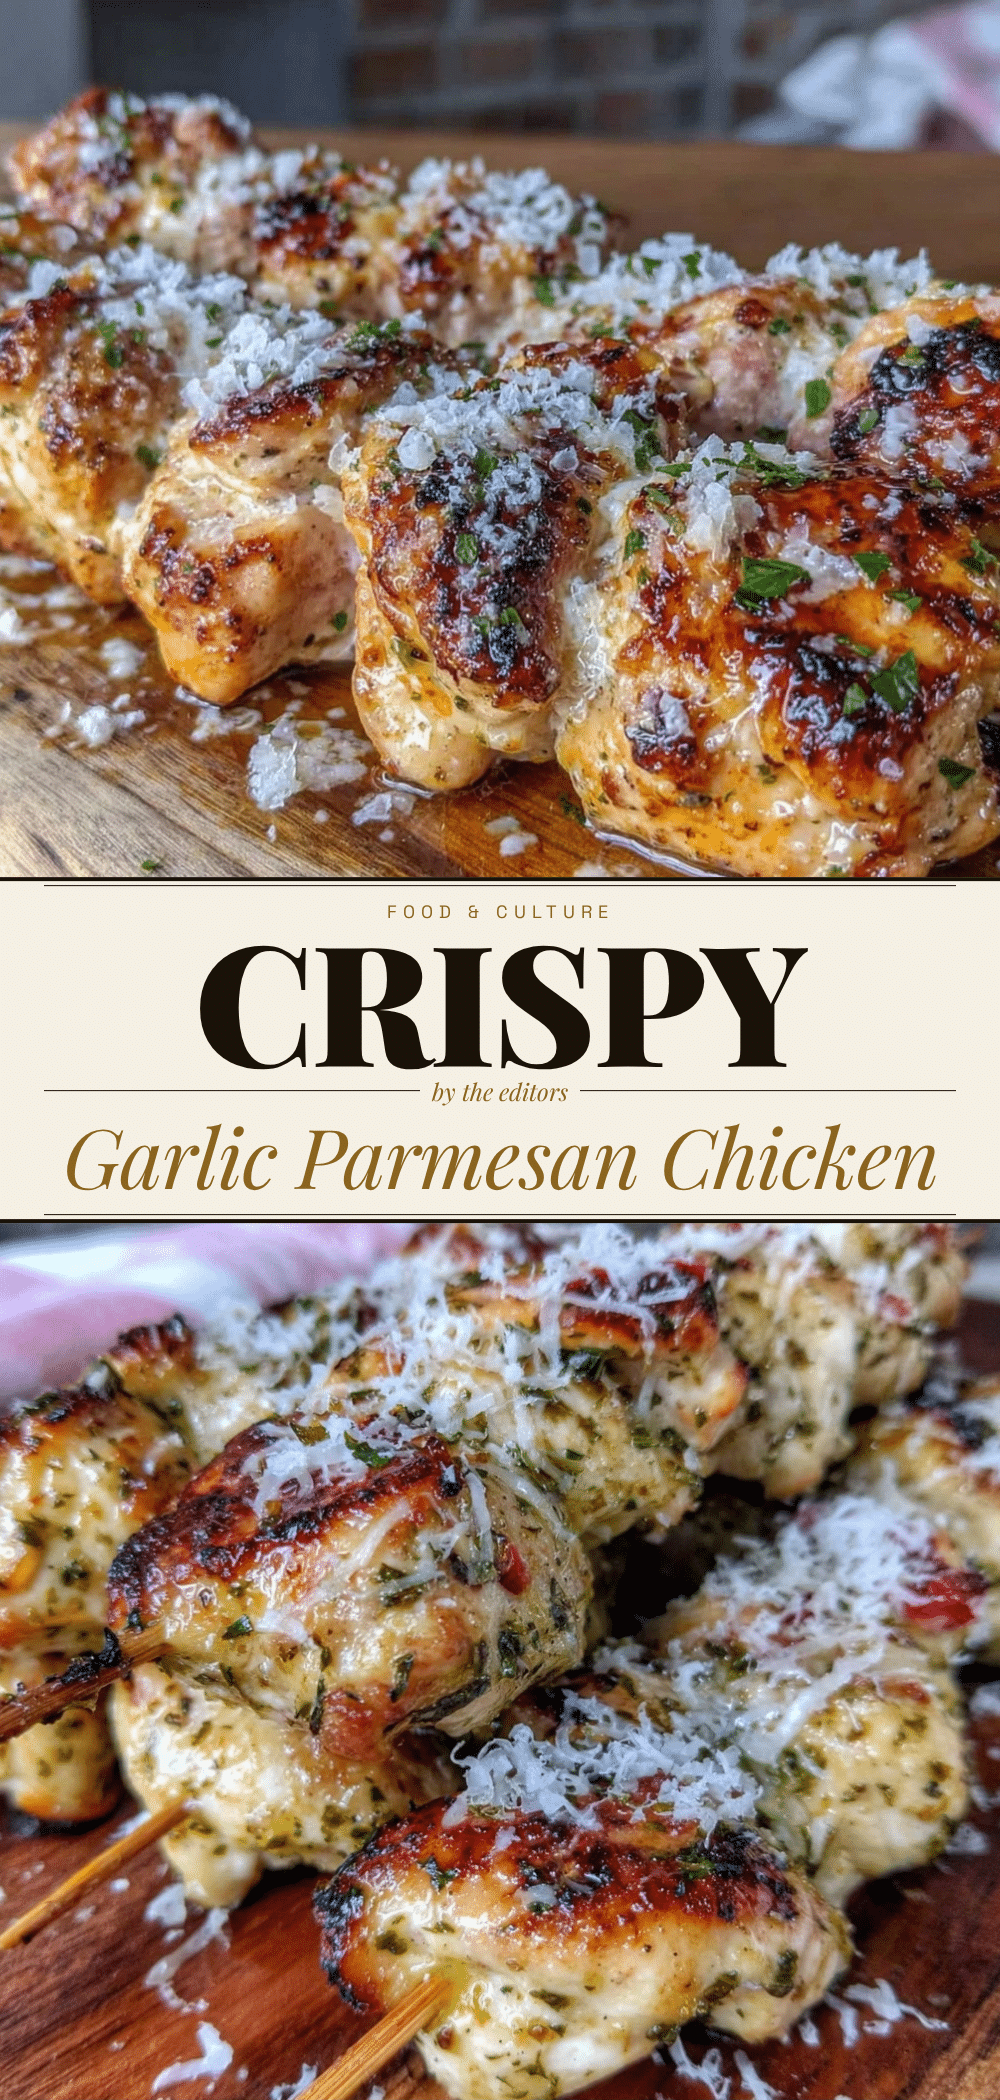

Crispy Garlic Parmesan Chicken Skewers: Perfect Party Appetizer
- Total Time: 40 minutes
- Yield: 8-10 servings 1x
Description
These Crispy Garlic Parmesan Chicken Skewers are an impressive yet easy-to-make appetizer featuring golden-brown, crunchy chicken coated in panko and parmesan, seasoned with garlic and herbs.
Ingredients
- 1.5 lbs boneless, skinless chicken breasts, cut into 1-inch cubes
- 1 cup panko breadcrumbs
- 0.5 cup freshly grated Parmesan cheese
- 2 large eggs, whisked
- 2 teaspoons garlic powder
- 1 teaspoon Italian seasoning
- 2 tablespoons butter, melted
- 2 tablespoons fresh parsley, chopped
- 0.5 cup all-purpose flour (for dredging)
- Salt and pepper (for seasoning flour)
Instructions
- Preheat oven to 400°F (200°C). Soak bamboo skewers in water for at least 30 minutes.
- Pat chicken cubes dry with paper towels to ensure coating adhesion.
- Set up a dredging station with three shallow bowls: one with flour seasoned with salt and pepper, one with beaten eggs, and one with panko, parmesan, garlic powder, and Italian seasoning mixed together.
- Dredge chicken cubes in flour, shaking off excess, then dip in egg wash, and finally press firmly into the panko mixture to coat evenly.
- Place coated chicken on a plate and let rest for 10-15 minutes to help the coating set.
- Thread chicken cubes onto soaked skewers, leaving small spaces between pieces.
- Place skewers on a wire rack set over a baking sheet.
- Brush the tops of the skewers with melted butter.
- Bake for 15-18 minutes, flipping halfway through and brushing the other side with butter, until internal temperature reaches 165°F (74°C) and coating is golden brown.
- Remove from oven, let rest for 2 minutes, sprinkle with fresh parsley, and serve immediately.
Notes
Soak bamboo skewers to prevent burning. Use a wire rack to ensure even crispiness on all sides. Do not overcrowd the pan to avoid steaming. For a dairy-free option, substitute parmesan with nutritional yeast and butter with olive oil. For gluten-free, use gluten-free panko and flour.
- Prep Time: 15 minutes
- Cook Time: 25 minutes
- Category: Appetizer
- Cuisine: American
Nutrition
- Serving Size: Approx. 2 skewers pe
- Calories: 280
- Sodium: 350
- Fat: 14
- Carbohydrates: 12
- Protein: 25
Keywords: chicken skewers, garlic parmesan, party appetizer, crispy chicken, panko chicken, easy dinner, gluten-free option


