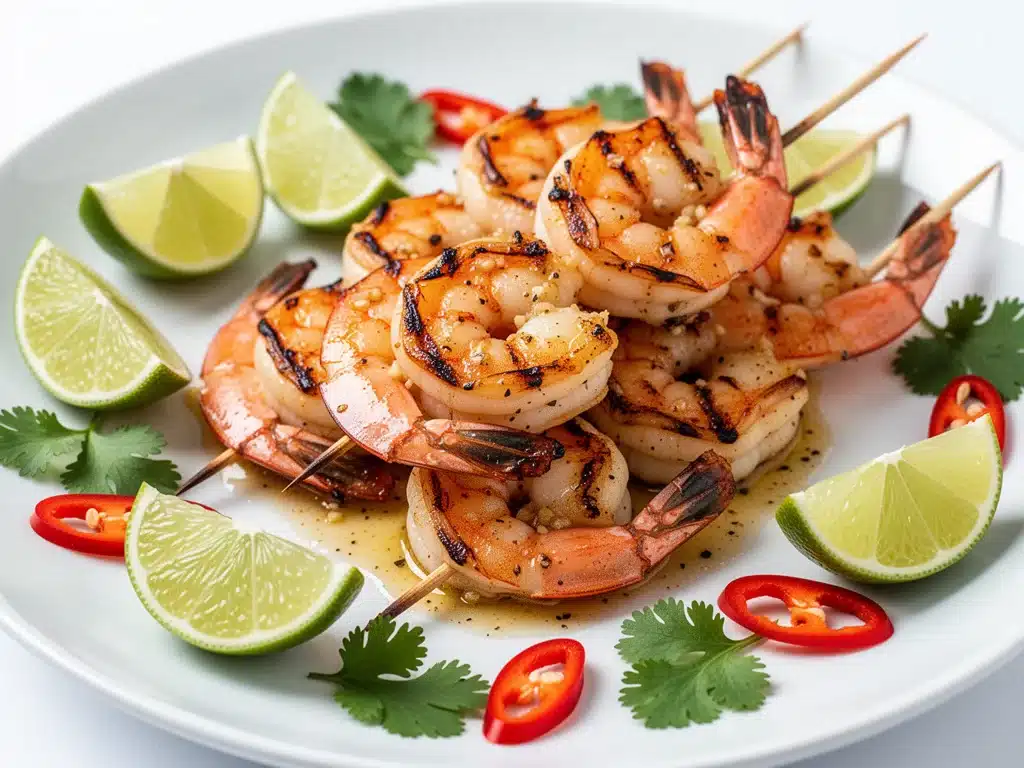
Last year, I stood in my backyard at 4:30 PM on Labor Day, staring at a grill that was already smoking and a pantry that was embarrassingly empty. I had promised my in-laws a seafood dinner. I had promised myself I wouldn’t serve frozen pizza again. But I had forgotten to buy shrimp. I had forgotten to buy anything. Panic is a weird thing—it makes you do stupid things. I ran to the corner store, grabbed the last bag of frozen shrimp, and threw together a garlic butter sauce on a whim. I didn’t think it would work. I thought it would be a disaster.
Instead, it became the highlight of the weekend. My father-in-law, a man who usually grills steak until it’s charcoal, asked me for the recipe. My kids, who usually pick at everything, ate every single skewer. And the best part? It took less time than it takes to order takeout. That was the moment I realized that Garlic Butter Grilled Shrimp Skewers weren’t just a holiday trick. They were the answer to every busy weeknight dinner I’d ever stressed over.
Now, I make these skewers at least twice a month. They’re fast, they’re fancy enough for company, but simple enough for a Tuesday after soccer practice. I’ve tested this garlic butter marinade with fresh shrimp, frozen shrimp, different grills, and even a cast-iron skillet when the weather was too rainy to go outside. It always works. It’s reliable, it’s delicious, and it’s going to change how you think about quick seafood dinners. If you’re tired of dry, rubbery shrimp or complicated recipes that require seven different ingredients you don’t have, you need to try this method. Trust me. Once you taste that smoky, garlicky butter, you’ll never go back.
Why You’ll Love This Recipe
There are a million reasons to cook shrimp, but this specific preparation hits a sweet spot that most weeknight meals miss. It’s not just about speed (though that’s a big part of it). It’s about the balance of flavors and the ease of cleanup. Here’s why these skewers have earned a permanent spot in my weekly rotation:
- Stupidly Fast — Seriously, if you can chop garlic and melt butter, you can make this. From thawing the shrimp to plating, it takes about 15 minutes. I’ve made this on nights when I walked in the door at 7 PM with zero energy left.
- Zero Prep Stress — No chopping vegetables. No complex marinades that need hours to sit. You just toss the shrimp in the sauce and grill. It’s the ultimate low-effort, high-reward meal.
- Restaurant Quality — The garlic butter sauce creates this rich, glossy coating that tastes like it came from a high-end seafood shack, not my backyard grill. It’s fancy without the fancy price tag.
- Perfectly Cooked Every Time — Shrimp is notoriously easy to overcook. But with these skewers, the visual cues are so clear (pink and opaque) that you can’t mess it up. I’ve taught my ten-year-old to make these, and he gets it right every time.
- Versatile Hosting — I’ve served these as a main course with corn on the cob, as an appetizer at parties, and even as a salad topper. They work for everything. My friends always ask me to bring them to potlucks because they’re always the first plate to disappear.
This recipe has saved me from takeout so many times. It’s my go-to when I want to feel like a good host without spending hours in the kitchen. It’s reliable, it’s tasty, and it makes everyone happy.
Ingredients You’ll Need
Here’s the best part: you probably have most of this already. The beauty of these skewers is that the flavor comes from simple, high-quality basics. I’m particular about three ingredients here, and I’ll tell you exactly why.
For the Shrimp
Large shrimp (1.5 pounds / 680g) — I use medium-large shrimp, peeled and deveined. You want them to be bite-sized but substantial. If you buy them with shells on, you can peel them yourself, but it takes extra time. I usually buy them pre-peeled and deveined for weeknight ease. Look for “wild-caught” if you can—it tastes better. Frozen works fine too, just make sure you thaw them completely.
Butter (1/2 cup / 113g) — Use unsalted butter so you can control the saltiness. I like to use a good quality European-style butter if I have it, because the higher fat content makes the sauce richer. But regular unsalted butter works perfectly.
Garlic (6 cloves / about 2 tablespoons minced) — Yes, six cloves. Don’t skimp. Fresh garlic is non-negotiable here. Jarred garlic has a weird metallic taste that really shows up in a simple sauce like this. Mince it finely so it melts into the butter. If you’re feeling lazy, use a garlic press, but make sure you scrape out all the cloves.
Red pepper flakes (1/2 teaspoon) — Optional, but I highly recommend it. It adds a tiny kick that cuts through the richness of the butter. I like to use a little bit so you can taste it but it’s not spicy. Adjust to your liking.
Lemon (1 large) — You’ll need juice from half a lemon for the marinade, and wedges for serving. Fresh lemon juice is key. Bottled lemon juice tastes flat and artificial. Buy a fresh lemon and squeeze it yourself. It makes a huge difference.
For the Marinade & Finishing
Olive oil (2 tablespoons) — I use extra virgin olive oil for the marinade. It adds a fruity note that pairs well with the garlic. Don’t use the cheap stuff. It makes a difference.
Parsley (2 tablespoons, chopped) — Fresh parsley is best. It adds a pop of color and a fresh, herbal flavor. Dried parsley works in a pinch, but fresh is so much better. I usually chop it while the butter is melting.
Salt and Black Pepper — Kosher salt and freshly cracked black pepper. I season the shrimp lightly before grilling, then add more salt to the butter sauce if needed. Taste as you go.
Skewers — You can use wooden skewers or metal skewers. If you use wooden ones, soak them in water for 30 minutes before grilling to prevent burning. I prefer metal skewers because they’re easier to clean and don’t burn. But wooden ones work fine if you’re careful.
Equipment Needed
You don’t need fancy equipment for this. Here’s what I actually use:
Grill — I use a gas grill because it’s easy to control the heat. But a charcoal grill works great too, and it adds that smoky flavor I love. If you don’t have a grill, you can use a grill pan or even a cast-iron skillet on the stovetop. It won’t be exactly the same, but it’ll still be delicious.
Small Saucepan — For melting the butter and garlic. A small skillet works too. I use a 8-inch skillet because it’s the perfect size for the amount of butter I’m making.
Tongs — For turning the shrimp. Metal tongs are best. Don’t use plastic; they might melt.
Basting Brush — For applying the garlic butter sauce while the shrimp grills. Silicone brushes are easier to clean, but a natural bristle brush works too. Just make sure it’s clean.
Bowl — For tossing the shrimp in the initial marinade. Any medium-sized bowl works.
Plate — For serving. I usually serve these straight from the grill, so I keep a plate warm nearby.
How to Make It: Step-by-Step
Alright, let’s make this! I’m walking you through exactly how I do it, including the little tricks I’ve picked up. This is straightforward, but there are a few key steps to get it right.
Step 1: Prep the Shrimp (5 minutes)
If your shrimp are frozen, thaw them first. Put them in a bowl of cold water for about 15 minutes, or leave them in the fridge overnight. Once they’re thawed, pat them dry with paper towels. This is crucial—wet shrimp won’t sear well. If they’re too wet, they’ll steam instead of grill. I make sure they’re completely dry before seasoning.
Step 2: Marinate the Shrimp (5 minutes)
In a medium bowl, toss the shrimp with olive oil, half the lemon juice, salt, and pepper. Toss them gently to coat. Let them sit for 5-10 minutes while you prep the grill and make the sauce. You don’t need to marinate them for hours; 10 minutes is plenty. Over-marinating in acid (like lemon) can start to “cook” the shrimp, making the texture mushy.
Step 3: Thread the Shrimp (5 minutes)
Thread the shrimp onto skewers. If you’re using wooden skewers, soak them in water for 30 minutes first. I like to thread two shrimp per skewer, with the tail on the outside. It makes them easier to hold and eat. If you’re using metal skewers, you can thread more shrimp per skewer since they’re thinner. Just make sure they’re not too crowded, or they won’t cook evenly.
Step 4: Make the Garlic Butter Sauce (3 minutes)
While the shrimp are prepping, melt the butter in a small saucepan over low heat. Add the minced garlic and red pepper flakes. Stir constantly for about 1 minute, until the garlic is fragrant but not brown. Browned garlic tastes bitter. You want it to be golden and aromatic. Remove from heat and stir in the chopped parsley. Set aside.
Step 5: Grill the Shrimp (5-7 minutes)
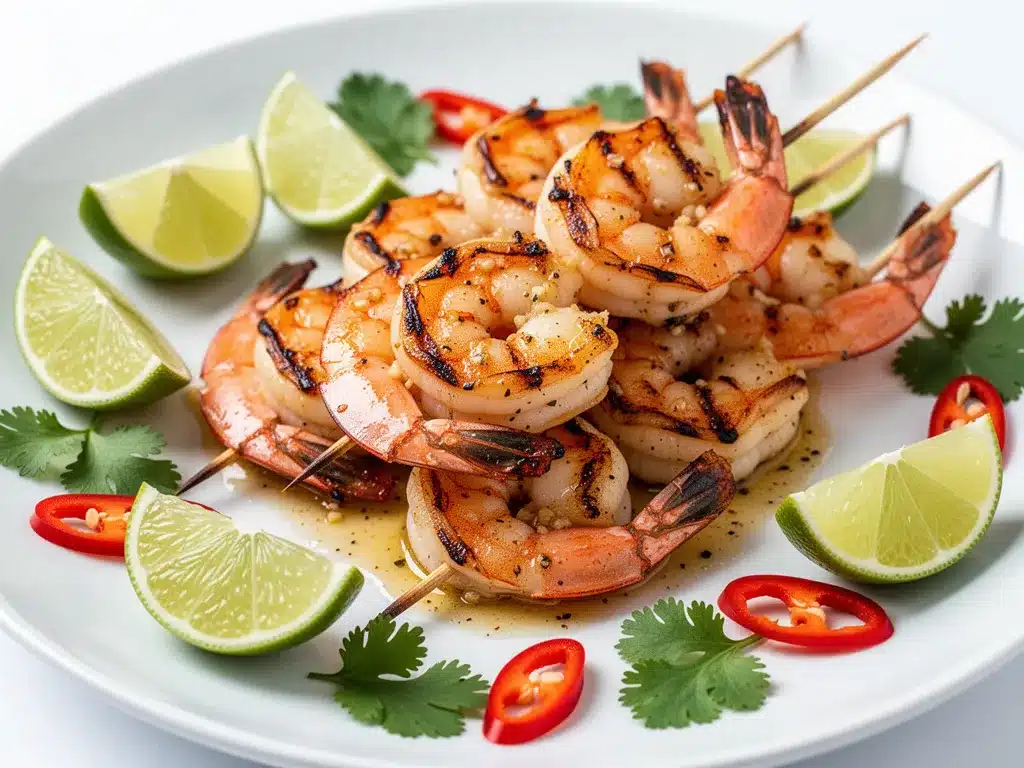
Preheat your grill to medium-high heat (about 400°F). Oil the grates lightly to prevent sticking. Place the skewers on the grill. Cook for 2-3 minutes on the first side, until you see grill marks and the shrimp start to turn pink. Flip them and brush generously with the garlic butter sauce. Cook for another 2-3 minutes, basting again halfway through. The shrimp are done when they are pink, opaque, and slightly curled. They should feel firm but not rubbery. Don’t overcook them! They cook very quickly.
Step 6: Serve
Transfer the skewers to a plate. Drizzle any remaining garlic butter sauce over the top. Serve immediately with lemon wedges on the side. I usually serve these with grilled corn, a simple green salad, or crusty bread. The key is to eat them hot, straight off the grill.
Total Time: About 15-20 minutes (5 minutes prep, 5 minutes cook, 5 minutes sauce, 5 minutes grill)
Built-in Troubleshooting:
- Shrimp sticking to the grill? Make sure your grates are clean and oiled. If they stick, don’t force them. Wait a minute; they’ll release naturally.
- Sauce burning? Keep the heat low when melting the butter. Garlic burns easily. If it starts to smoke, remove from heat immediately.
- Shrimp overcooked? Remove from heat as soon as they turn pink. They continue to cook slightly after being removed from the grill.
Expert Tips & Tricks
Here’s everything I’ve learned from making these skewers dozens of times. These tips will save you from my mistakes.
Don’t Overcrowd the Grill — If you put too many skewers on at once, the temperature drops and the shrimp steam instead of grill. Cook in batches if needed. It’s worth the extra time.
Baste, Don’t Just Brush — I like to dip the skewers into the sauce bowl rather than just brushing them. It ensures every nook and cranny gets coated. Just make sure the sauce is warm, not hot, so it doesn’t cook the garlic further.
Fresh Garlic Only — I know it’s tempting to use jarred garlic, but fresh garlic has a brightness that jarred garlic lacks. In a simple sauce like this, the difference is night and day. Mince it finely so it melts into the butter.
Keep the Sauce Warm — If the butter sauce solidifies in the fridge, gently warm it before serving. Cold butter doesn’t coat the shrimp as well. I keep the saucepan on the warmest setting of the stove (off) to keep it liquid.
Use a Meat Thermometer (Optional) — If you’re worried about undercooking, use a meat thermometer. Shrimp are done at 120°F. But honestly, the color and texture are usually enough. Pink and opaque is the goal.
Common Mistakes (and how to avoid them):
- Mistake: Rubber shrimp — Fix: Don’t overcook! Shrimp cook in minutes. Watch them closely.
- Mistake: Burnt garlic — Fix: Low heat. Garlic burns in seconds. Stir constantly.
- Mistake: Soggy shrimp — Fix: Pat them dry. Moisture is the enemy of a good sear.
Pro Tricks I’ve Learned:
For Extra Flavor — Add a squeeze of fresh lemon juice to the sauce right before serving. It brightens everything up.
For Better Texture — If you’re using wooden skewers, soak them for at least 30 minutes. I usually soak them in the morning if I’m grilling at night.
For Restaurant-Quality Finish — Sprinkle a little flaky sea salt on top right before serving. It adds a nice crunch and visual appeal.
Variations & Substitutions
Once you’ve nailed the basic version, here’s how you can mix it up. I’ve tried all of these.
Cajun Style — Add 1 teaspoon Cajun seasoning to the marinade. It adds a spicy, smoky kick. My kids love this version.
Lemon Herb — Swap the parsley for dill or thyme. It gives a different, more aromatic flavor. Great with fish, too.
Spicy Garlic — Add a diced jalapeño to the butter sauce. It’s fiery and delicious. Use caution.
Veggie Skewers — Thread bell peppers, zucchini, and red onion between the shrimp. It adds color and nutrients. Just make sure the veggies are cut to the same size as the shrimp so they cook evenly.
Dietary Modifications:
- Gluten-Free — This recipe is naturally gluten-free. Just check your seasonings to make sure they’re GF.
- Dairy-Free — Swap the butter for olive oil or a dairy-free butter alternative. It won’t be as rich, but it works.
- Low-Carb — Skip the bread and serve with a salad. These skewers are naturally low-carb.
Serving & Storage
How to Serve: I usually serve these straight from the grill at the dinner table. They look rustic and stay warm. But here are other ways I’ve enjoyed them:
Side Dishes: Grilled corn on the cob, a simple green salad with balsamic vinaigrette, roasted asparagus, or crusty bread to soak up the sauce.
Wine Pairing: Not a wine expert, but my wine-snob friend says Pinot Grigio or Sauvignon Blanc works great with this. Something crisp and acidic to cut through the butter.
Storage Instructions:
Refrigerator: Store leftovers in an airtight container for up to 2 days. The shrimp will get a bit rubbery, but they’re still good. Reheat gently.
Reheating: Best method: Warm them in a skillet over low heat with a splash of water or broth. Don’t microwave them; they’ll get rubbery. If you do microwave, do it in short bursts and add a little liquid.
Freezing: Honestly, this doesn’t freeze well. The texture changes too much. Make it fresh or store in the fridge for up to 2 days.
Nutrition Information
I’m not a nutritionist, but here’s the breakdown if you’re tracking. This is per serving (based on 4 servings).
| Nutrient | Amount |
|---|---|
| Calories | 280 |
| Protein | 25g |
| Carbs | 2g |
| Fiber | 0g |
| Fat | 18g |
| Saturated Fat | 11g |
| Cholesterol | 180mg |
| Sodium | 350mg |
What’s Good: High in protein, low in carbs. Great for keto or low-carb diets.
What to Know: Higher in saturated fat from the butter. Use less butter if you’re watching your fat intake.
My Take: Look, this is a rich, indulgent dish. It’s not a diet recipe. But it’s way better than takeout, and I know exactly what’s in it. When I want to make it lighter, I use less butter and more lemon. But usually? I just eat a reasonable portion and enjoy it.
Final Thoughts
So that’s my go-to Garlic Butter Grilled Shrimp Skewers! I’ve probably talked your ear off at this point, but when you make a recipe this often, you have a lot to say about it. This has saved weeknight dinners more times than I can count. It’s my answer to “what’s for dinner” when I’m tired, don’t want takeout, and still want something that tastes really good. My kids are happy, my husband’s happy, and I’m happy because I’m not stressed about cooking.
Make it yours! Try different add-ins, swap in your favorite vegetables, adjust the garlic (though more is always better in my opinion). The best recipes are the ones you adapt to your family’s tastes. If you make this, drop a comment and let me know what you think! I love hearing how recipes turn out in your kitchen. And if something doesn’t work, tell me that too—I’m here to help troubleshoot.
Happy cooking! And I hope your kitchen smells half as good as mine does right now.
Frequently Asked Questions
Q: Can I use frozen shrimp?
A: Yes! Just make sure you thaw them completely. Put them in a bowl of cold water for 15 minutes, or leave them in the fridge overnight. Pat them dry before seasoning. Frozen shrimp are often cheaper and just as good.
Q: How do I prevent the shrimp from sticking to the grill?
A: Oil the grates well before adding the shrimp. I use a paper towel dipped in oil and hold it with tongs to rub the grates. Also, don’t move the shrimp too much. Let them sear for 2-3 minutes before flipping.
Q: Can I make this on the stovetop?
A: Absolutely. Use a grill pan or a cast-iron skillet. Heat it over medium-high heat and cook the shrimp in batches. It won’t have the smoky flavor, but it’ll still be delicious.
Q: Why did my shrimp turn out rubbery?
A: They were overcooked. Shrimp cook very quickly. As soon as they turn pink and opaque, remove them from the heat. They continue to cook slightly after being removed.
Q: Can I prep the skewers ahead of time?
A: Yes, you can thread the shrimp and marinate them in the fridge for up to 4 hours. Just don’t leave them out at room temperature for too long. Grill them right before you’re ready to eat.
Q: What kind of skewers should I use?
A: Metal skewers are easier to clean and don’t burn. Wooden skewers work too, but you need to soak them in water for 30 minutes first to prevent burning. I prefer metal for convenience.
Q: Can I add other vegetables to the skewers?
A: Yes! Bell peppers, zucchini, red onion, and cherry tomatoes all work well. Just make sure they’re cut to the same size as the shrimp so they cook evenly.
Pin This Recipe!
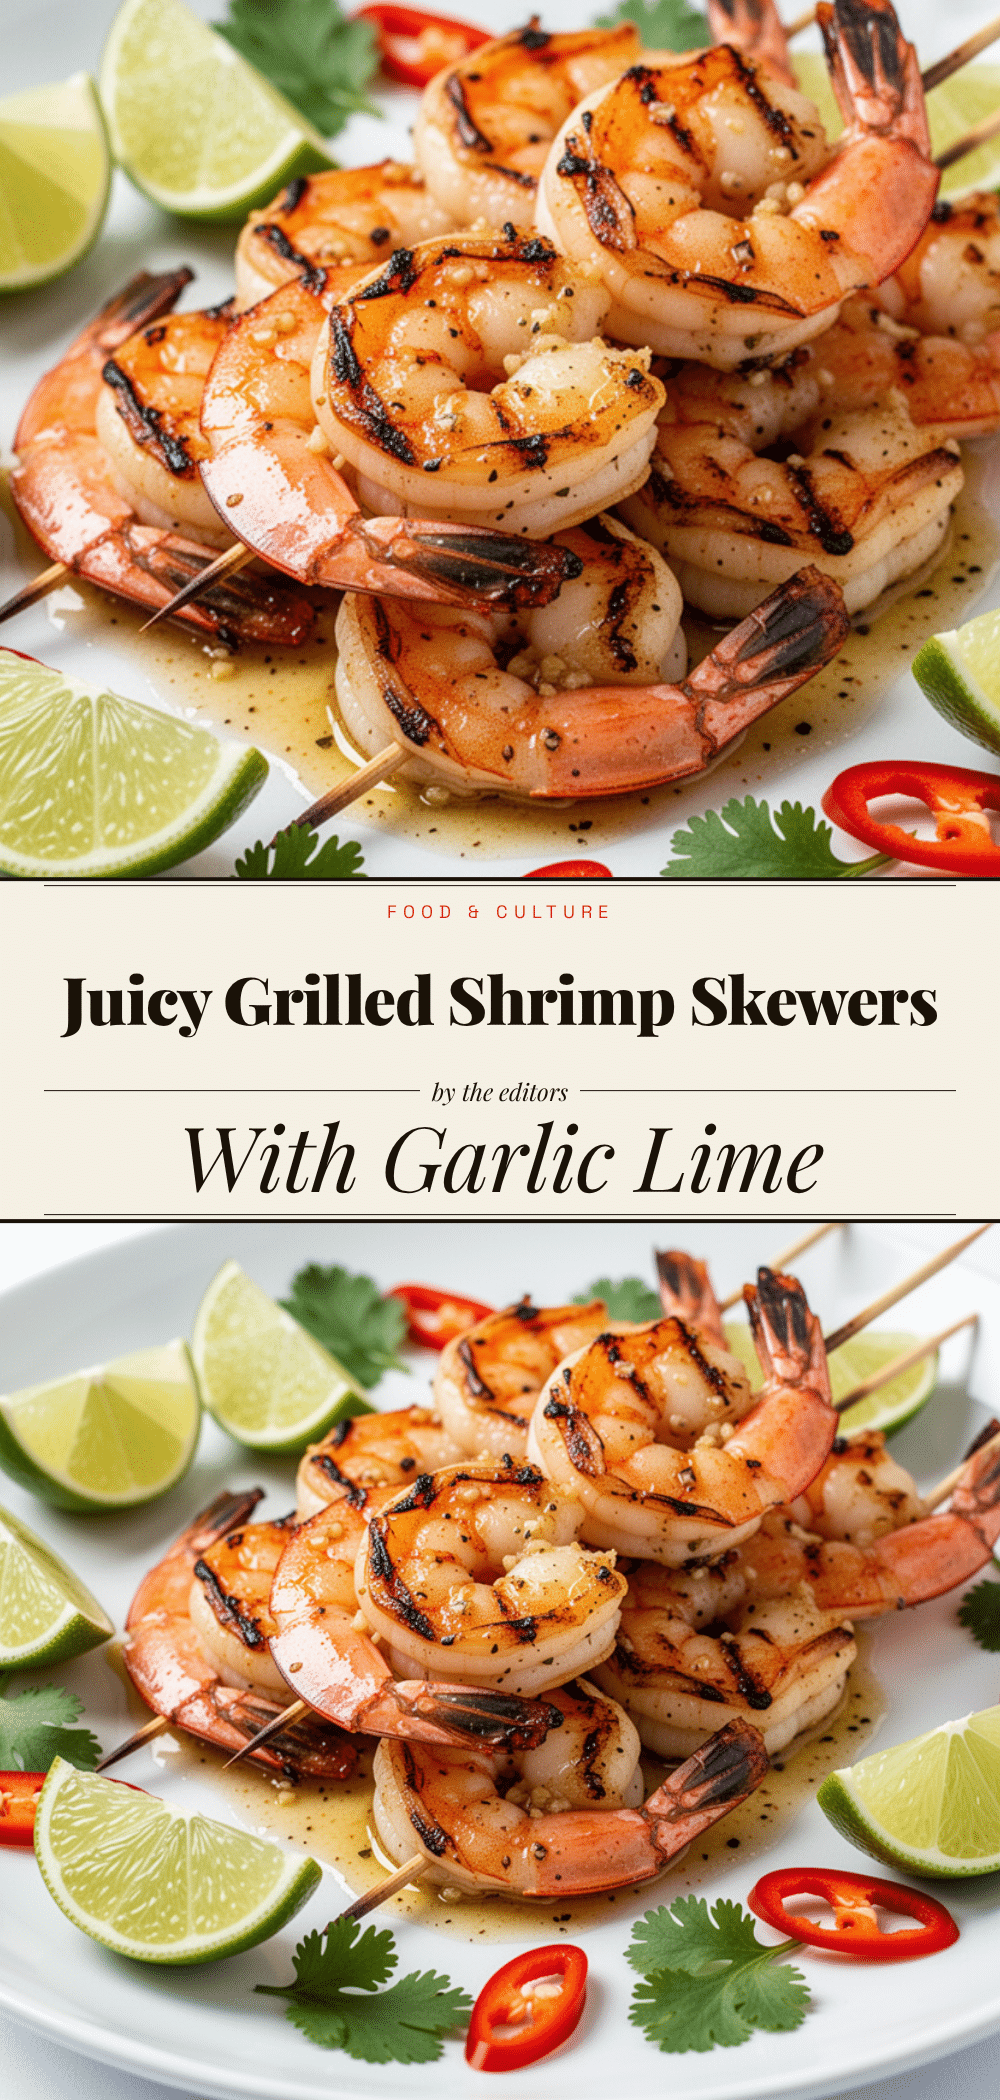
Garlic Butter Grilled Shrimp Skewers
- Total Time: 20 minutes
- Yield: 4 servings 1x
Description
A fast, 15-minute weeknight dinner featuring juicy shrimp grilled with a rich garlic butter sauce. This recipe is easy to make, restaurant-quality, and perfect for busy evenings.
Ingredients
- 1.5 pounds large shrimp, peeled and deveined
- 1/2 cup unsalted butter
- 6 cloves garlic, minced
- 1/2 teaspoon red pepper flakes
- 1 large lemon (juice of half for marinade, wedges for serving)
- 2 tablespoons extra virgin olive oil
- 2 tablespoons fresh parsley, chopped
- Kosher salt and freshly cracked black pepper
- Skewers (wooden or metal)
Instructions
- Thaw frozen shrimp if using by soaking in cold water for 15 minutes or refrigerating overnight. Pat shrimp completely dry with paper towels.
- In a medium bowl, toss shrimp with olive oil, half the lemon juice, salt, and pepper. Let sit for 5-10 minutes.
- If using wooden skewers, soak them in water for 30 minutes. Thread shrimp onto skewers, placing two per skewer with tails on the outside.
- Melt butter in a small saucepan over low heat. Add minced garlic and red pepper flakes. Stir constantly for 1 minute until fragrant but not brown. Remove from heat and stir in chopped parsley.
- Preheat grill to medium-high heat (approx. 400°F) and oil the grates.
- Grill skewers for 2-3 minutes on the first side until grill marks appear and shrimp turn pink. Flip, brush generously with garlic butter sauce, and cook for another 2-3 minutes, basting again halfway through.
- Remove shrimp when pink, opaque, and slightly curled. Serve immediately with lemon wedges and remaining sauce.
Notes
Do not overcook shrimp as they become rubbery. Ensure shrimp are dry before grilling to prevent steaming. If using wooden skewers, soaking them prevents burning. For a dairy-free version, swap butter for olive oil or dairy-free alternative.
- Prep Time: 15 minutes
- Cook Time: 5-7 minutes
- Category: Main Course
- Cuisine: American
Nutrition
- Serving Size: 1 skewer per person
- Calories: 280
- Sodium: 350
- Fat: 18
- Saturated Fat: 11
- Carbohydrates: 2
- Protein: 25
Keywords: garlic butter shrimp, grilled shrimp skewers, quick weeknight dinner, seafood recipe, easy shrimp, gluten-free dinner


