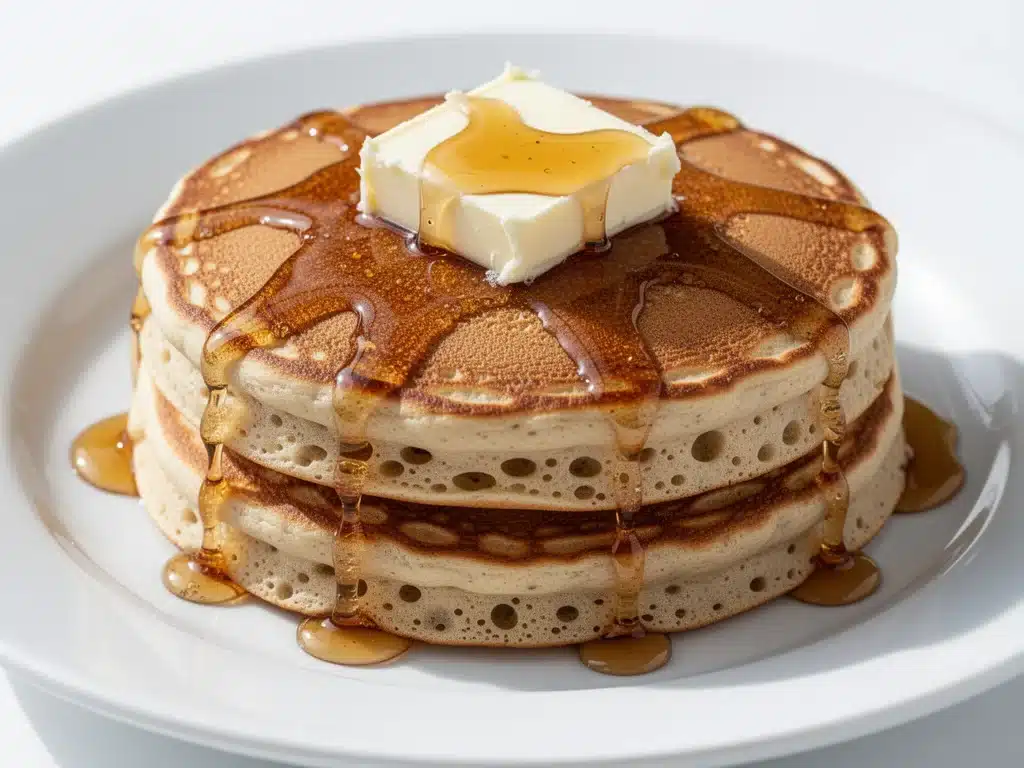
It was 7:30 AM on a Saturday, and I was staring at a jar of sourdough starter that had been sitting on my counter for three days without a single feeding. You know the look. It’s bubbly, it’s sad, and it’s screaming at me to either bake bread or throw it out. I wasn’t baking bread. I was too tired. And I definitely wasn’t throwing it out because that’s liquid gold to a sourdough enthusiast.
So, I did what any desperate, sleep-deprived parent does: I made pancakes. But not just any pancakes. I made Sourdough Discard Breakfast Pancakes. I needed something simple, something that used up that stubborn starter, and something that didn’t involve a four-hour fermentation process. I wanted fluffy, tangy, buttery goodness that my kids would actually eat before they ran out the door.
That first batch was a little dense. I’d overmixed the batter (a classic rookie mistake) and the pancakes were more like rubbery discs. But I tweaked the ratio, swapped in some yogurt for extra lift, and stopped treating the batter like it needed to be perfect. The next morning? Pure magic. Light, airy, with that subtle tang that makes you pause and smile. That was three months ago. Now, I make these Sourdough Discard Breakfast Pancakes at least twice a week. They’ve become my go-to solution for starter anxiety and lazy mornings alike.
If you’ve been hoarding your discard in the fridge wondering what to do with it, stop. This is the answer. It’s the easiest way to use up your starter without baking a loaf of sourdough bread, and the result is honestly better than your average weekend brunch pancake. Let’s get into why this 5-ingredient recipe is about to become your new favorite morning ritual.
Why You’ll Love These Sourdough Discard Breakfast Pancakes
There’s a specific kind of guilt that comes with ignoring your sourdough starter. But these pancakes erase that guilt instantly. Here’s why this recipe has completely taken over my weekend mornings:
Zero Waste Cooking at Its Finest — Seriously, this is the best way to use up discard. I usually keep my starter in the fridge and forget about it for days. Instead of throwing it out, I turn it into breakfast. It feels like I’m recycling food, but in the best possible way. Plus, it saves me from having to bake bread just to use up the starter.
Only Five Ingredients — I’m not exaggerating. You need flour, discard, milk, an egg, and a little bit of sugar. That’s it. No weird powders, no xanthan gum, no complicated steps. If you can whisk, you can make these. I’ve made these while half-asleep, holding a baby, and still got perfect results.
They Taste Amazing — People think sourdough pancakes are just a gimmick. They’re not. The fermentation from the discard adds this incredible depth of flavor that regular pancakes just don’t have. It’s tangy but not sour, and it pairs perfectly with maple syrup. My husband, who usually only eats plain buttermilk pancakes, asks for these specifically now.
Perfectly Fluffy — The trick is letting the batter rest. The baking soda reacts with the acid in the starter, creating bubbles that make these pancakes incredibly light. They’re not dense bricks. They’re cloud-like. I’ve tested this recipe with different flours and ratios, and this specific balance gives the best texture every time.
Great for Meal Prep — I make a double batch on Sundays. These freeze beautifully. I’ll grab two or three out of the freezer during the week, pop them in the toaster for two minutes, and it’s like they’re fresh. This is a lifesaver for busy weekdays when I don’t want to make a whole batch of batter.
This recipe has saved me from throwing away so much starter. It’s simple, it’s delicious, and it’s the perfect way to start the day without spending an hour in the kitchen.
Ingredients You’ll Need
Here’s the best part: you probably have almost all of this in your kitchen already. This isn’t a recipe that requires a special trip to the store. It’s pantry-friendly and straightforward.
Sourdough Discard (1 cup / 240g) — This is the star of the show. Use your unfed, refrigerated starter. It doesn’t need to be active or bubbly; in fact, a slightly older discard adds more tang. If your starter is very liquidy, you might need to adjust the flour slightly, but generally, 1 cup is the sweet spot. I always keep a jar of this ready in the fridge.
All-Purpose Flour (1 cup / 125g) — Standard AP flour works best here. It gives the right structure without being too heavy. I don’t recommend using bread flour because it can make the pancakes too chewy. Cake flour is too delicate. AP is the perfect middle ground. Sift it if you have lumps, but honestly, I just whisk it in.
Whole Milk (1 cup / 240ml) — Whole milk adds richness and helps with browning. You can use 2% or even oat milk if you’re dairy-free, but the texture won’t be quite as luxurious. I like the creaminess that whole milk brings to the batter. Room temperature milk is best so it doesn’t shock the starter, but cold milk works fine if you’re in a rush.
Egg (1 large) — This binds everything together and adds lift. I use large eggs, straight from the fridge. Some recipes call for separating the egg and whipping the whites, but I’ve found that’s unnecessary for this simple version. Just whisk it in with the milk.
Granulated Sugar (2 tablespoons) — This helps with browning and balances the tang of the sourdough. You can reduce this to 1 tablespoon if you prefer less sweet pancakes, especially if you’re topping them with fruit. I like the slight caramelization that 2 tablespoons gives.
Baking Soda (1 teaspoon) — This is crucial. The baking soda reacts with the acid in the sourdough discard to create carbon dioxide bubbles. This is what makes the pancakes fluffy. Don’t skip it, and make sure it’s fresh. Old baking soda won’t give you the lift you need.
Salt (½ teaspoon) — Just a pinch to enhance the flavor. It might seem like a lot, but the sugar balances it out. If you’re using salted butter, you can reduce this slightly.
Butter (for cooking) — I use unsalted butter for greasing the pan. It gives a nice golden crust. You can use oil or coconut oil, but butter just tastes better.
Optional Add-ins — Blueberries, chocolate chips, or diced apples. I love throwing in a handful of blueberries right before cooking. They get juicy and sweet. Just fold them in gently.
Equipment Needed
You don’t need fancy gadgets for this. Here’s what I actually use:
Large Mixing Bowl — I use a 4-quart bowl. It needs to be big enough to whisk everything without splattering. I prefer glass or ceramic because they’re easy to clean.
Whisk — A standard balloon whisk works perfectly. I don’t use a spoon because it doesn’t incorporate the air as well.
Non-Stick Skillet or Griddle — This is the most important tool. I use a 10-inch non-stick skillet. It heats evenly and prevents sticking. If you have a griddle, even better, but a skillet is fine for smaller batches.
Spatula — A thin, flexible spatula is best for flipping. I use a silicone one because it doesn’t scratch my pan.
Ladle or Measuring Cup — To pour consistent portions. I use a ¼ cup measure to keep the pancakes uniform size.
Paper Towels — For wiping the pan between batches. I wipe the pan with a paper towel dipped in a little oil after every few pancakes to keep it from sticking.
How to Make It: Step-by-Step
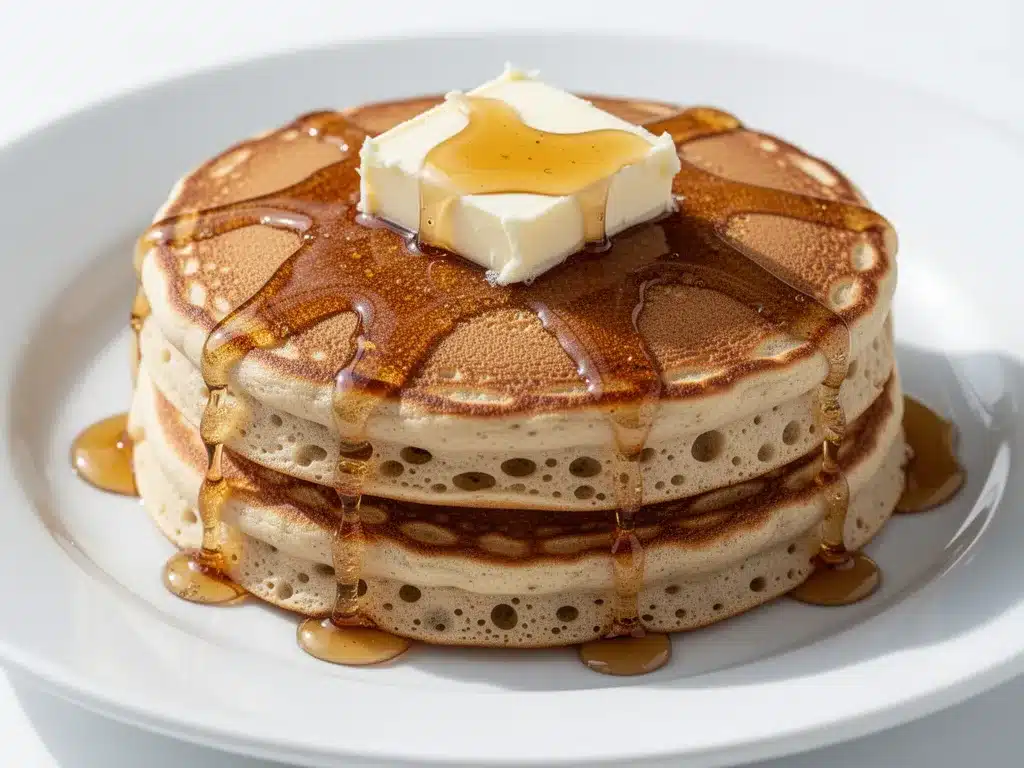
Alright, let’s make these! It’s going to take about 20 minutes from start to finish. Here’s exactly how I do it.
Step 1: Mix the Wet Ingredients
In your large bowl, whisk together the sourdough discard, milk, egg, and sugar. Make sure the sugar is mostly dissolved. Whisk until everything is smooth and combined. There shouldn’t be any visible lumps of egg or sugar. This takes about 30 seconds.
Step 2: Add the Dry Ingredients
Add the flour, baking soda, and salt to the wet mixture. Now, here’s the key: mix gently. I use my whisk to fold the ingredients together. Stop mixing as soon as the flour disappears. The batter will be thick and lumpy. This is good. Do not overmix. Overmixing develops gluten and makes tough pancakes. Lumpy batter means fluffy pancakes.
Step 3: Let the Batter Rest
Let the batter sit for 5-10 minutes while you heat your pan. This gives the baking soda time to react with the starter, creating bubbles. You’ll see tiny bubbles forming on the surface. This is your sign that the pancakes will be light. Don’t skip this step.
Step 4: Heat the Pan
Heat your non-stick skillet over medium heat. I test the heat by flicking a few drops of water onto the pan. If they sizzle and evaporate quickly, it’s ready. If they dance around, it’s too hot. If they just sit there, it’s too cold. Medium is the sweet spot.
Step 5: Cook the Pancakes
Lightly grease the pan with butter. Pour ¼ cup of batter for each pancake. Don’t crowd the pan. Cook for 2-3 minutes. You’ll know it’s time to flip when the edges look set and bubbles form on the surface and pop, leaving small holes. Flip gently and cook for another 1-2 minutes on the other side until golden brown.
Step 6: Serve
Stack the pancakes on a plate. Keep them warm in a 200°F oven if you’re making a batch. Serve immediately with maple syrup, butter, and your favorite toppings. They’re best fresh, but leftovers are great too.
Troubleshooting Tips: If the pancakes are burning before they’re cooked inside, lower the heat. If they’re pale and not browning, increase the heat slightly. The batter should spread easily when poured. If it’s too thick, add a splash of milk. If it’s too thin, add a teaspoon of flour.
Expert Tips & Tricks
Here’s everything I’ve learned from making these dozens of times. These tips will save you from my mistakes.
Don’t Overmix — I’ve said it twice, but it’s worth repeating. Lumpy batter is fluffy batter. If you mix until smooth, you’ll get dense pancakes. Stop as soon as you see no dry flour.
Test the Pan Temperature — This is the most common mistake. If the pan is too hot, the outside burns before the inside cooks. If it’s too cool, the pancakes are pale and rubbery. Medium heat is key. Adjust as needed.
Use Fresh Baking Soda — If your baking soda is more than six months old, it might not have enough lifting power. Test it by dropping a little vinegar on it. If it fizzes vigorously, it’s good. If not, replace it.
Wipe the Pan — As the pancakes cook, butter can burn and stick. Wipe the pan with a paper towel between batches to keep it clean. This ensures even browning and prevents burnt tastes.
Keep Them Warm — If you’re making a large batch, keep the finished pancakes warm in a 200°F oven on a wire rack. This keeps them crispy on the outside and soft on the inside.
Add Toppings Before Cooking — If you’re adding blueberries or chocolate chips, press them into the batter right after pouring. Don’t mix them into the bowl, or they’ll sink to the bottom.
Variations & Substitutions
Once you’ve nailed the basic version, here’s how you can mix it up. I’ve tried all of these.
Banana Pancakes — Mash one ripe banana and fold it into the batter. Reduce the sugar to 1 tablespoon. These are naturally sweet and delicious.
Chocolate Chip — Add ½ cup of chocolate chips. They get melty and gooey. My kids love these.
Blueberry — Add 1 cup of fresh or frozen blueberries. If using frozen, don’t thaw them first, or the batter will turn purple.
Gluten-Free — Use a 1:1 gluten-free flour blend. The texture will be slightly different, but still tasty. Add an extra teaspoon of baking powder for lift.
Dairy-Free — Use oat milk or almond milk instead of dairy milk. Use coconut oil or vegan butter for cooking. The flavor will be slightly different, but still good.
Whole Wheat — Swap half the all-purpose flour for whole wheat flour. This adds fiber and a nuttier flavor. The pancakes will be denser, but still delicious.
Serving & Storage
How to Serve: I usually serve these straight from the pan, stacked high. Top with butter, warm maple syrup, and fresh berries. A dusting of powdered sugar is nice too. For a savory twist, try serving with crispy bacon and a side of fruit salad.
Storage: Store leftovers in an airtight container in the fridge for up to 3 days. They’re best reheated, not eaten cold.
Reheating: The best way is to toast them. Pop them in the toaster for 1-2 minutes. They’ll be crispy on the outside and soft on the inside. You can also microwave them, but they’ll be softer. Add a splash of milk if you’re microwaving to keep them moist.
Freezing: These freeze well. Let them cool completely, then stack them with parchment paper between each pancake. Place them in a freezer bag. They’ll last for up to 3 months. Reheat in the toaster or oven.
Nutrition Information
I’m not a nutritionist, but here’s the breakdown if you’re tracking. Per serving (based on 4 pancakes):
- Calories: 220
- Protein: 6g
- Carbs: 35g
- Fiber: 1g
- Sugar: 8g
- Fat: 7g
- Saturated Fat: 3g
- Cholesterol: 45mg
- Sodium: 250mg
Look, these are pancakes. They’re not a diet food. But they’re made with whole ingredients and no processed additives. When I want to make them lighter, I use less sugar and add more fruit. But usually? I just enjoy them. They’re a treat.
Final Thoughts
So that’s my go-to sourdough discard breakfast pancakes! I’ve probably talked your ear off at this point, but when you make a recipe this often, you have a lot to say about it. These pancakes have saved me from throwing away so much starter. They’re simple, delicious, and perfect for lazy weekends.
Make them yours! Try different toppings, swap in your favorite milk, or add some spices like cinnamon. The best recipes are the ones you adapt to your tastes. If you make these, drop a comment and let me know what you think! I love hearing how recipes turn out in your kitchen.
Frequently Asked Questions
Can I use active starter instead of discard?
Yes, you can. But the flavor will be less tangy. Discard has more acidity, which reacts better with the baking soda. If you use active starter, you might need to add a little extra baking soda for lift.
Why are my pancakes dense?
You probably overmixed the batter. Stop mixing as soon as the flour disappears. Also, check your baking soda. If it’s old, it won’t create enough bubbles.
Can I make these ahead of time?
You can make the batter ahead, but it’s best to cook them fresh. The baking soda will lose its potency over time, so the pancakes won’t rise as much. If you must prep ahead, store the batter in the fridge for up to 2 hours.
How do I store leftover pancakes?
Store them in an airtight container in the fridge for up to 3 days. Reheat in the toaster or oven for best results.
Can I freeze the batter?
No, don’t freeze the batter. The baking soda will lose its lifting power, and the texture will be off. Freeze the cooked pancakes instead.
Can I use whole wheat flour?
Yes, but the pancakes will be denser. I recommend using half whole wheat and half all-purpose flour for the best texture.
What’s the best topping?
Maple syrup and butter is classic. But I love fresh berries, whipped cream, or even peanut butter. It depends on your mood!
Pin This Recipe!
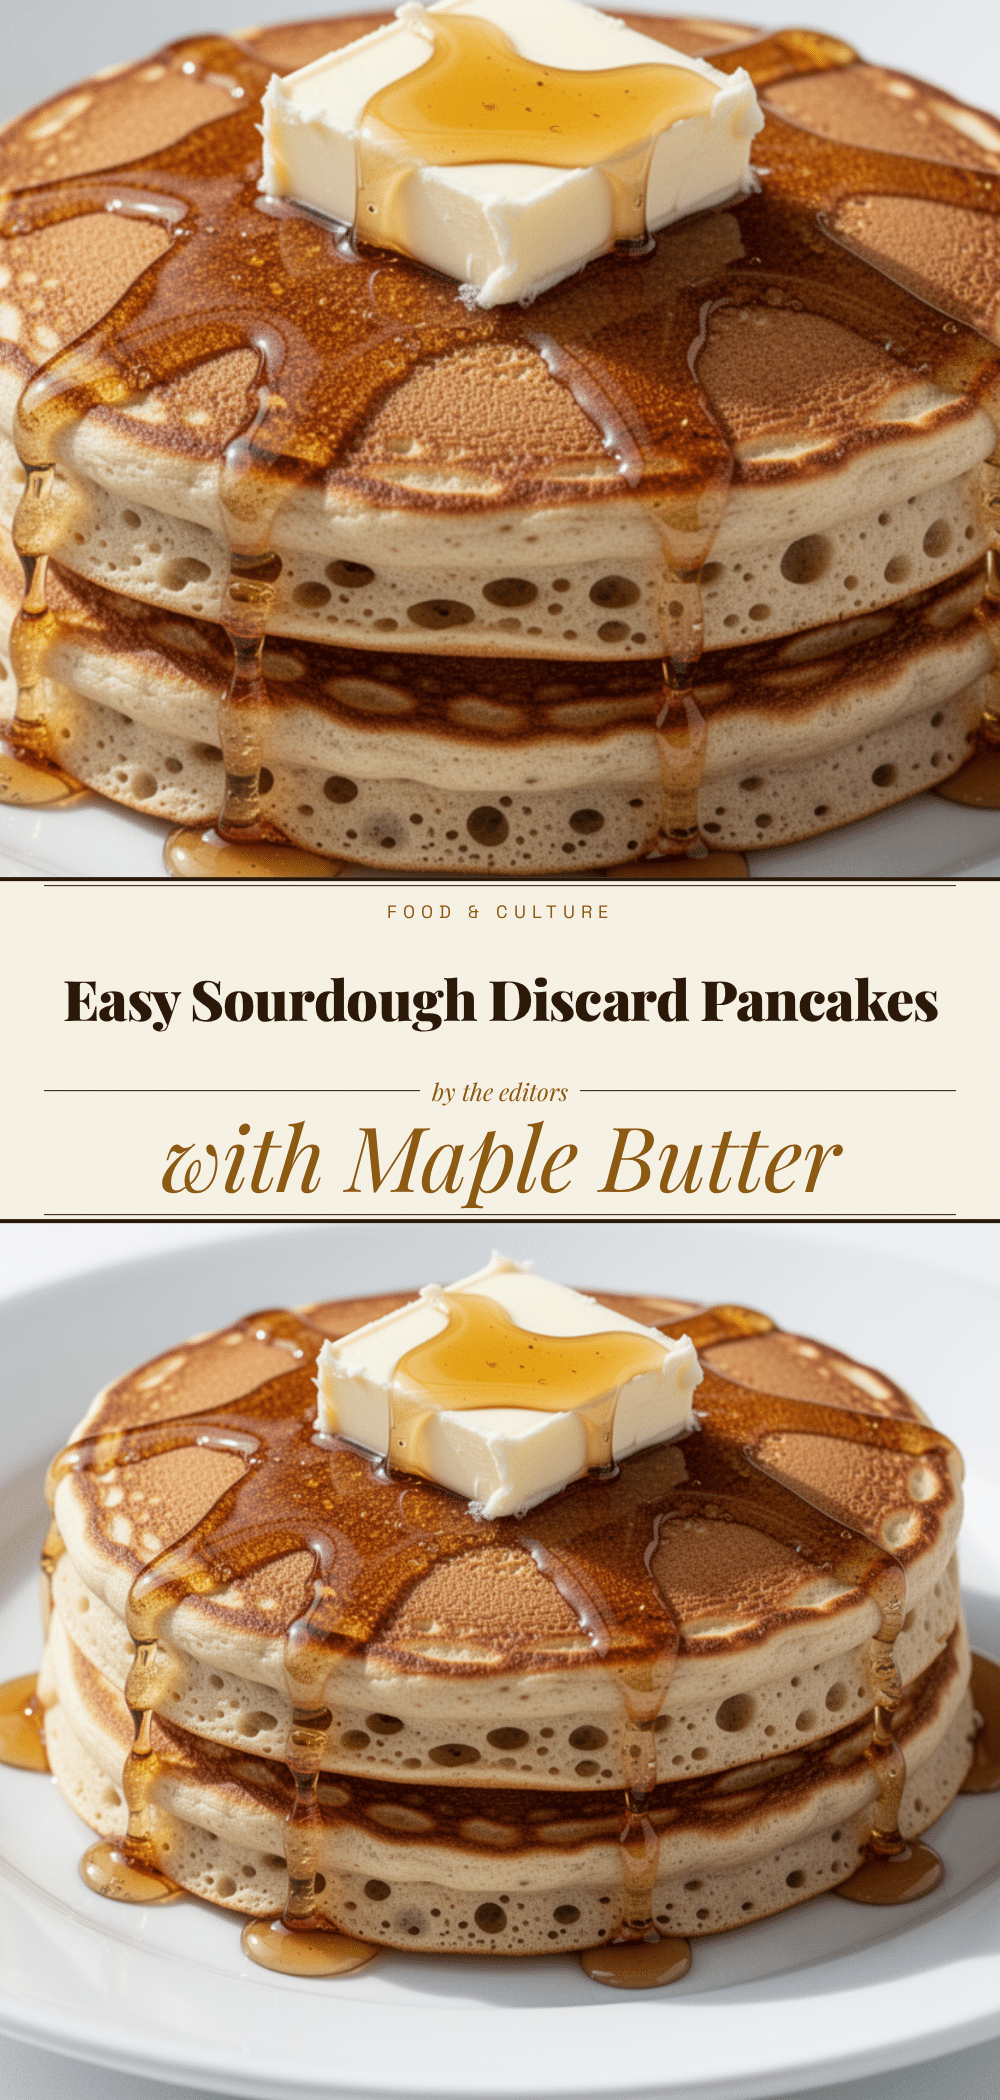
Sourdough Discard Breakfast Pancakes: 5-Ingredient Recipe
- Total Time: 20 minutes
- Yield: 4 servings 1x
Description
Light, airy, and tangy pancakes made with sourdough discard, requiring only five simple ingredients. This easy recipe is perfect for using up starter without the hassle of long fermentation.
Ingredients
- 1 cup (240g) sourdough discard
- 1 cup (125g) all-purpose flour
- 1 cup (240ml) whole milk
- 1 large egg
- 2 tablespoons granulated sugar
- 1 teaspoon baking soda
- ½ teaspoon salt
- Butter for cooking
- Optional: Blueberries, chocolate chips, or diced apples
Instructions
- In a large bowl, whisk together the sourdough discard, milk, egg, and sugar until smooth and the sugar is mostly dissolved.
- Add the flour, baking soda, and salt to the wet mixture. Mix gently with a whisk until just combined; the batter should remain thick and lumpy. Do not overmix.
- Let the batter rest for 5-10 minutes to allow the baking soda to react with the starter.
- Heat a non-stick skillet or griddle over medium heat. Test by flicking water drops onto the pan; they should sizzle and evaporate quickly.
- Lightly grease the pan with butter. Pour ¼ cup of batter for each pancake, ensuring not to crowd the pan.
- Cook for 2-3 minutes until edges look set and bubbles form on the surface and pop. Flip gently and cook for another 1-2 minutes until golden brown.
- Serve immediately with maple syrup, butter, and toppings. Keep finished pancakes warm in a 200°F oven if making a batch.
Notes
Do not overmix the batter to ensure fluffy pancakes. Use fresh baking soda for proper lift. If the batter is too thick, add a splash of milk; if too thin, add a teaspoon of flour. For add-ins like blueberries, press them into the batter after pouring, not before mixing.
- Prep Time: 10 minutes
- Cook Time: 10 minutes
- Category: Breakfast
- Cuisine: American
Nutrition
- Serving Size: 4 pancakes
- Calories: 220
- Sugar: 8
- Sodium: 250
- Fat: 7
- Saturated Fat: 3
- Carbohydrates: 35
- Fiber: 1
- Protein: 6
Keywords: sourdough discard, pancakes, breakfast, easy recipe, 5-ingredient, sourdough, fluffy pancakes, zero waste


