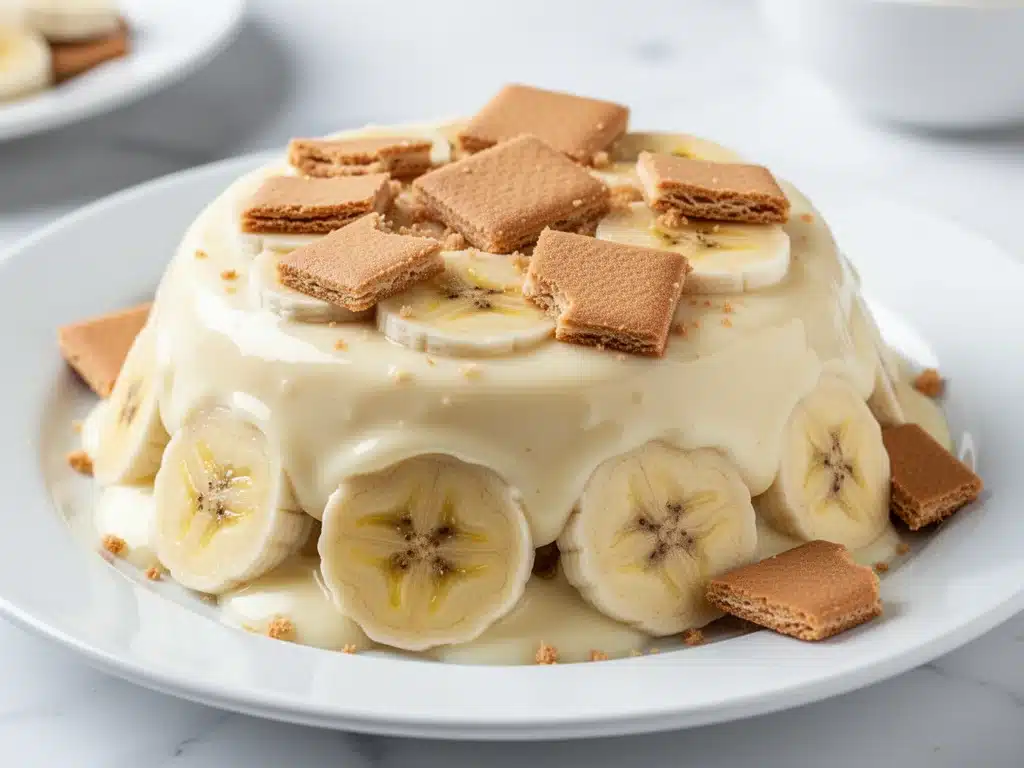
I have a confession to make. Last week, I made a banana cream pudding dessert so good that I actually felt a little guilty about it. Not because it was unhealthy—though, let’s be real, it’s definitely indulgent—but because I had spent the entire afternoon just staring at the stove, watching the pudding thicken, smelling that incredible vanilla and banana scent filling my kitchen, and feeling like the most lucky person in the world. My husband walked in, took one bite, and didn’t even say anything. He just closed his eyes, took another bite, and handed me the spoon. That’s the moment I knew I had found the one.
See, I’ve always been a fan of banana cream pie. But pie crusts? They’re a hassle. They get soggy. They take forever to blind bake. And don’t even get me started on the whipped cream. It deflates if you look at it wrong. So for years, I stuck to the store-bought boxes or gave up entirely on lazy Sundays.
Then, about six months ago, I tried a trick my grandmother used to pull out of her sleeve. She didn’t use a crust. She didn’t use heavy whipping cream. She used simple pantry staples to create a pudding that was silky, rich, and layered with crunchy vanilla wafers. It’s essentially a deconstructed banana cream pie, but easier, faster, and honestly? Better. The texture is perfect—creamy pudding, soft bananas, and that signature crunch from the wafers that holds up just long enough before melting into the dessert.
This banana cream pudding dessert with vanilla wafers has become my go-to for everything. Summer cookouts? Check. Impromptu dinner guests? Check. When I just need a hug in a bowl on a Tuesday night? Definitely check. I’ve tested this recipe at least a dozen times, tweaking the ratios of milk to cornstarch until it was absolutely perfect. And today, I’m sharing it with you. It’s a five-ingredient wonder (yes, really) that tastes like it took hours to make. Trust me on this one.
Why You’ll Love This 5-Ingredient Recipe
There are about ten reasons I keep making this, but here are the big ones that keep it in my regular rotation. This isn’t just a recipe; it’s a lifesaver.
Stupid Simple — Seriously, if you can boil water and mash a banana, you can make this. There’s no baking, no crust rolling, and no tempering eggs (which is where most people get scared). It’s a one-pot stovetop pudding. I’ve walked my teenage son through it over FaceTime while I was at work, and he nailed it.
Lightning Fast — From start to finish, you’re looking at about 30 minutes of active time, plus 2 hours of chilling. That’s it. I make this on weeknights when I get home at 7pm, and I have dessert ready by bedtime. No stress, no mess.
Pantry-Friendly — You probably have 90% of these ingredients already. Milk, sugar, cornstarch, vanilla, bananas, and vanilla wafers. That’s it. I keep vanilla wafers stocked specifically for this. It’s my emergency dessert strategy.
Texture Heaven — This is the game-changer. The contrast between the silky, smooth pudding and the slightly crunchy (then melting) vanilla wafers is addictive. It’s not just “good banana pudding”; it has structure and interest in every bite.
Makes Amazing Leftovers — Actually tastes better the next day. The flavors meld together, the wafers soften into a cake-like layer, and it becomes even creamier. I deliberately make extra for lunch throughout the week. It’s like eating banana bread pudding without the bread.
Budget-Smart — Feeds 6-8 people for under $10. Bananas are cheap, milk is cheap, and vanilla wafers are inexpensive. That’s less than one meal at a coffee shop cafe.
This is my go-to when I need dinner dessert to just work. No complicated techniques, no weird ingredients, just reliable, delicious food that makes everyone happy. And yes, it’s that good.
Ingredients You’ll Need
Here’s the best part: you probably have most of this already. I’m particular about three ingredients here, and I’ll tell you exactly why. This banana cream pudding dessert with vanilla wafers relies on quality basics, not fancy add-ins.
Whole Milk (4 cups / 960ml) — Don’t skimp on fat here. Whole milk gives you that rich, creamy mouthfeel. Skim milk will make this taste watery and thin. I’ve tried it, and it’s not worth it. If you’re dairy-free, full-fat coconut milk works surprisingly well, though the flavor will shift slightly.
Granulated Sugar (3/4 cup / 150g) — This balances the tartness of the bananas and the richness of the pudding. Don’t reduce this too much, or it’ll taste bland. I use white sugar for a clean flavor, but you could use light brown sugar for a deeper, caramel note if you want to get fancy.
Cornstarch (1/2 cup / 60g) — This is the thickener. Unlike flour, cornstarch gives you a clear, glossy, silky texture without any starchy taste. It’s crucial for that pudding consistency. Make sure your cornstarch isn’t clumpy; sift it if it’s been sitting in the back of the pantry for a while.
Vanilla Extract (2 teaspoons / 10ml) — Use real vanilla extract, not imitation. The vanilla is the primary flavor besides banana, so cheap stuff will make this taste chemical. I love using pure Madagascar vanilla bean paste if I have it, but good extract works perfectly.
Ripe Bananas (3-4 medium / about 400g) — This is key. They need to be ripe, with brown spots. Sweet, ripe bananas give you natural sweetness and that distinct banana flavor. Green bananas will taste starchy and unpleasant. I usually buy them a few days before I plan to make this so they have time to ripen.
Vanilla Wafers (1 package / about 30-40 cookies) — This is the signature crunch. Nilla Wafers are the standard, but any vanilla wafer works. I like to break them into halves or quarters for layering. Some people use shortbread cookies, which is delicious but richer. For the classic taste, stick to vanilla wafers.
Optional: Salt (1/4 teaspoon) — A pinch of salt brightens up the sweet flavors and prevents it from tasting flat. I always add this, even though it’s not always listed in basic recipes.
Optional Toppings: Whipped cream, extra banana slices, crushed vanilla wafers, or a drizzle of caramel sauce. I usually keep it simple, but these add a nice touch for guests.
Equipment Needed
You don’t need fancy equipment for this. Here’s what I actually use.
Medium Saucepan — I use a 3-quart saucepan with a thick bottom. The thick bottom prevents scorching, which is the enemy of good pudding. My old stainless steel pot works fine, but non-stick is easier for cleanup.
Whisk — A good silicone or stainless steel whisk. You need this to break up cornstarch lumps and keep the pudding smooth. A spoon works in a pinch, but a whisk is much faster.
Spatula — A heat-resistant silicone spatula for scraping the sides and bottom of the pan. This ensures even cooking and no burnt bits.
Measuring Cups and Spoons — Standard stuff. Dollar store versions work fine for this.
Serving Dish — A 9×13 inch glass baking dish is classic. It lets you see the layers and serves well. A trifle bowl is pretty for parties, but a simple dish is easier for everyday.
Knife and Cutting Board — For slicing bananas. Sharp knife makes clean slices without crushing the fruit.
Plastic Wrap — To press onto the surface of the pudding while it cools. This prevents a skin from forming. You can use wax paper if you don’t have plastic wrap.
How to Make It: Step-by-Step
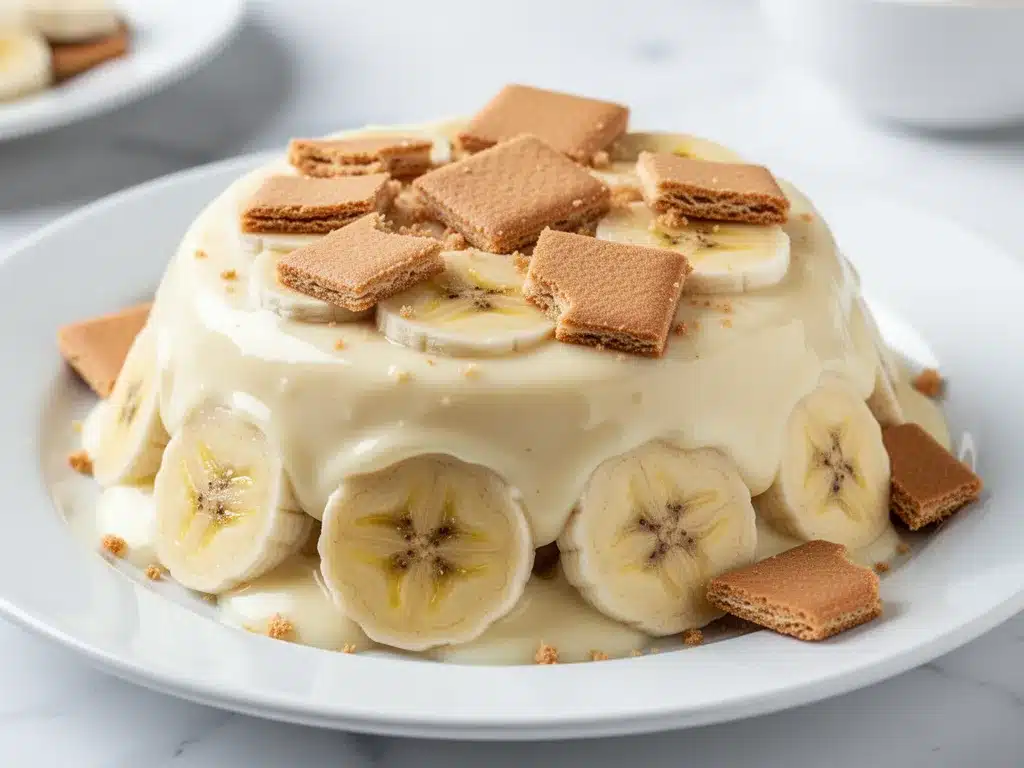
Alright, let’s make this! I’m walking you through exactly how I do it, including the little tricks I’ve picked up over the years.
Step 1: Prep Your Bananas (5 minutes)
Before you start cooking, slice your bananas. Peel them and cut into 1/4-inch rounds. I usually slice them into a bowl with a little lemon juice (about 1 tablespoon) to prevent browning, though it’s not strictly necessary if you’re assembling right away. Set them aside.
Step 2: Mix the Dry Ingredients (2 minutes)
In your medium saucepan, whisk together the sugar and cornstarch. Make sure there are no lumps. This is important because if you add wet ingredients to lumpy cornstarch, you’ll get weird chunks in your pudding that you can’t whisk out later.
Step 3: Add the Milk and Cook (10-12 minutes)
Pour in about 1 cup of the milk and whisk it into the sugar/cornstarch mixture until smooth. Then, add the remaining 3 cups of milk. Place the saucepan over medium heat. Whisk constantly. This is the most important step. Do not walk away. Do not let it boil over. Keep whisking, especially around the edges and bottom of the pan where heat concentrates.
After about 5 minutes, the mixture will start to thicken. You’ll see bubbles breaking the surface. Keep whisking. It will go from thin to thick quickly. Once it reaches a boil (big, thick bubbles), let it boil for exactly 1 minute while whisking. This cooks out the raw cornstarch taste. If you skip this minute, the pudding will taste chalky.
Step 4: Add Vanilla and Chill (5 minutes)
Remove the pan from heat. Stir in the vanilla extract and salt. The mixture will be very thick and glossy. Pour it into a clean bowl or keep it in the pan (if the pan is wide enough). Immediately press a piece of plastic wrap directly onto the surface of the pudding. This is crucial. If air touches the pudding, a skin will form, and nobody wants that rubbery texture. Let it cool to room temperature, then refrigerate for at least 2 hours, or overnight for best results.
Step 5: Assemble the Layers (10 minutes)
Once the pudding is cold and set, it’s time to build. Take your serving dish. Start with a layer of vanilla wafers at the bottom. Don’t worry about them being perfect; they’ll soften anyway. Then, add a layer of sliced bananas. Spoon a generous layer of pudding over the bananas. Repeat: wafers, bananas, pudding. Finish with a top layer of pudding.
I usually save a few whole vanilla wafers and some banana slices for decoration on top. It looks pretty and gives you a hint of what’s inside.
Step 6: Serve and Enjoy
Let it sit in the fridge for at least 30 minutes after assembling. This lets the wafers soften slightly and the flavors meld. Serve chilled. It’s best eaten within 24 hours, as the wafers will continue to absorb moisture and become very soft.
Total Time: About 30 minutes active, plus 2 hours chilling.
Built-in Troubleshooting:
- Pudding too thin? You didn’t boil it long enough. Next time, ensure it hits a full boil and stays there for 1 minute.
- Pudding too thick? Add a splash of milk while stirring over low heat to loosen it up.
- Wafers too hard? Let the assembled pudding chill longer. The wafers need time to soften.
- Bananas browned? Use lemon juice when slicing, or assemble right before serving if you don’t mind slight browning (it still tastes good!).
Expert Tips & Tricks
Here’s everything I’ve learned from making this dozens of times. These tips will save you from my mistakes.
Don’t Skip the Boil
I know it’s tempting to stop stirring once it thickens, but you must let it boil for 1 minute. Raw cornstarch has a distinct, unpleasant taste. Boiling cooks it out and gives you that clean, sweet pudding flavor.
Press the Plastic Wrap
I cannot stress this enough. A skin on banana pudding is a texture nightmare. Press the plastic wrap directly onto the surface. If you don’t have plastic wrap, you can pour a thin layer of milk on top while it’s hot, let it cool, then pour off the milk, but plastic wrap is easier.
Use Ripe Bananas
I’ve used slightly green bananas in a hurry, and the flavor was just… off. Ripe bananas with brown spots are sweeter and softer, blending better with the vanilla. If your bananas aren’t ripe enough, bake them in their peels at 300°F for 15 minutes to speed up the process.
Break the Wafers
Don’t just drop whole wafers in. Break them into halves or quarters. This creates more surface area for the pudding to cling to, and you get a better ratio of wafer to pudding in every bite.
Make It Ahead
This pudding actually improves overnight. The flavors meld, and the texture becomes more cohesive. I often make it the night before for Sunday brunch. It’s ready to serve whenever you are.
Pro Trick: Toasted Wafers
For extra crunch, you can briefly toast the vanilla wafers in the oven at 350°F for 3-4 minutes before assembling. This adds a nutty flavor and keeps them crunchier longer. I do this when I want a bit more texture contrast.
Variations & Substitutions
Once you’ve nailed the basic version, here’s how you can mix it up. I’ve tried all of these.
Chocolate Banana Pudding
Add 1/4 cup cocoa powder to the dry ingredients in Step 2. The flavor is rich and chocolatey, and it pairs amazingly with bananas. This is my husband’s favorite version.
Butterscotch Banana Pudding
Replace the white sugar with 3/4 cup light brown sugar. Add 2 tablespoons of butter to the milk mixture in Step 3. It’s deeper, caramel-like, and very comforting.
Coconut Version
Replace the whole milk with full-fat coconut milk. Use coconut extract instead of vanilla. Top with toasted coconut flakes. It’s tropical and dairy-free.
Mini Banana Pudding Cups
Instead of layering in a big dish, layer individual servings in mason jars or small glasses. This is perfect for parties because everyone gets their own portion, and it looks cute. You can layer them right in the jar.
Gluten-Free
Use gluten-free vanilla wafers. Most brands work fine, though they might be slightly more fragile. The rest of the recipe is naturally gluten-free.
Dairy-Free
Use full-fat coconut milk or oat milk. Use dairy-free vanilla wafers (check labels, as some contain butter). The texture will be slightly different but still creamy and delicious.
Lighter Version
Use skim milk and reduce the sugar to 1/2 cup. Add 1/4 cup Greek yogurt to the cooled pudding for tang and protein. It’s thinner but still tasty. I make this when I’m trying to be “healthy,” though I admit the full-fat version is superior.
Serving & Storage
How to Serve:
I usually serve this straight from the fridge. It’s best cold, not room temperature. The cold brings out the vanilla flavor. I pair it with a simple green salad or roasted vegetables for a light dinner. For dessert, it’s rich enough on its own, but a dollop of whipped cream is nice.
Side Dishes:
– Grilled chicken or pork chops (banana pairs well with savory meats)
– Roasted sweet potatoes
– Fresh fruit salad
– Simple mixed greens with vinaigrette
Toppings Bar:
When I have guests, I put out: whipped cream, crushed vanilla wafers, chocolate shavings, and caramel sauce. Everyone customizes their bowl.
Storage Instructions:
Refrigerator:
Store in an airtight container or covered with plastic wrap for up to 3 days. The wafers will continue to soften, so it will become more like a banana cake pudding by day 3. It’s still good, just different.
Reheating:
Do not reheat this. The wafers will disintegrate, and the texture will be weird. Eat it cold.
Freezing:
Honestly, this doesn’t freeze well. The dairy separates, and the wafers get mushy when thawed. Make it fresh or store in the fridge for up to 3 days.
Pro tip: If the pudding looks too thick after chilling, stir in a splash of milk before assembling. It helps with spreading.
Nutrition Information
I’m not a nutritionist, but here’s the breakdown if you’re tracking. This is a dessert, so enjoy it in moderation.
Per Serving (based on 8 servings):
- Calories: 280
- Protein: 6g
- Carbs: 52g
- Fiber: 2g
- Sugar: 28g
- Fat: 7g
- Saturated Fat: 4g
- Cholesterol: 15mg
- Sodium: 180mg
- Calcium: 120mg
What’s Good:
– Decent protein from milk
– Calcium from the dairy
– Potassium from bananas
– Easily customizable for dietary needs
What to Know:
– Higher in sugar from wafers and pudding
– Contains dairy and gluten
– Moderate calories, but very satisfying
My Take:
Look, this is comfort food. It’s sweet, creamy, and indulgent. It’s not a diet recipe. But it’s way better than takeout, costs less, and I know exactly what’s in it. When I want to make it lighter, I use the skim milk version and reduce the sugar. But usually? I just eat a reasonable portion and enjoy it.
Final Thoughts
So that’s my go-to banana cream pudding dessert with vanilla wafers! I’ve probably talked your ear off at this point, but when you make a recipe this often, you have a lot to say about it.
This has saved weeknight desserts more times than I can count. It’s my answer to “what’s for dessert” when I’m tired, don’t want to bake, and still want something that tastes really good. My kids are happy, my husband’s happy, and I’m happy because I’m not stressed about cooking.
Make it yours! Try different add-ins, swap in your favorite cookies, adjust the sweetness. The best recipes are the ones you adapt to your family’s tastes. If you make this, drop a comment and let me know what you think! I love hearing how recipes turn out in your kitchen. And if something doesn’t work, tell me that too—I’m here to help troubleshoot.
Happy cooking! And I hope your kitchen smells half as good as mine does right now.
Frequently Asked Questions
Can I use instant pudding mix instead of making it from scratch?
You can, but homemade pudding tastes so much better. Instant pudding mix has a different texture and often contains artificial flavors. If you’re in a huge pinch, you can use 2 packages of instant vanilla pudding mixed with 3 cups of milk, but I highly recommend taking the extra 10 minutes to make it from scratch. The result is worth it.
Why did my pudding turn out lumpy?
This usually happens if you didn’t whisk the cornstarch into the cold milk thoroughly before heating, or if you didn’t whisk constantly while cooking. Make sure the cornstarch is fully dissolved in the cold milk before you turn on the heat. And keep whisking! Even if it seems thick, keep stirring to prevent lumps.
Can I make this ahead for a party?
Absolutely. This is actually better made ahead. Assemble it the night before, cover it, and refrigerate. Let it sit at room temperature for 15-20 minutes before serving if you prefer it less cold. It will hold up well for up to 24 hours.
What kind of bananas should I use?
Use ripe bananas with brown spots on the peel. They are sweeter and softer, which blends better with the vanilla. Green bananas will be starchy and less flavorful. If your bananas aren’t ripe enough, you can bake them in their peels at 300°F for 15 minutes to soften and sweeten them.
Can I substitute the vanilla wafers?
Yes! Shortbread cookies work great and are richer. Ginger snaps add a nice spice. Even pound cake cubes can work if you want a bread pudding vibe. But for the classic banana cream pie taste, vanilla wafers are the way to go.
How do I prevent the bananas from browning?
Toss the sliced bananas with a little lemon juice or lime juice. The acid slows down the oxidation process. Alternatively, assemble the pudding right before serving if you don’t mind slight browning (it still tastes good, just looks less bright). Covering the pudding tightly with plastic wrap also helps.
Can I use almond milk or oat milk?
You can, but the pudding will be thinner. Almond milk is very watery, so you might need to increase the cornstarch slightly (by 1 tablespoon). Oat milk or coconut milk works better because they are creamier. Just keep an eye on the thickness while cooking.
Pin This Recipe!
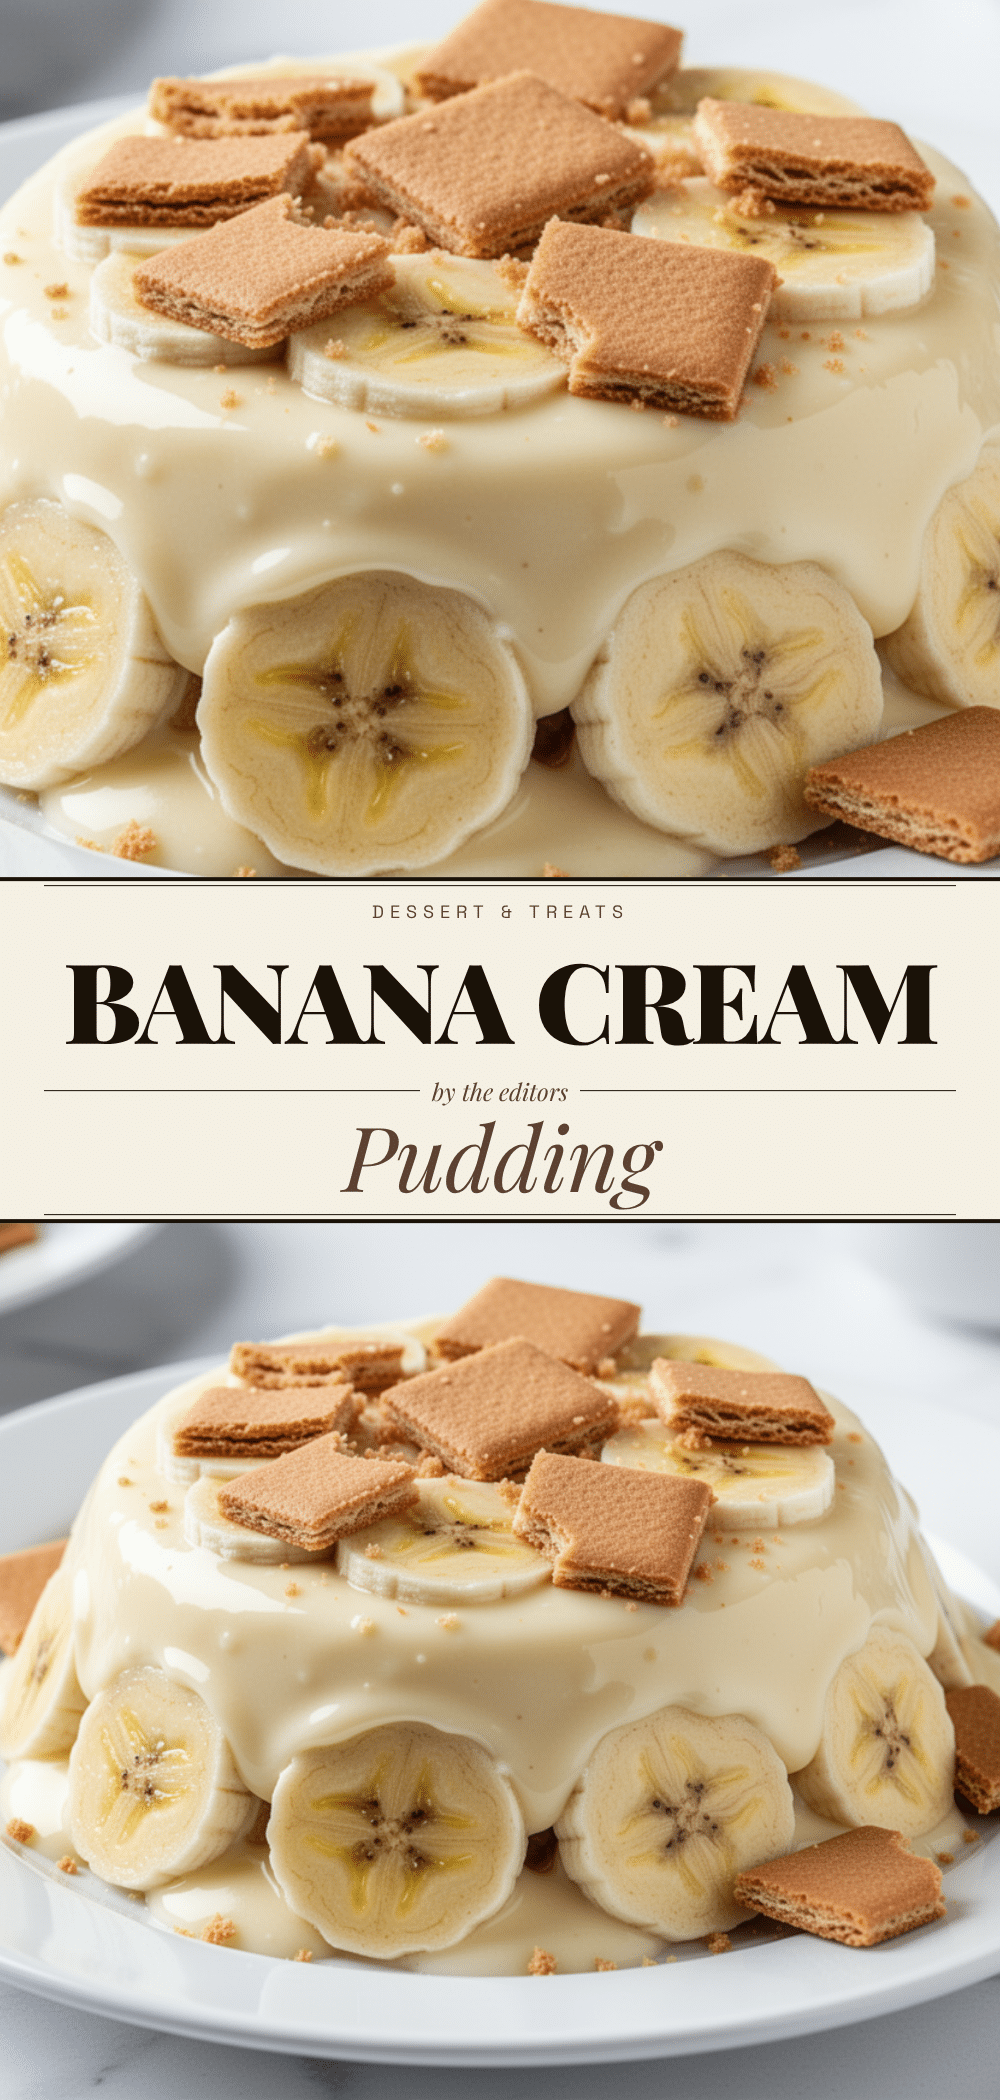
Banana Cream Pudding Dessert: Easy 5-Ingredient Recipe
- Total Time: 2 hours 30 minutes
- Yield: 8 servings 1x
Description
A silky, rich banana cream pudding layered with crunchy vanilla wafers. This easy, one-pot stovetop dessert requires no baking or crust rolling and comes together in about 30 minutes of active time.
Ingredients
- 4 cups whole milk
- 3/4 cup granulated sugar
- 1/2 cup cornstarch
- 2 teaspoons vanilla extract
- 3–4 medium ripe bananas
- 1 package vanilla wafers (about 30–40 cookies)
- 1/4 teaspoon salt (optional)
- 1 tablespoon lemon juice (optional, for bananas)
Instructions
- Slice bananas into 1/4-inch rounds and toss with lemon juice if desired to prevent browning.
- In a medium saucepan, whisk together sugar and cornstarch until no lumps remain.
- Pour in 1 cup of milk and whisk until smooth. Add the remaining 3 cups of milk.
- Place saucepan over medium heat and whisk constantly. Do not walk away.
- Once the mixture thickens and bubbles, bring to a full boil and cook for exactly 1 minute while whisking to cook out the raw cornstarch taste.
- Remove from heat and stir in vanilla extract and salt.
- Press plastic wrap directly onto the surface of the pudding to prevent a skin from forming.
- Let cool to room temperature, then refrigerate for at least 2 hours or overnight.
- To assemble, layer vanilla wafers, sliced bananas, and chilled pudding in a serving dish.
- Repeat layers, finishing with pudding on top.
- Refrigerate assembled pudding for at least 30 minutes before serving to allow wafers to soften.
Notes
For best results, use ripe bananas with brown spots. Ensure the pudding boils for exactly 1 minute to remove the raw cornstarch taste. Press plastic wrap directly onto the pudding surface while cooling to prevent a skin. This dessert is best eaten within 24 hours as the wafers will continue to soften. Do not freeze, as the texture will suffer.
- Prep Time: 15 minutes
- Cook Time: 15 minutes
- Category: Dessert
- Cuisine: American
Nutrition
- Serving Size: 1 cup
- Calories: 280
- Sugar: 28
- Sodium: 180
- Fat: 7
- Saturated Fat: 4
- Carbohydrates: 52
- Fiber: 2
- Protein: 6
Keywords: banana pudding, banana cream pie, easy dessert, 5 ingredient recipe, vanilla wafers, no bake dessert, comfort food


