Last October, I found myself staring at a crumpled $20 bill and a fridge that was mostly empty space and old condiments. Rent was due in three days, and I had decided to try living on $30 a week for groceries. It felt ambitious, maybe a little stupid, but hunger has a way of sharpening your creativity. I wanted something warm, something that smelled like autumn, but I didn’t have the cash for fancy coffee shop treats. So, I raided the pantry. I found a can of pumpkin puree that was on clearance, some flour that was past its prime but still usable, and a small bottle of maple syrup I’d been hoarding for special occasions.
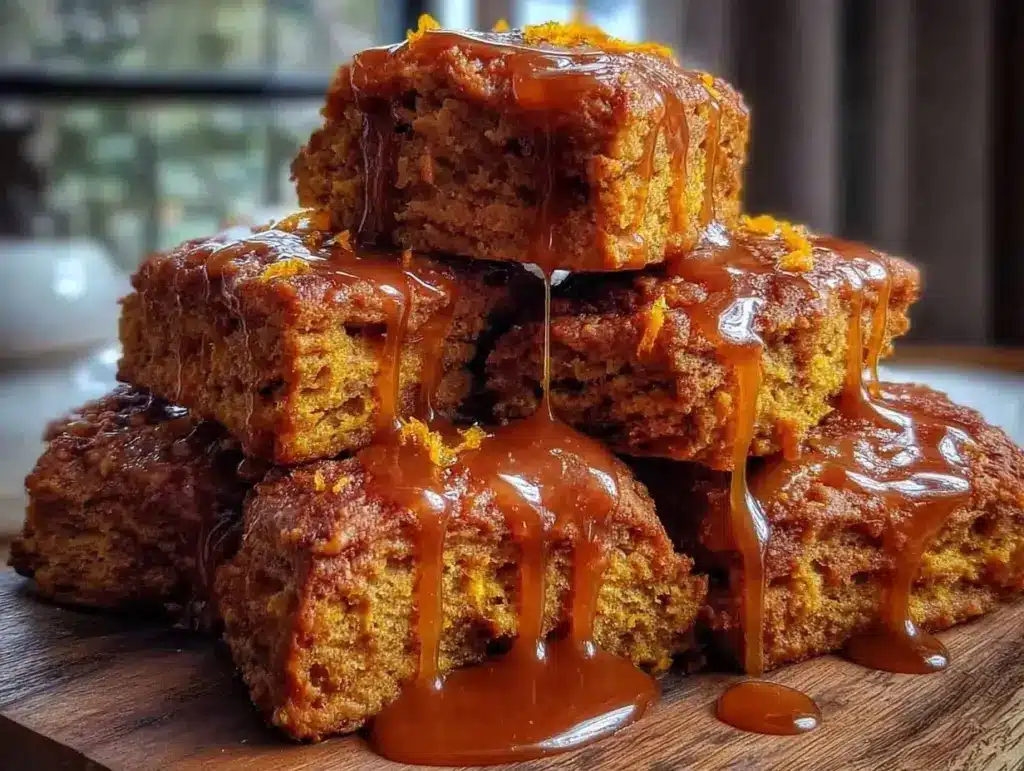
I threw together a batch of Budget-Friendly Fall Pumpkin Scones with Spiced Maple Glaze. I expected dense, sad biscuits. Instead, I got fluffy, spiced, buttery clouds of comfort that cost me less than a dollar each. That morning, sitting on my worn-out kitchen counter with a mug of cheap instant coffee, I realized I hadn’t just saved money—I’d saved my sanity. The smell of cinnamon and pumpkin filling my tiny apartment made me forget about my empty bank account for a few precious minutes.
Since then, I’ve made this Budget-Friendly Fall Pumpkin Scones with Spiced Maple Glaze recipe at least twenty times. I’ve tweaked it, tested it with different flours, and even tried using oil instead of butter when I was really broke (spoiler: don’t do that, stick to butter). This recipe is my anchor. It proves that you don’t need expensive ingredients to feel like you’re treating yourself. It’s practical, it’s cheap, and it tastes like a genuine fall morning. If you’re trying to stretch a single person’s grocery budget, this Budget-Friendly Fall Pumpkin Scones with Spiced Maple Glaze is your new best friend. It’s the kind of recipe that makes you feel like a culinary genius while keeping your wallet intact.
Why You’ll Love This Budget Staple
Let’s be real. Most “budget” recipes end up tasting like cardboard or require ingredients you’ll buy once and never use again. That’s not helpful. This recipe is different because it uses staples you likely already have or can buy cheaply in bulk. Here’s why this Budget-Friendly Fall Pumpkin Scones with Spiced Maple Glaze deserves a spot in your weekly rotation:
- Insanely Low Cost Per Serving — Each scone costs about $0.75 to make. That’s cheaper than the gas you’ll burn driving to the bakery. I calculated this down to the penny.
- Uses Pantry Staples — You probably have flour, sugar, baking powder, and spices. The only specific buys are pumpkin puree and maple syrup, which last for months.
- One-Bowl Mixing — Minimal cleanup is crucial when you’re tired. I mix the dry stuff, add the wet stuff, and pull it apart with my hands. Done in 10 minutes.
- Freezes Like a Dream — I make a double batch on Sunday. I freeze them individually. On Tuesday morning, I pop one in the toaster. It tastes fresh. This is huge for meal prepping on a budget.
- Customizable Sweetness — The glaze is optional. If you’re watching your sugar intake or just want a savory breakfast, skip the glaze. It’s still delicious.
This is my go-to when I need to feed myself well without breaking the bank. It’s reliable, cheap, and fills you up until lunch.
Key Ingredients (And Why They Work)
You don’t need fancy organic everything for this. You need functional, cheap ingredients that do the heavy lifting. Here is exactly what you need for this Budget-Friendly Fall Pumpkin Scones with Spiced Maple Glaze, with exact measurements to keep your ratios perfect.
All-Purpose Flour (2 ½ cups / 315g)
This is your base. Don’t substitute with almond flour or gluten-free blends unless you’re experienced; they change the texture and cost way more. All-purpose is cheap and reliable. Measure it correctly—spoon it into the cup and level it off. Scooping directly packs it down and makes your scones dense bricks.
Granulated Sugar (¼ cup / 50g)
Just a little bit. You don’t need a sweet dough because the glaze handles the sweetness. This balances the savory pumpkin and spices. Brown sugar works too, but white is cheaper and gives a cleaner texture.
Baking Powder (2 tsp / 8g)
The lift. Make sure yours isn’t from 2019. Old baking powder makes flat, tough scones. This is the one thing you shouldn’t skimp on, but it’s cheap enough that it won’t hurt your budget.
Salt (½ tsp / 3g)
Flavor enhancer. It makes the pumpkin taste like pumpkin, not bland dough. Don’t skip it.
Unsalted Butter (½ cup / 113g, cold and cubed)
This is the secret to flaky layers. Cold butter is non-negotiable. If your butter is soft, your scones will be greasy. Keep it in the fridge until the second you mix it. I buy the store brand blocks; they work just as well as the expensive stuff.
Canned Pumpkin Puree (¾ cup / 180g)
Not pumpkin pie filling! Check the label. It should just say “100% Pumpkin.” It’s cheap, shelf-stable, and provides moisture without adding extra fat. One can makes about four batches of this Budget-Friendly Fall Pumpkin Scones with Spiced Maple Glaze, so you’re getting multiple meals from one cheap purchase.
Egg (1 large / ~50g)
Binder. It holds everything together. Room temperature is nice, but cold works fine here.
Pumpkin Pie Spice (1 ½ tsp / ~3g)
Or make your own mix: ½ tsp cinnamon, ¼ tsp nutmeg, ¼ tsp ginger, ⅛ tsp allspice. Buying pre-made is cheaper and faster. This gives you that instant “fall” aroma for pennies.
Maple Syrup (for glaze)
Use real maple syrup if you can, but for budgeting, a blend is fine. You only need a few tablespoons for the glaze.
Tools Needed
You don’t need fancy equipment. Here’s what I use, keeping it simple and cheap:
- Large Mixing Bowl — Any bowl you have will do. I use a 4-quart ceramic one.
- Fork or Pastry Cutter — To cut in the butter. A fork works perfectly fine. No need to buy a specific tool.
- Baking Sheet — Line it with parchment paper. Parchment is cheap and prevents sticking, which saves you from using extra butter or oil.
- Measuring Cups and Spoons — Essential for consistency. Volume measurements are fine here.
- Small Saucepan or Microwave-Safe Bowl — For melting the glaze ingredients.
How to Make It
Let’s get into the kitchen. This part is easy, but there are a few tricks to keep them tender.
Step 1: Prep Your Dry Ingredients (5 minutes)
Preheat your oven to 400°F (200°C). Line a baking sheet with parchment paper. In your large bowl, whisk together the flour, sugar, baking powder, salt, and pumpkin pie spice. Make sure there are no lumps of baking powder. This ensures even rising.
Step 2: Cut in the Butter (3 minutes)
Add the cold, cubed butter to the dry mix. Use your fork or pastry cutter to press the butter into the flour. You’re looking for pea-sized chunks. Some larger pieces are good—they create flaky layers. Don’t overwork it. If the butter melts, your scones will be tough. Work quickly and keep your hands cool.
Step 3: Add the Wet Ingredients (2 minutes)
Make a well in the center. Pour in the pumpkin puree and the egg. Use a spatula or your fork to gently mix it together. It will look shaggy and messy. That’s okay. Stop mixing as soon as the flour is moistened. Overmixing develops gluten, which makes scones chewy instead of tender. It’s okay if there are a few dry streaks.
Step 4: Form the Dough (5 minutes)
Turn the dough out onto a lightly floured surface. Gently press it together into a disk about ¾-inch thick. Don’t knead it like bread. Just pat it together. If it’s too sticky, add a sprinkle of flour. Cut the disk into 8 wedges, like a pizza. Place them on the baking sheet, leaving an inch between each.
Step 5: Bake (18-20 minutes)
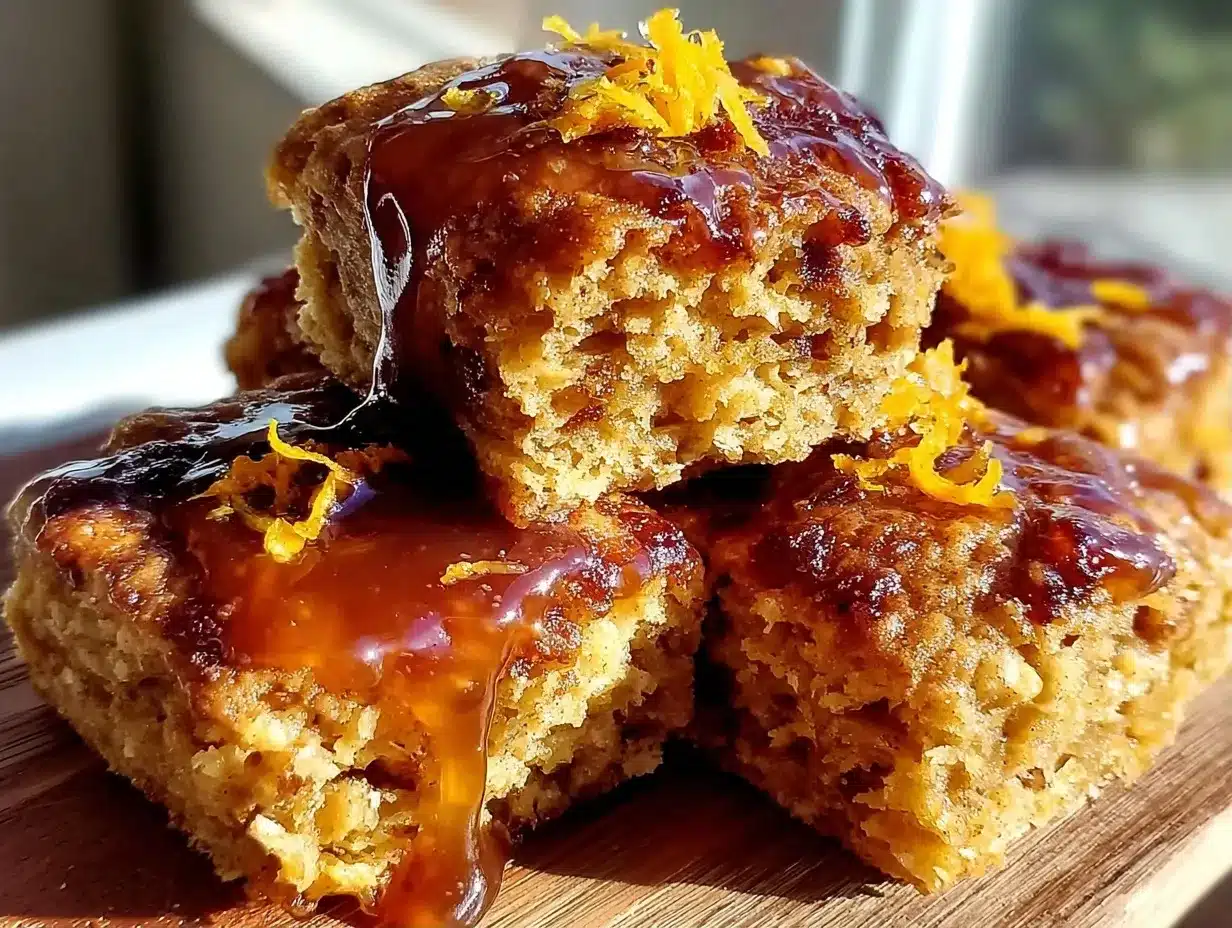
Bake at 400°F (200°C) for 18-20 minutes. They should be golden brown on top and firm to the touch. If they’re pale, give them two more minutes. If they’re browning too fast, cover them loosely with foil. Let them cool on the pan for 5 minutes.
Step 6: The Spiced Maple Glaze (5 minutes)
While they cool, mix ¼ cup powdered sugar, 1 tbsp maple syrup, and a pinch of cinnamon. Add milk, one teaspoon at a time, until you reach a drizzling consistency. Drizzle over the cooled scones. That’s it.
Total time: About 35 minutes from start to finish. That’s faster than ordering delivery.
Expert Tips for Budget Baking
Here’s everything I learned from making this too many times on a tight budget.
The Cold Butter Rule
I learned this the hard way. The first time I made these, I was in a rush and used room-temperature butter. The result was a flat, greasy biscuit. Cold butter creates steam pockets as it melts, which lifts the scone. Keep that butter cold. If it’s warm, put it in the freezer for 10 minutes before using.
Don’t Waste the Pumpkin
One can of pumpkin makes four batches of this Budget-Friendly Fall Pumpkin Scones with Spiced Maple Glaze. Freeze the leftover puree in ice cube trays. Once frozen, pop them into a bag. You’ll have pre-measured portions for soups or muffins later. It saves money and reduces food waste.
Glaze Consistency
Start with less liquid. You can always add more milk, but you can’t take it out. A thick glaze clings better and looks more professional. A runny glaze just soaks into the scone and disappears.
Storage Hack
Store leftovers in an airtight container at room temperature for 2 days. For longer storage, freeze them. Wrap them individually in plastic wrap, then put them in a freezer bag. They last 3 months. Reheat in the toaster oven for 3 minutes. They taste fresh.
Recipe Variations
Once you’ve nailed the basic version, here’s how to mix it up without spending more money.
Chai Spice Variation
Skip the pumpkin pie spice and use chai spice. Add ½ cup chopped walnuts. It tastes like a coffee shop treat but costs half the price.
Apple Cinnamon Twist
Swap the pumpkin for ½ cup applesauce and add ½ cup diced apple. Use cinnamon and nutmeg only. It’s lighter and uses cheaper seasonal fruit.
Gluten-Free Option
Use a 1:1 gluten-free flour blend. Add ½ tsp xanthan gum if your blend doesn’t have it. The texture will be slightly more crumbly, but still delicious.
Vegan Version
Use coconut oil instead of butter and a flax egg (1 tbsp ground flax + 3 tbsp water). The flavor changes slightly, but it’s still a great budget breakfast.
Savory Herb Scones
Skip the sugar and glaze. Add ½ cup shredded cheddar and 1 tbsp dried chives. Great with soup.
Serving & Storage
Serving
I serve these warm with black coffee or tea. They pair well with a simple side of fruit, like an apple or banana, to keep the meal balanced. They’re also great for brunch if you’re hosting a small group, though they’re really meant for individual enjoyment.
Storage
Room Temp: 2 days in an airtight container. Refrigerator: Not recommended. They dry out. Freezer: Up to 3 months. Wrap individually. Reheat in toaster or microwave for 30 seconds.
Be honest: These don’t freeze well with the glaze on. Freeze them plain, then glaze them when you’re ready to eat. The glaze gets sticky and messy when frozen and thawed.
Nutrition Information
I’m not a nutritionist, but here’s the breakdown for one scone with glaze:
| Nutrient | Amount |
|---|---|
| Calories | 220 |
| Protein | 3g |
| Carbs | 32g |
| Fiber | 2g |
| Fat | 9g |
| Sodium | 180mg |
My Take: This is comfort food. It has sugar and butter. It’s not a health food. But compared to buying a $5 pastry, it’s a better deal. You know exactly what’s in it. It’s a treat, not a staple, so enjoy it guilt-free.
Final Thoughts
This Budget-Friendly Fall Pumpkin Scones with Spiced Maple Glaze is more than just a recipe. It’s proof that you can eat well on very little money. It’s warm, it’s comforting, and it’s cheap. I hope you try it and find your own moments of peace in your kitchen. If you make this, drop a comment! I love hearing how it turns out in your kitchen. Happy cooking!
FAQs
Can I use fresh pumpkin instead of canned?
You can, but it’s expensive and time-consuming. Fresh pumpkin has more water, so you’ll need to roast it, puree it, and strain out the liquid. Canned puree is cheaper, consistent, and already cooked. For budgeting, stick with canned.
Why did my scones turn out flat?
Usually, it’s one of two things: old baking powder or warm butter. Check your baking powder expiration date. Also, make sure your butter was cold when you mixed it. If the butter melts before baking, you lose the steam that makes them rise.
Can I make these ahead of time?
Yes! You can mix the dough, cut the scones, and freeze them raw on the baking sheet. Once frozen, bag them. Bake them straight from frozen, adding 2-3 minutes to the bake time. This saves time on busy mornings.
Is there a cheaper sweetener than maple syrup?
For the glaze, you can use honey or even just a little extra sugar mixed with milk. But maple syrup has a unique flavor that complements the pumpkin. If you’re on a tight budget, skip the glaze. The scone is good enough on its own.
How do I store leftovers?
Keep them in an airtight container at room temperature for up to 2 days. For longer storage, freeze them. Do not refrigerate, as it makes them stale faster.
Can I double the recipe?
Yes, just make sure you have a large enough bowl. Double the batch and freeze half the raw dough for later. It’s the best way to get multiple meals out of one shopping trip.
Pin This Recipe!
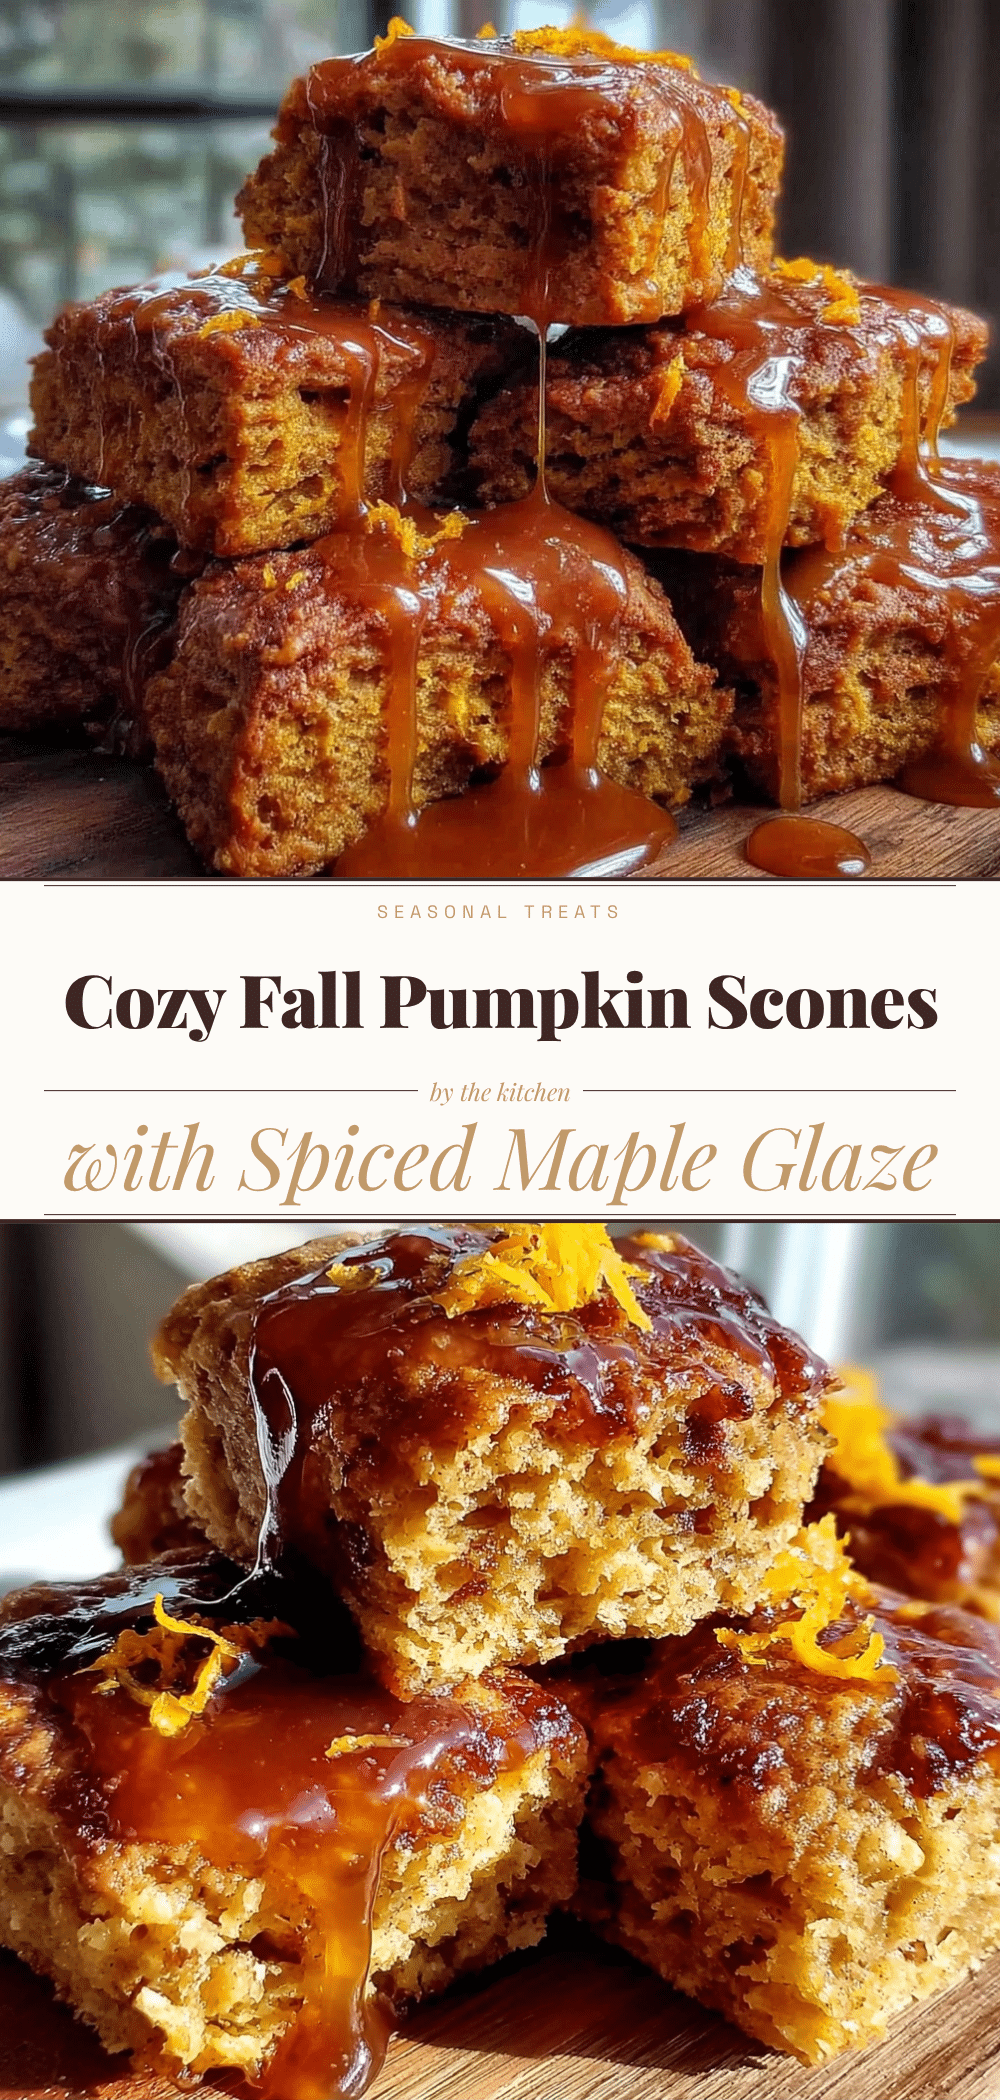
Budget-Friendly Fall Pumpkin Scones with Spiced Maple Glaze
- Total Time: 35 minutes
- Yield: 8 servings 1x
Description
Fluffy, spiced pumpkin scones made with pantry staples for under a dollar each, topped with a simple maple glaze. Perfect for budget-conscious baking.
Ingredients
- 2 ½ cups all-purpose flour
- ¼ cup granulated sugar
- 2 tsp baking powder
- ½ tsp salt
- ½ cup unsalted butter, cold and cubed
- ¾ cup canned pumpkin puree
- 1 large egg
- 1 ½ tsp pumpkin pie spice
- ¼ cup powdered sugar (for glaze)
- 1 tbsp maple syrup (for glaze)
- Pinch of cinnamon (for glaze)
- Milk (for glaze, as needed)
Instructions
- Preheat oven to 400°F (200°C) and line a baking sheet with parchment paper.
- In a large bowl, whisk together flour, sugar, baking powder, salt, and pumpkin pie spice.
- Add cold, cubed butter to the dry mix and cut it in using a fork or pastry cutter until pea-sized chunks remain.
- Make a well in the center and pour in pumpkin puree and egg. Gently mix until just moistened; do not overmix.
- Turn dough onto a lightly floured surface and gently press into a ¾-inch thick disk. Cut into 8 wedges.
- Place wedges on the baking sheet, leaving an inch between each.
- Bake for 18-20 minutes until golden brown and firm to the touch. Cool on the pan for 5 minutes.
- For the glaze, mix powdered sugar, maple syrup, and cinnamon. Add milk one teaspoon at a time until drizzling consistency is reached.
- Drizzle glaze over cooled scones before serving.
Notes
Ensure butter is very cold for flaky layers. Do not overmix the dough to avoid tough scones. Canned pumpkin puree (not pie filling) is recommended for cost and consistency. Scones freeze well without glaze; glaze separately before eating.
- Prep Time: 15 minutes
- Cook Time: 20 minutes
- Category: Breakfast
- Cuisine: American
Nutrition
- Serving Size: 1 scone with glaze
- Calories: 220
- Sugar: 18
- Sodium: 180
- Fat: 9
- Saturated Fat: 5
- Carbohydrates: 32
- Fiber: 2
- Protein: 3
Keywords: pumpkin scones, budget recipes, fall baking, cheap breakfast, pumpkin puree, maple glaze, easy scones, meal prep


