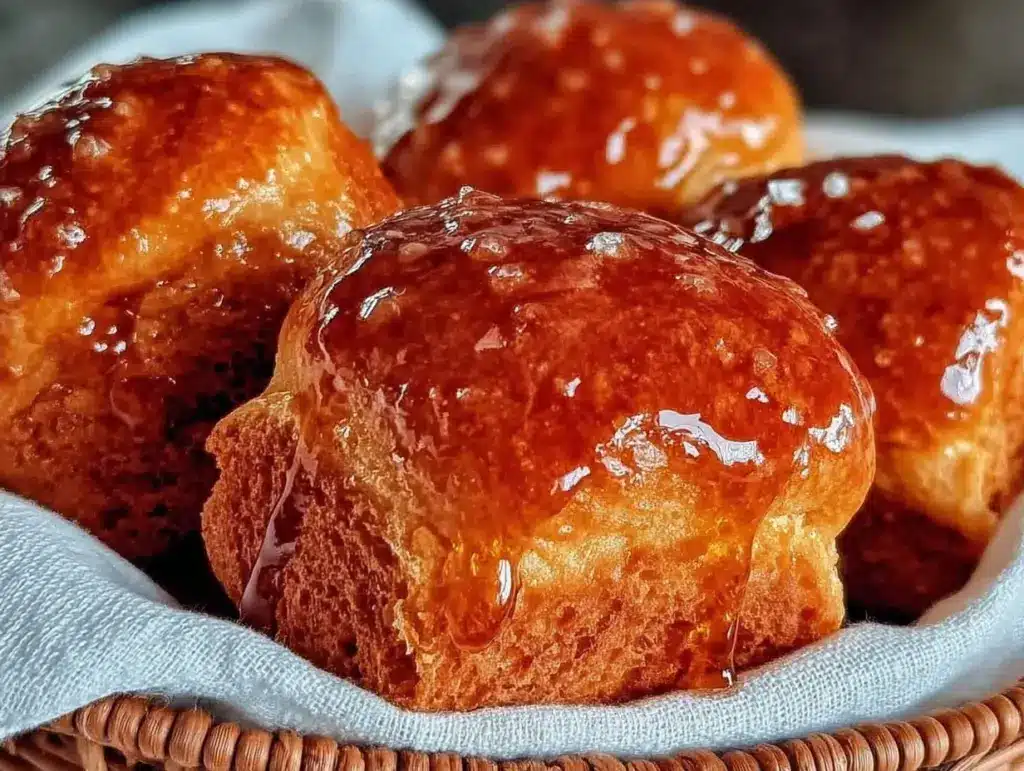
I have a confession to make. For years, I bought bread rolls from the freezer aisle. You know the ones—the ones in the plastic bag that taste like cardboard and regret. I told myself I was “too busy” to bake. I was a working mom of two, running on caffeine and sheer panic, convinced that homemade bread was some kind of gourmet performance art reserved for people with more time than I had.
Then came the great turkey disaster of three years ago. We had family coming over, and I forgot to buy dinner rolls. I panicked. I ran to the store, but they were out of the frozen kind. I had to improvise with whatever I had in the pantry. I mixed flour, yeast, a little honey for sweetness, and some butter. I didn’t have a fancy mixer, so I did it by hand. It was messy. It was stressful. But when those rolls came out of the oven, golden and smelling like heaven, my kids came running. My husband took one bite and said, “Why have you been buying store-bought bread all these years?”
That was the day I realized that Fluffy Homemade Dinner Rolls with Honey Butter aren’t just about the food. They’re about the smell that fills your house, making it feel like a home, not just a house. They are about the joy of pulling a warm roll apart and slathering it with that sweet, salty butter. And honestly? They are easier than I ever imagined. You don’t need a stand mixer. You don’t need fancy ingredients. You just need a little patience and a willingness to trust the process.
I’ve made this recipe dozens of times since that Sunday. Sometimes for big holiday dinners, sometimes just for a Tuesday night with a simple Mediterranean baked chicken on the side. It’s become my secret weapon for feeding a hungry family without breaking the bank. These rolls are soft, pillowy, and absolutely irresistible. If you’ve been intimidated by baking, this is your starting line. I promise you, once you make these, you’ll never look at a bread aisle the same way again.
Why You’ll Love This Recipe
Let’s be real for a second. Cooking for a family is hard. You want something that tastes amazing, but you also need it to be manageable. Here’s why this Fluffy Homemade Dinner Rolls with Honey Butter has taken over my kitchen (and hopefully yours soon):
- It’s Budget-Friendly — Flour, yeast, sugar, salt, butter, milk. You probably have almost everything in your pantry right now. No expensive artisanal ingredients needed. I can make a dozen rolls for less than $3, which is a steal compared to buying a loaf of good bread.
- Kid-Approved Softness — My picky eater, who usually only eats chicken nuggets, loves these. They are so soft that they melt in your mouth. I’ve used them to teach my kids that “real food” can be fun and delicious. They’re great for dipping in soups or just eating plain.
- Make-Ahead Magic — This is the game-changer for busy parents. You can mix the dough the night before and let it rise in the fridge. In the morning, you shape them, let them proof, and bake them while the kids get ready for school. The smell wakes everyone up. It’s a breakfast-and-dinner combo win.
- Zero Special Equipment — I use a large bowl and my hands. If you have a mixer, great, but it’s not required. The dough is forgiving. If you over-knead it a little, it’s fine. If you under-proof it slightly, it’s still edible (though less fluffy). It’s designed for real life, not a perfect studio kitchen.
- Versatile Side Dish — These rolls pair with literally everything. Slow cooker beef and potato stew is amazing with them for soaking up the gravy. They’re perfect alongside a easy watermelon feta salad for a summer BBQ. They’re the chameleon of the dinner table.
This is my go-to when dinner needs to just work. It feels like a treat, but it’s practical. It’s comfort food that doesn’t require a degree in baking.
Key Ingredients
Let’s talk about what goes into these rolls. I’ve kept this list short because simplicity is key. Here is exactly what you need, with the measurements you need to get that perfect texture.
For the Dough
Warm Milk (1 cup / 240 ml) — This needs to be warm to the touch, like a baby’s bottle. Not hot! If it’s too hot, it kills the yeast. If it’s too cold, the yeast won’t wake up. I test it on my wrist—it should feel warm, not burning. Whole milk gives the best flavor, but 2% works fine too.
Active Dry Yeast (2 1/4 teaspoons / 7 grams) — That’s one standard packet. Don’t skip this. It’s what makes them rise. Make sure it’s not expired. I once used old yeast and ended up with dense, flat bricks. Never again. If your yeast is fresh, it will bubble up in the warm milk within 5-10 minutes. If it doesn’t bubble, toss it and start over.
Granulated Sugar (1/4 cup / 50 grams) — This feeds the yeast and adds a subtle sweetness that balances the honey butter. You can use brown sugar for a deeper flavor, but white sugar keeps the rolls light and fluffy.
Unsalted Butter (1/4 cup / 57 grams) — Melted. This adds richness and tenderness. I use real butter every time. Margarine just doesn’t give you that same rich flavor. Make sure it’s cooled slightly before adding so it doesn’t cook the yeast.
Egg (1 large) — This acts as a binder and adds structure. It also helps the rolls brown beautifully. I usually just crack it right into the bowl.
Salt (1 1/2 teaspoons) — Essential for flavor. Don’t be tempted to skip it. Yeast bread needs salt to control the yeast activity and strengthen the gluten. It prevents the dough from rising too fast and collapsing.
All-Purpose Flour (3 to 3 1/2 cups / 375-435 grams) — This is the base. I start with 3 cups and add more as needed. The amount of flour you need depends on your humidity and how you measure. If you scoop the flour directly from the bag, you’ll pack it down and use too much, leading to dry rolls. Spoon the flour into your measuring cup and level it off with a knife. That’s the secret to fluffy rolls.
For the Honey Butter
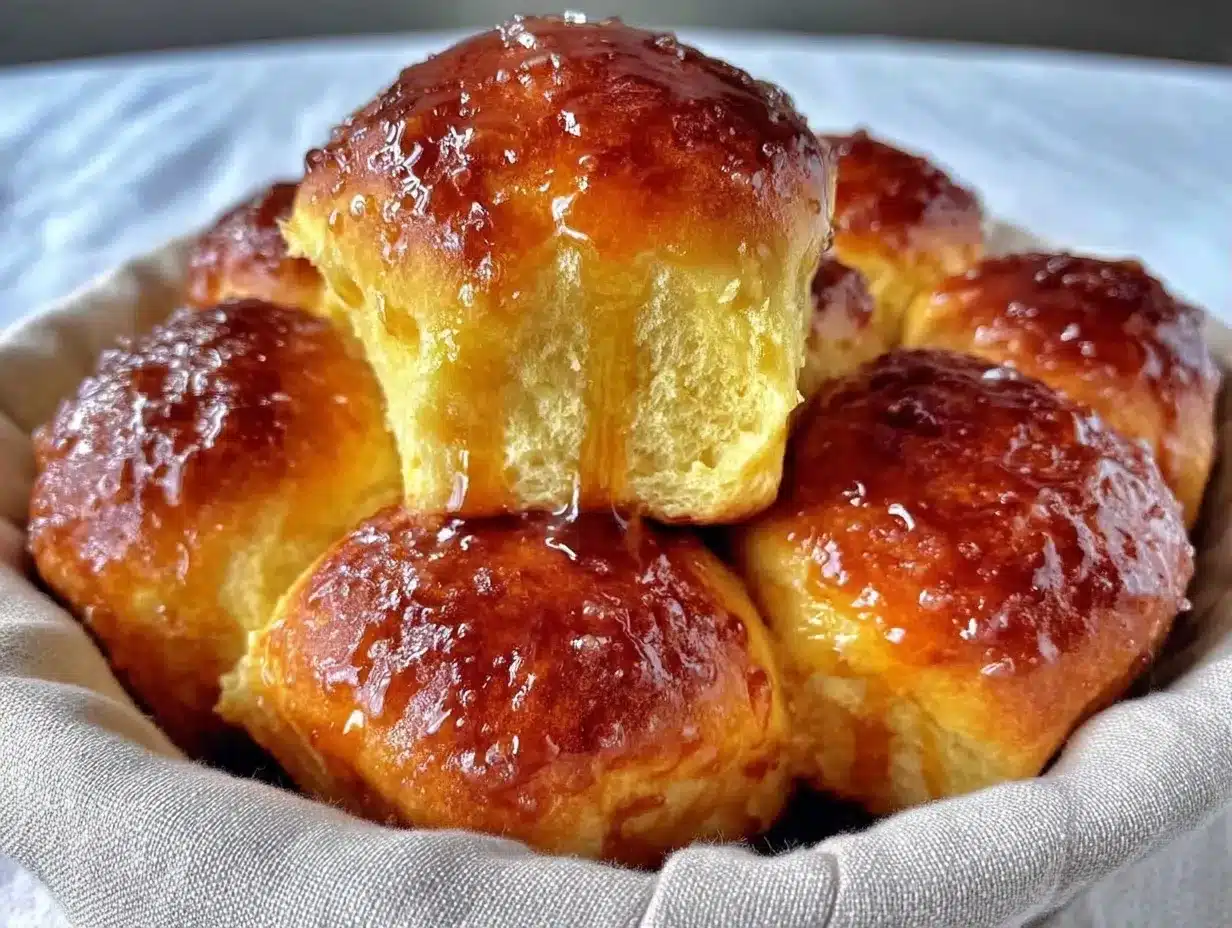
Softened Butter (1/2 cup / 113 grams) — Make sure this is soft enough to spread easily. If it’s cold, microwave it for 10 seconds.
Honey (2 tablespoons / 30 ml) — This is what makes it “honey butter.” It adds a floral sweetness that pairs perfectly with the savory dough. Local honey is great if you can find it, but any honey works.
Salt (1/4 teaspoon) — A pinch of salt cuts through the sweetness and makes the honey flavor pop.
Tools Needed
You don’t need fancy equipment. Here’s what I use, and what you can swap if you don’t have it.
Large Mixing Bowl — I use a 5-quart bowl. It needs to be big enough for the dough to double in size without spilling over. Glass or ceramic is nice because you can see the dough rising, but stainless steel works too.
Measuring Cups and Spoons — Be accurate with the yeast and salt. Flour is forgiving, but yeast is not. I use a set of dry measuring cups and a set of liquid measuring cups for the milk.
Cling Wrap or Damp Towel — You need to cover the dough while it rises to keep it from drying out. I use cling wrap because it’s easier to remove, but a damp kitchen towel works great too. Just make sure it’s not touching the dough directly, or it will stick.
9×13 Inch Baking Pan — This is the standard size for dinner rolls. It holds about 12-15 rolls depending on how big you make them. I use a glass pan because it browns the bottoms nicely, but metal or ceramic is fine too.
Pastry Brush — Optional, but helpful for brushing melted butter on the rolls after they come out of the oven. If you don’t have one, you can just drizzle the butter on and use a spoon.
How to Make Fluffy Homemade Dinner Rolls with Honey Butter
Okay, let’s get baking. I’m walking you through exactly how I do it, step by step. Don’t worry if you’re a beginner—I’ve got you.
Step 1: Activate the Yeast (5 minutes)
Start by warming your milk. I heat it in the microwave for about 45-60 seconds on high. It should be around 110°F (43°C). If you don’t have a thermometer, just test it on your wrist. It should feel warm, like a bath. Pour the warm milk into your large mixing bowl. Add the sugar and the yeast. Stir gently and let it sit for 5-10 minutes. You should see a foamy layer on top. If it’s not foamy, your yeast is dead. Start over with fresh yeast. This step is crucial—it ensures your bread will actually rise.
Step 2: Mix the Wet Ingredients (2 minutes)
Once the yeast is foamy, add the melted butter and the egg to the bowl. Whisk everything together until it’s well combined. The mixture should look smooth and slightly bubbly. This is where you incorporate the fat and protein into the yeast base.
Step 3: Add the Flour and Salt (5 minutes)
Add the salt first. Then, start adding the flour, one cup at a time. I usually start with 3 cups. Mix with a wooden spoon or your hands until the dough starts to come together. It will look shaggy and messy at first. That’s normal. Add the remaining 1/2 cup of flour gradually. You want the dough to pull away from the sides of the bowl and form a soft, slightly sticky ball. If it’s too wet and sticky, add a little more flour, a tablespoon at a time. If it’s too dry and crumbly, add a splash of milk. The dough should be soft, like an earlobe.
Step 4: Knead the Dough (10 minutes)
Turn the dough out onto a lightly floured surface. Knead it by pushing it away from you with the heel of your hand, then folding it back over itself. Rotate and repeat. This develops the gluten, which gives the rolls their structure and chew. Knead for about 8-10 minutes. The dough will become smooth and elastic. If you poke it, it should spring back slowly. If it stays poked, it needs more kneading. This is the hard work part, but it’s worth it. My kids help me knead sometimes—it’s like playing with dough, and they love it.
Step 5: First Rise (1-2 hours)
Lightly grease a clean bowl with oil or butter. Place the dough in the bowl and turn it once to coat it with oil. This prevents a crust from forming. Cover the bowl with cling wrap or a damp towel. Place it in a warm, draft-free spot. I usually put it in the oven with the light on. The residual heat is perfect. Let it rise for 1-2 hours, or until it has doubled in size. You can’t rush this step. If you bake it too soon, the rolls will be dense. Wait until it’s doubled. You can check by pressing a finger into the dough—if the indentation remains, it’s ready.
Step 6: Shape the Rolls (15 minutes)
Punch down the dough to release the air. Turn it out onto a floured surface and divide it into 12 equal pieces. I use a bench scraper or a knife to cut them evenly. Roll each piece into a smooth ball by tucking the edges underneath. Place the balls seam-side down in your greased 9×13 inch baking pan. They should be touching each other. This helps them rise upward rather than outward, making them extra fluffy. Cover the pan again and let them rise for another 30-45 minutes. They should look puffy and jiggly.
Step 7: Bake (20-25 minutes)
Preheat your oven to 350°F (175°C). Once the rolls have puffed up, bake them for 20-25 minutes. They should be golden brown on top. If they’re browning too quickly, cover them loosely with foil after 15 minutes. You can tell they’re done by tapping the top—it should sound hollow. Or, use an instant-read thermometer; the internal temperature should be around 190°F (88°C).
Step 8: The Honey Butter (5 minutes)
While the rolls are baking, mix the softened butter, honey, and salt. Once the rolls come out of the oven, brush them generously with the honey butter. Do this while they’re still hot so the butter melts into the crust. This is the best part. The smell is intoxicating. Let them cool in the pan for 5 minutes before serving. They are soft and delicate when hot, so be careful not to tear them.
Total Time: About 3 hours (including rising time). But most of that is hands-off.
Expert Tips from a Budget-Savvy Mom
Here’s everything I learned from making this too many times. These tips will save you from common mistakes.
The Game-Changers
Don’t Overbake
This is the #1 mistake. Overbaked rolls are dry and hard. I used to bake them for 30 minutes because I was worried they’d be raw inside. They came out like hockey pucks. Now, I check them at 20 minutes. They should be golden, not dark brown. They continue to cook slightly after you take them out of the oven.
Use Warm Ingredients
Cold ingredients slow down the yeast. If your kitchen is cold, your dough will take longer to rise. I keep my milk warm and my butter at room temperature. It makes a huge difference in rising time.
Stretch Your Dough
If you have a smaller family, don’t just make half the recipe. Double the batch. Freeze half the shaped rolls before baking. When you need them, just let them thaw and rise, then bake. It’s so much cheaper to buy flour in bulk than to buy rolls every week.
Common Problems & Solutions
Rolls are dense — This usually means the yeast was dead or the dough didn’t rise enough. Make sure your yeast is fresh and your water is the right temperature. Don’t skip the rising time.
Rolls are too salty — This happens if you add too much salt or not enough flour. Measure carefully. If you’re using a scale, it’s even better.
Rolls are sticky — You probably added too little flour or your humidity is high. Add flour gradually. Don’t be afraid to add a little extra if the dough feels sticky.
Pro Tricks
Freeze for Later
You can freeze the unbaked rolls on a baking sheet. Once they’re frozen solid, transfer them to a bag. When you’re ready to eat, let them thaw and rise on the counter, then bake as usual. They taste just as good as fresh.
Add Herbs
For a savory twist, add 1 teaspoon of dried rosemary or thyme to the dough. It’s amazing with roasted vegetables or grilled corn salad.
Recipe Variations
Once you’ve nailed the basic version, here’s how to mix it up. These variations keep things interesting without adding extra cost.
Garlic Herb Rolls
Add 2 cloves of minced garlic and 1 teaspoon of dried parsley to the dough. Brush with garlic butter after baking. These are perfect with pasta or smoked brisket sandwiches.
Cinnamon Sugar Rolls
Skip the honey butter. Instead, brush the baked rolls with melted butter and sprinkle with a mixture of cinnamon and sugar. They taste like cinnamon rolls but are still savory enough for dinner.
Cheese Rolls
Add 1/2 cup of shredded cheddar cheese to the dough. These are great with soup or chili. The cheese adds flavor and moisture.
Gluten-Free Option
You can use a 1:1 gluten-free flour blend. The texture will be slightly different, but they still work. You may need to add a little extra liquid because GF flour absorbs more moisture.
Dairy-Free Option
Use plant-based milk and dairy-free butter. The result is still fluffy and delicious. Just make sure your butter alternative is soft enough to mix with the honey.
Serving & Storage
Serving:
I serve these warm, straight from the pan. They are perfect alongside a hearty slow cooker beef and potato stew or a simple green salad. I also love them with a fresh green salad with candied pecans and goat cheese for a light summer meal. Don’t forget the honey butter!
Storage:
These rolls are best eaten the day they are made. If you have leftovers, store them in an airtight container at room temperature for up to 2 days. They will stay soft. To reheat, wrap them in a damp paper towel and microwave for 10-15 seconds. Or, toast them in the oven for 5 minutes. They don’t freeze well once baked because the texture changes. But you can freeze the unbaked dough, as I mentioned earlier.
Meal Prep Tip:
Make the dough on Sunday night. Shape the rolls on Monday morning. Bake them Monday evening. This way, you have fresh rolls for dinner without any stress during the week.
Nutrition Information
I’m not a nutritionist, but here’s the breakdown. Remember, these are comfort food, so they’re not exactly diet food. But they’re better than store-bought because you control the ingredients.
| Nutrient | Per Roll (approx.) |
|---|---|
| Calories | 180 |
| Protein | 4g |
| Carbs | 28g |
| Fiber | 1g |
| Fat | 6g |
| Sodium | 250mg |
My Take:
These rolls are indulgent but reasonable. One or two rolls per person is a good serving size. They pair well with lighter dishes like salads or lean proteins to balance the meal. They’re a treat, not a staple.
Final Thoughts
Making Fluffy Homemade Dinner Rolls with Honey Butter is one of the most rewarding things you can do in the kitchen. It’s not just about the bread—it’s about the love you put into it. It’s about the smell that fills your home and the smiles on your family’s faces. It’s affordable, it’s easy, and it’s delicious. I promise you, once you try this recipe, you’ll be hooked. You’ll feel proud of yourself, and your family will think you’re a genius. So grab your apron, preheat your oven, and let’s make some magic. If you make this, drop a comment! I love hearing how it turns out in your kitchen. Happy cooking!
FAQs
Can I make these rolls ahead of time?
Yes! You can mix the dough the night before and let it rise slowly in the fridge. In the morning, take it out, shape the rolls, let them proof, and bake. This is perfect for busy mornings.
Why did my rolls turn out flat?
This usually happens if the yeast was dead or the dough didn’t rise enough. Make sure your milk is warm, not hot, and that your yeast is fresh. Also, don’t skip the rising time. Let the dough double in size before baking.
Can I use bread flour instead of all-purpose flour?
Yes, but the rolls will be chewier. All-purpose flour gives them that soft, fluffy texture. If you use bread flour, expect a denser result.
How do I store leftover honey butter?
Store it in an airtight container in the fridge for up to 2 weeks. It can also be frozen for 3 months. Just let it come to room temperature before using.
Can I freeze the baked rolls?
It’s not recommended. The texture will become dry and crumbly. It’s better to freeze the unbaked dough or bake them fresh.
What if I don’t have honey?
You can use maple syrup or agave nectar instead. The flavor will be slightly different, but it will still be sweet and delicious.
Can I double the recipe?
Absolutely. Just use a larger bowl and maybe two baking pans. The rising and baking times will be the same. This is a great way to save time and money.
Pin This Recipe!
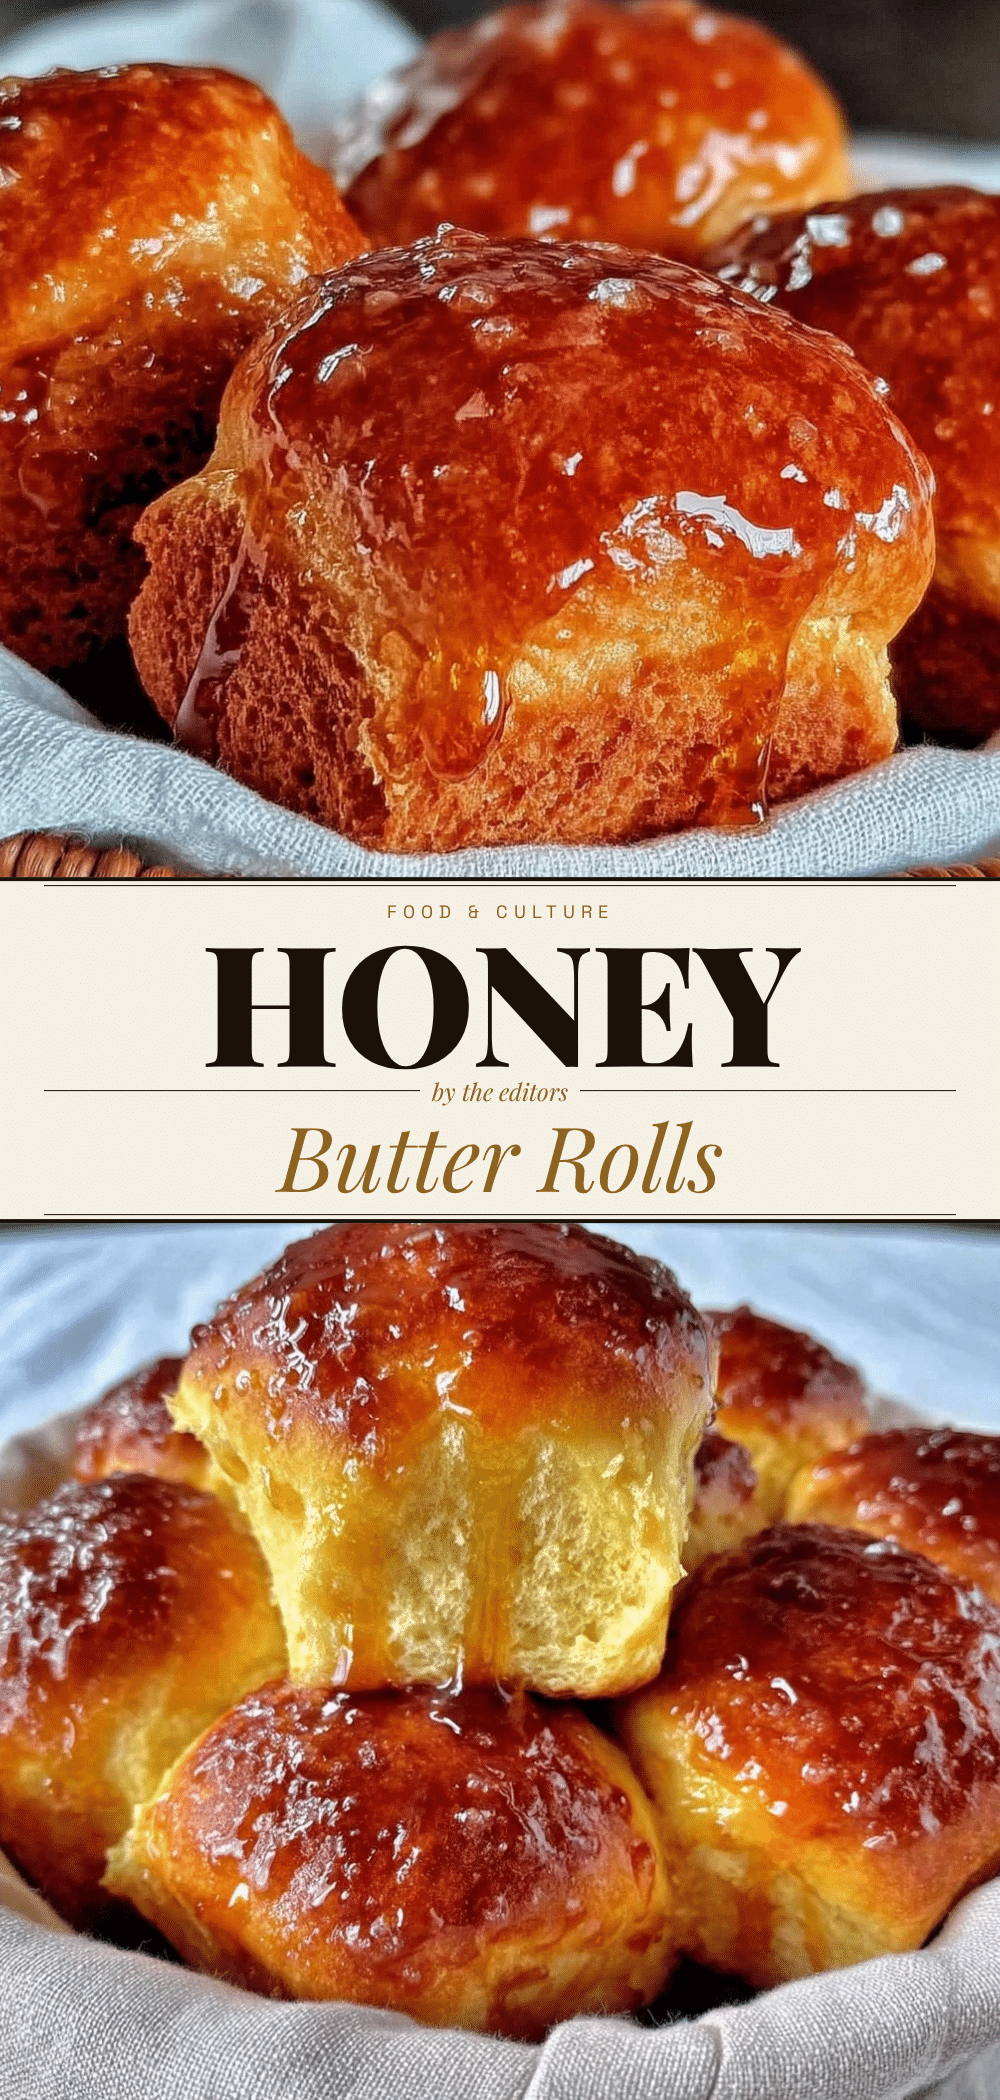

Fluffy Homemade Dinner Rolls with Honey Butter
- Total Time: 3 hours
- Yield: 12 servings 1x
Description
Soft, pillowy homemade dinner rolls made with simple pantry ingredients. These budget-friendly rolls are easy to make by hand and pair perfectly with any meal, topped with a sweet and salty honey butter.
Ingredients
- 1 cup warm milk (110°F/43°C)
- 2 1/4 teaspoons active dry yeast (1 packet)
- 1/4 cup granulated sugar
- 1/4 cup unsalted butter, melted and cooled slightly
- 1 large egg
- 1 1/2 teaspoons salt
- 3 to 3 1/2 cups all-purpose flour
- 1/2 cup softened butter (for honey butter)
- 2 tablespoons honey (for honey butter)
- 1/4 teaspoon salt (for honey butter)
Instructions
- Activate the yeast: Warm the milk to 110°F. In a large bowl, combine warm milk, sugar, and yeast. Let sit for 5-10 minutes until foamy.
- Mix wet ingredients: Whisk in the melted butter and egg into the yeast mixture until smooth.
- Add dry ingredients: Stir in the salt. Add flour one cup at a time, mixing until the dough pulls away from the sides of the bowl and forms a soft, slightly sticky ball.
- Knead the dough: Turn dough onto a floured surface and knead for 8-10 minutes until smooth and elastic.
- First rise: Place dough in a greased bowl, cover, and let rise in a warm spot for 1-2 hours until doubled in size.
- Shape the rolls: Punch down dough and divide into 12 equal pieces. Roll into balls and place seam-side down in a greased 9×13 inch baking pan.
- Second rise: Cover the pan and let rolls rise for 30-45 minutes until puffy.
- Bake: Preheat oven to 350°F (175°C). Bake rolls for 20-25 minutes until golden brown and internal temperature reaches 190°F.
- Prepare honey butter: While rolls bake, mix softened butter, honey, and salt.
- Finish: Brush hot rolls generously with honey butter. Let cool in pan for 5 minutes before serving.
Notes
Ensure milk is warm but not hot to avoid killing the yeast. Spoon flour into measuring cups for accuracy. Rolls can be frozen unbaked; thaw and rise before baking. Store leftovers in an airtight container at room temperature for up to 2 days.
- Prep Time: 45 minutes
- Cook Time: 25 minutes
- Category: Side Dish
- Cuisine: American
Nutrition
- Serving Size: 1 roll
- Calories: 180
- Sugar: 6
- Sodium: 250
- Fat: 6
- Saturated Fat: 3.5
- Carbohydrates: 28
- Fiber: 1
- Protein: 4
Keywords: homemade dinner rolls, honey butter, budget-friendly baking, easy bread recipe, fluffy rolls, yeast bread, family dinner


