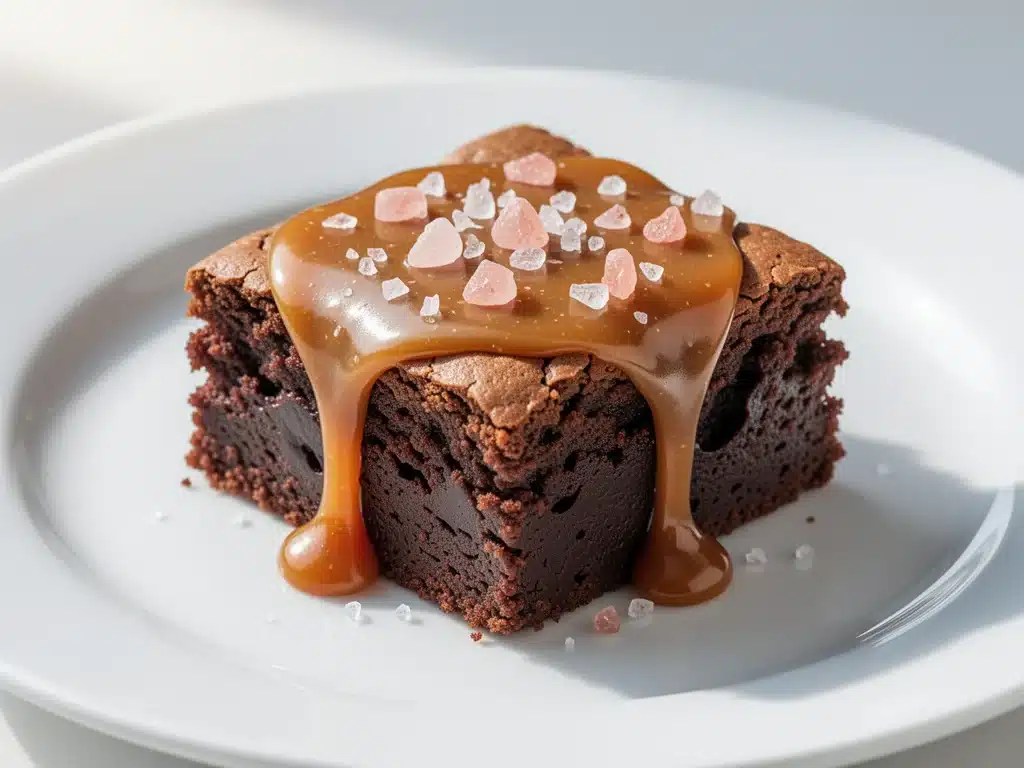
Last Tuesday, I was having one of those nights where the dishwasher was broken, the kids were arguing over who got the blue plate, and I was pretty sure dinner was going to be cereal for everyone. I needed something sweet, fast, and indulgent to save the mood. I didn’t want to order expensive delivery, and I definitely didn’t want to spend an hour fussing with a complicated dessert that required tempering chocolate or a water bath.
So I threw together what I thought would be a mediocre, “good enough” batch of brownies. I had some semi-sweet chocolate in the pantry, a jar of salted caramel sauce I’d bought on sale three months ago and forgotten about, and enough butter to make a dairy cow jealous. I mixed it up in one bowl, threw it in the oven, and went back to fighting the dishwasher battle.
Thirty minutes later, the smell hit me. It wasn’t just chocolate; it was rich, buttery, and salty in that specific way that makes your brain short-circuit. I pulled the pan out, cut a square, and handed it to my husband. He took one bite, closed his eyes, and said, “Okay, what did you do?” I told him it was basically junk food. He didn’t care.
That was three weeks ago. Since then, I’ve made this gooey salted caramel brownies recipe at least seven times. Seven. My kids have started asking for “brownie night” instead of dinner. My husband has developed a suspiciously strong craving for them on random Wednesdays. And I have zero regrets. In fact, I’m kind of thrilled that my “lazy Tuesday” hack has become the star of our house.
Here’s the thing about these brownies: they’re not just dessert. They’re a mood lifter. They’re a “I had a hard day at work” cure. They’re also surprisingly easy to make, which is why they fit perfectly into a busy weeknight routine. You don’t need fancy ingredients or hours of free time. You just need a few pantry staples and the willingness to let them cool for exactly ten minutes (spoiler: you will want to eat them hot, but wait).
I’ve tested this recipe so many times that I know exactly why some batches turn out cakey and others turn out fudgy. I know how to stop the caramel from sinking to the bottom. I know the exact temperature for that perfect crackly top. And I’m going to share all of it with you, so you can make your own version of this weeknight magic.
Why You’ll Love This Salted Caramel Brownie Recipe
There are about a dozen reasons I keep making these, but let’s be real—you’re probably looking for the practical stuff first. Here’s why this easy 30-minute weeknight treat has taken over my kitchen:
- One-Bowl Wonder — Seriously, you can mix the entire batter in a single large bowl. No double boiler, no melting chocolate chips separately, no fancy equipment. Just melt, mix, pour, bake. I’ve walked my teenage daughter through this over the phone while she was stuck at a friend’s house with no oven mitts.
- Stress-Free Timing — These come together in about 30 minutes total, but only 10 minutes is active work. The rest is just waiting for the oven to do its thing. Perfect for those nights when you walk in the door at 6:30 PM and panic.
- The Caramel Factor — Most brownie recipes try to hide the chocolate. These celebrate it, but the salted caramel is the real star. The sweetness of the caramel cuts through the bitterness of the dark chocolate, and the salt makes every bite pop. It’s flavor balance 101.
- Leftover Gold — These actually taste better the next day. The caramel softens slightly and melds with the brownie base. I deliberately make a double batch on weekends so I have lunch treats lined up for the week.
- Budget-Friendly — You probably have most of this already. Chocolate, butter, sugar, eggs, flour. The caramel sauce is the only “special” item, and a jar lasts forever. It’s cheaper than buying a box of gourmet brownies from the bakery.
This recipe has completely changed our evening routine. No more scrolling through delivery apps with guilt. No more “what’s for dessert?” arguments. Just warm, gooey, salty-sweet chocolate goodness that makes everyone happy.
Ingredients You’ll Need
Here’s the best part: you probably have 80% of this already. I’m particular about three ingredients here, and I’ll tell you exactly why. Don’t skip the notes!
For the Brownie Base
Unsalted Butter (½ cup / 115g) — We’re melting this, so quality matters less than texture. Use real butter, not margarine. Margarine has water content that can throw off the fudgy texture. I use salted butter if I’m in a rush, but reduce the added salt in the recipe slightly.
Semi-Sweet Chocolate Chips (1 cup / 175g) — I don’t buy fancy couverture chocolate for weeknight baking. Standard semi-sweet chips (like Ghirardelli or Nestlé Toll House) work perfectly. They melt evenly and give that classic brownie chew. Dark chocolate chips work too if you like it less sweet.
Granulated Sugar (1 cup / 200g) — This isn’t a low-sugar recipe, and that’s intentional. The sugar is what creates that thin, crackly top. Don’t substitute with brown sugar if you want that specific texture; brown sugar makes them cakey.
Eggs (2 large) — Room temperature is ideal, but not a dealbreaker. These bind the fats and create the structure. Don’t skip them or undercount them.
Vanilla Extract (1 teaspoon) — Pure vanilla, not imitation. It rounds out the chocolate flavor. If you don’t have vanilla, a drop of almond extract works surprisingly well here.
All-Purpose Flour (½ cup / 65g) — Just regular flour. Don’t go overboard here. Too much flour = cakey brownies. We want fudgy.
Salt (½ teaspoon) — Even though we’re using unsalted butter, a little salt in the batter enhances the chocolate flavor. If using salted butter, reduce this to ¼ teaspoon.
For the Caramel Swirl
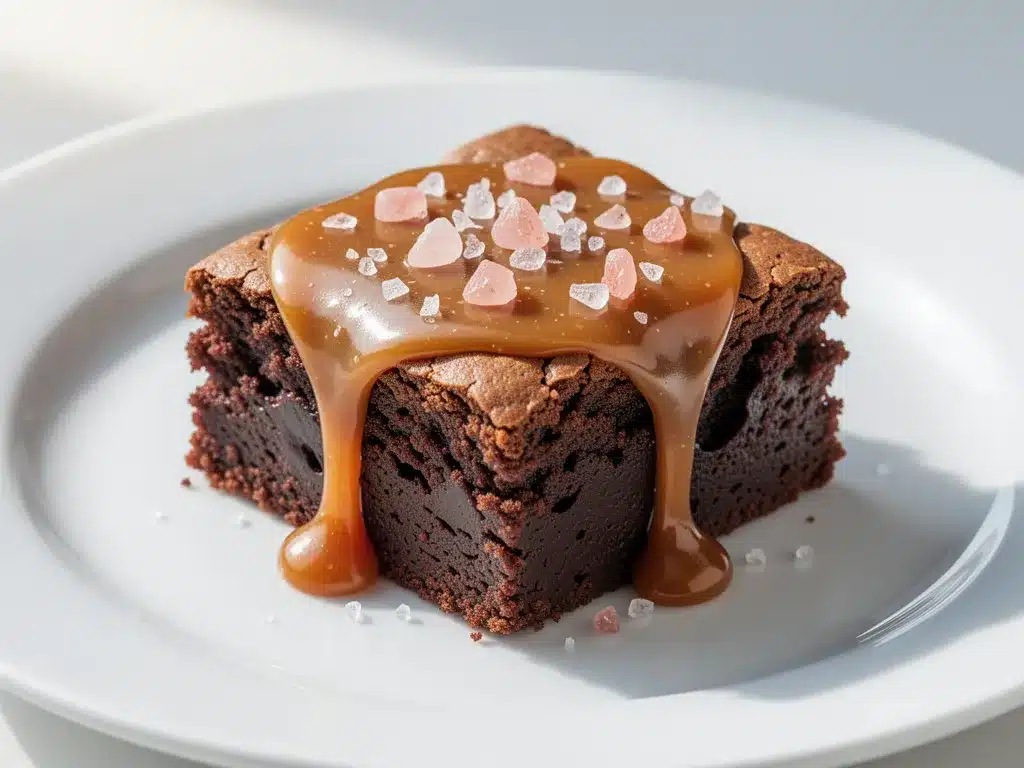
Salted Caramel Sauce (½ cup / 120ml) — This is the game-changer. I buy a jar of store-bought caramel sauce (like Smucker’s or store brand) because it’s consistent. But if you have homemade caramel, use that! Just make sure it’s not too hot when you add it, or it’ll melt into the batter completely instead of staying in ribbons.
Flaky Sea Salt (optional, for topping) — Things like Maldon salt. Just a sprinkle on top after baking adds that professional bakery finish. If you don’t have flaky salt, regular sea salt or even table salt works, but flaky looks nicer.
Substitutions & Notes
Gluten-Free? Swap the all-purpose flour for a 1:1 gluten-free flour blend (like Bob’s Red Mill or King Arthur). They work great in brownies because there’s less gluten development to worry about.
Dairy-Free? Use vegan butter and dairy-free chocolate chips. The caramel sauce needs to be checked for dairy (some are made with milk), but many store-bought ones are vegan-friendly. Coconut cream can replace the milk in some caramel sauces if needed.
No Caramel Sauce? You can make a quick version by melting ½ cup of caramel candies with 2 tablespoons of heavy cream in the microwave, stirring until smooth. It takes 2 minutes and tastes fresher.
Equipment Needed
You don’t need fancy equipment for this. Here’s what I actually use:
8×8 Inch Baking Pan — This is the standard size for this recipe. It gives the brownies the right thickness. If you use a 9×13 pan, they’ll be too thin and dry out. If you use a square pan that’s too small, they’ll overflow. Stick to 8×8.
Microwave-Safe Bowl or Small Saucepan — For melting the butter and chocolate. I prefer the microwave because it’s faster. 30-second intervals, stirring in between. No scorching.
Large Mixing Bowl — Something with a wide mouth so you can whisk easily. Glass or ceramic is nice because you can see what’s happening.
Wire Whisk — For mixing the batter. A spoon works, but a whisk incorporates air better and ensures no lumps of flour remain.
Parchment Paper — Liner your pan. This is non-negotiable. These brownies are sticky, and the caramel will make cleanup a nightmare if you don’t line the pan. Leave an overhang on two sides so you can lift the whole block out after baking.
Knife or Fork — To drizzle the caramel. You don’t need a piping bag. Just dip a fork into the caramel and zigzag it over the batter.
Cooling Rack — Optional but helpful. Letting them cool on a rack prevents the bottom from getting soggy from steam.
How to Make It: Step-by-Step
Alright, let’s make this! I’m walking you through exactly how I do it, including the little tricks I’ve picked up so you don’t end up with a messy kitchen or a soupy brownie.
Step 1: Prep Your Pan and Oven (2 minutes)
Preheat your oven to 350°F (175°C). Line your 8×8 inch baking pan with parchment paper. I like to leave a little overhang on the short sides so I can lift the brownies out later like a sling. Grease the parchment lightly with butter or cooking spray so it sticks. This step takes no time but saves you from a sticky cleanup disaster.
Step 2: Melt the Butter and Chocolate (3 minutes)
In a microwave-safe bowl, combine the butter and chocolate chips. Microwave on high for 30 seconds. Stir well. If there are still chunks, microwave for another 15-20 seconds and stir again. You want a smooth, glossy mixture. Do not burn it! If the chocolate seizes, add a tiny splash of milk or cream to bring it back. Set it aside to cool for just a minute.
Step 3: Mix the Wet Ingredients (2 minutes)
To the melted chocolate mixture, add the sugar, eggs, and vanilla extract. Whisk vigorously for about a minute. The mixture will look a bit separated at first—like oily and grainy. That’s normal. Keep whisking until it becomes glossy and uniform. This step is crucial for that crackly top. The sugar needs to fully incorporate into the fats.
Step 4: Add the Dry Ingredients (1 minute)
Sprinkle the flour and salt over the wet mixture. Gently fold it in with your whisk or a spatula. Stop as soon as the flour disappears. Overmixing develops gluten, which makes brownies chewy in a bad way (like bread). We want tender and fudgy. It should take about 10-15 strokes. Don’t worry if it’s not perfectly smooth; a few tiny lumps are fine.
Step 5: Pour and Swirl (2 minutes)
Pour the batter into your prepared pan. Spread it out evenly with a spatula. Now, the fun part: the caramel. Take your jar of salted caramel sauce. Drizzle it over the batter in a zigzag pattern. Don’t try to mix it in yet. Use a knife or a fork to gently swirl the caramel into the batter. Make a few figure-eights. Don’t overdo it—you want ribbons of caramel, not a uniform brown color.
Step 6: Bake (25-30 minutes)
Place the pan in the center of the oven. Bake for 25-30 minutes. Here’s how to tell when they’re done: The edges should be set and pulling slightly away from the pan. The center should still look slightly soft and jiggly, not liquid. If you insert a toothpick, it should come out with moist crumbs, not wet batter. If it’s clean, you’ve overbaked them. They continue to cook as they cool.
Step 7: Cool and Cut (10-15 minutes)
Let the brownies cool in the pan for at least 10 minutes. I know, I know, you want to eat them now. But if you cut them hot, they’ll be a gooey mess that falls apart. Let them sit until the caramel sets slightly. Then, use the parchment overhang to lift the whole block out. Place it on a cutting board. Cut into squares. Dust with flaky sea salt if you’re feeling fancy.
Troubleshooting Tips:
- Brownies are cakey: You used too much flour or overmixed the batter. Measure flour by spooning it into the cup, not scooping. Mix less next time.
- Caramel sank to the bottom: The caramel was too thin or you stirred it too much. Use a thicker caramel sauce, and only swirl it gently.
- Top isn’t crackly: You didn’t whisk the sugar into the melted chocolate enough. Whisk harder in Step 3!
Expert Tips & Tricks
Here’s everything I’ve learned from making this dozens of times. These tips will save you from my mistakes.
Don’t Skip the Cooling Time
This is the hardest part. These brownies are extremely soft when hot. The caramel is basically lava. If you cut them immediately, you’ll get a puddle. Let them cool for at least 10 minutes. Ideally, let them cool completely for the cleanest cuts, but 10 minutes is the minimum for sanity.
Chill for Cleaner Cuts
If you’re bringing these to a party or want perfect squares, pop the whole pan in the fridge for 20 minutes before cutting. Cold caramel cuts cleanly. Cold brownies are firm. Warm brownies are a struggle. I learned this the hard way at a potluck.
Quality of Caramel Matters
Not all caramel sauces are created equal. Some are very thin (like pancake syrup). Others are thick and gooey. For brownies, you want the thicker kind. If your sauce is runny, heat it slightly in the microwave to thicken it before drizzling. This prevents it from sinking.
Room Temperature Eggs
It’s a small detail, but room temperature eggs emulsify better with the melted chocolate. If you’re in a rush, just drop them in a bowl of warm water for 5 minutes. It makes the batter smoother and the texture more consistent.
The Toothpick Test
Don’t trust the timer alone. Ovens vary. Start checking at 25 minutes. If the toothpick comes out with wet batter, give it 2 more minutes. If it comes out with moist crumbs, pull it out. If it’s clean, you waited too long. Fudgy brownies should have a few crumbs on the toothpick.
Variations & Substitutions
Once you’ve nailed the basic version, here’s how you can mix it up. I’ve tried all of these.
Chocolate Chip Explosion
Add ½ cup of extra chocolate chips to the batter before pouring it into the pan. Sprinkle them on top too. For people who think “more chocolate is always better.” My kids love this version.
Peanut Butter Swirl
Swap half the caramel for peanut butter. Drizzle peanut butter over the batter, then drizzle caramel on top. Swirl them together. Sweet, salty, and nutty. A huge hit with adults.
Espresso Boost
Add 1 teaspoon of instant espresso powder to the melted chocolate mixture. It doesn’t make them taste like coffee; it just makes the chocolate taste more like chocolate. A pro tip from my baker friend.
Coconut Lover’s
Add ½ cup of shredded coconut to the batter. Top with a few extra chocolate chips. The coconut adds a nice chew and tropical vibe.
Gluten-Free Version
Use a 1:1 gluten-free flour blend. Everything else stays the same. The texture is almost identical to the regular version. I’ve used Bob’s Red Mill and King Arthur, and both work well.
Dairy-Free Version
Use vegan butter and dairy-free chocolate chips. Check your caramel sauce for dairy. Many store-bought caramels contain milk solids, so look for “vegan” labels or make your own with coconut milk. It’s surprisingly creamy.
Serving & Storage
I usually serve these straight from the pan at the dinner table—it looks rustic and stays warm. But here are other ways I’ve enjoyed them:
Side Dishes:
- A scoop of vanilla ice cream (classic combo)
- Whipped cream with a drizzle of extra caramel
- A hot cup of coffee or milk to dip them in
- A simple green salad if you’re trying to balance out the sugar (good luck with that!)
Storage Instructions:
Room Temperature: Store in an airtight container for up to 3 days. They stay fudgy and moist. If your kitchen is hot, the caramel might get too soft, so fridge is better.
Refrigerator: Store in the fridge for up to 5 days. The brownies will firm up. Let them sit at room temperature for 10 minutes before eating to soften the caramel. This is actually my favorite way to eat them—cold caramel, warm brownie.
Freezer: Yes, they freeze well! Cut into squares, wrap individually in plastic wrap, then put in a freezer bag. They last up to 3 months. Thaw at room temperature for 30 minutes. They taste almost fresh.
Pro Tip: If leftovers are drying out, microwave a square for 10 seconds before eating. It revives the fudgy texture instantly.
Nutrition Information
I’m not a nutritionist, but here’s the breakdown if you’re tracking. Keep in mind, these are rich brownies, so portion control is key!
Per Serving (based on 16 squares):
- Calories: 220
- Protein: 3g
- Carbs: 32g
- Fiber: 1g
- Sugar: 24g
- Fat: 10g
- Saturated Fat: 6g
- Cholesterol: 25mg
- Sodium: 120mg
What’s Good:
- Dark chocolate has antioxidants
- Butter provides fat for satiety
- Easy to make homemade (no preservatives)
What to Know:
- High in sugar and calories
- Contains gluten and dairy
- Best enjoyed as an occasional treat
My Take:
Look, these are brownies. They have caramel and chocolate and butter. They’re not a health food. But they’re better than store-bought because you control the ingredients. When I make them, I use good quality chocolate and real butter. I eat one square with my coffee and feel satisfied, not guilty. That’s the balance.
Final Thoughts
So that’s my go-to gooey salted caramel brownies recipe! I’ve probably talked your ear off at this point, but when you make a recipe this often, you have a lot to say about it.
This has saved weeknight desserts more times than I can count. It’s my answer to “what’s for dessert” when I’m tired, don’t want to order out, and still want something that tastes really good. My kids are happy, my husband’s happy, and I’m happy because I’m not stressed about cooking.
Make it yours! Try different add-ins, swap in your favorite chocolate, adjust the salt. The best recipes are the ones you adapt to your family’s tastes.
If you make this, drop a comment and let me know what you think! I love hearing how recipes turn out in your kitchen. And if something doesn’t work, tell me that too—I’m here to help troubleshoot.
Happy baking! And I hope your kitchen smells half as good as mine does right now.
Frequently Asked Questions
Can I use milk chocolate instead of semi-sweet?
You can, but these brownies will be very sweet. Semi-sweet or bittersweet chocolate provides the necessary bitterness to balance the caramel. If you use milk chocolate, reduce the sugar in the recipe by ¼ cup. I recommend sticking with semi-sweet for the best flavor balance.
Why did my caramel sink to the bottom?
This usually happens if the caramel sauce is too thin or if you stirred it too much into the batter. Use a thicker caramel sauce. If it’s runny, heat it slightly to thicken it before drizzling. Also, only swirl it gently. Don’t try to mix it in completely.
Can I make these ahead for a party?
Absolutely! In fact, they’re better made ahead. Make them 1-2 days before, store in the fridge, and let them come to room temperature before serving. You can also freeze them for up to 3 months. Just thaw and serve. This saves you so much stress on party day.
Do I have to use salted caramel sauce?
You can use plain caramel sauce, but the salt is crucial. It cuts the sweetness and makes the chocolate flavor pop. If you only have plain caramel, add a pinch of flaky sea salt on top after baking. It’s not the same as mixing it in, but it helps.
Can I double this recipe?
Yes, but you’ll need a 9×13 inch pan. Increase the baking time by 5-10 minutes. Keep an eye on them because larger pans bake faster in the center. Don’t double it in an 8×8 pan—it will overflow. Stick to one batch per pan.
Why are my brownies cakey instead of fudgy?
Cakey brownies usually result from too much flour, too many eggs, or overmixing. Measure your flour carefully (spoon and level, don’t scoop). Use exactly 2 eggs. And mix the batter just until the flour disappears. Also, using brown sugar instead of white sugar makes them cakey. Stick to granulated sugar for fudgy texture.
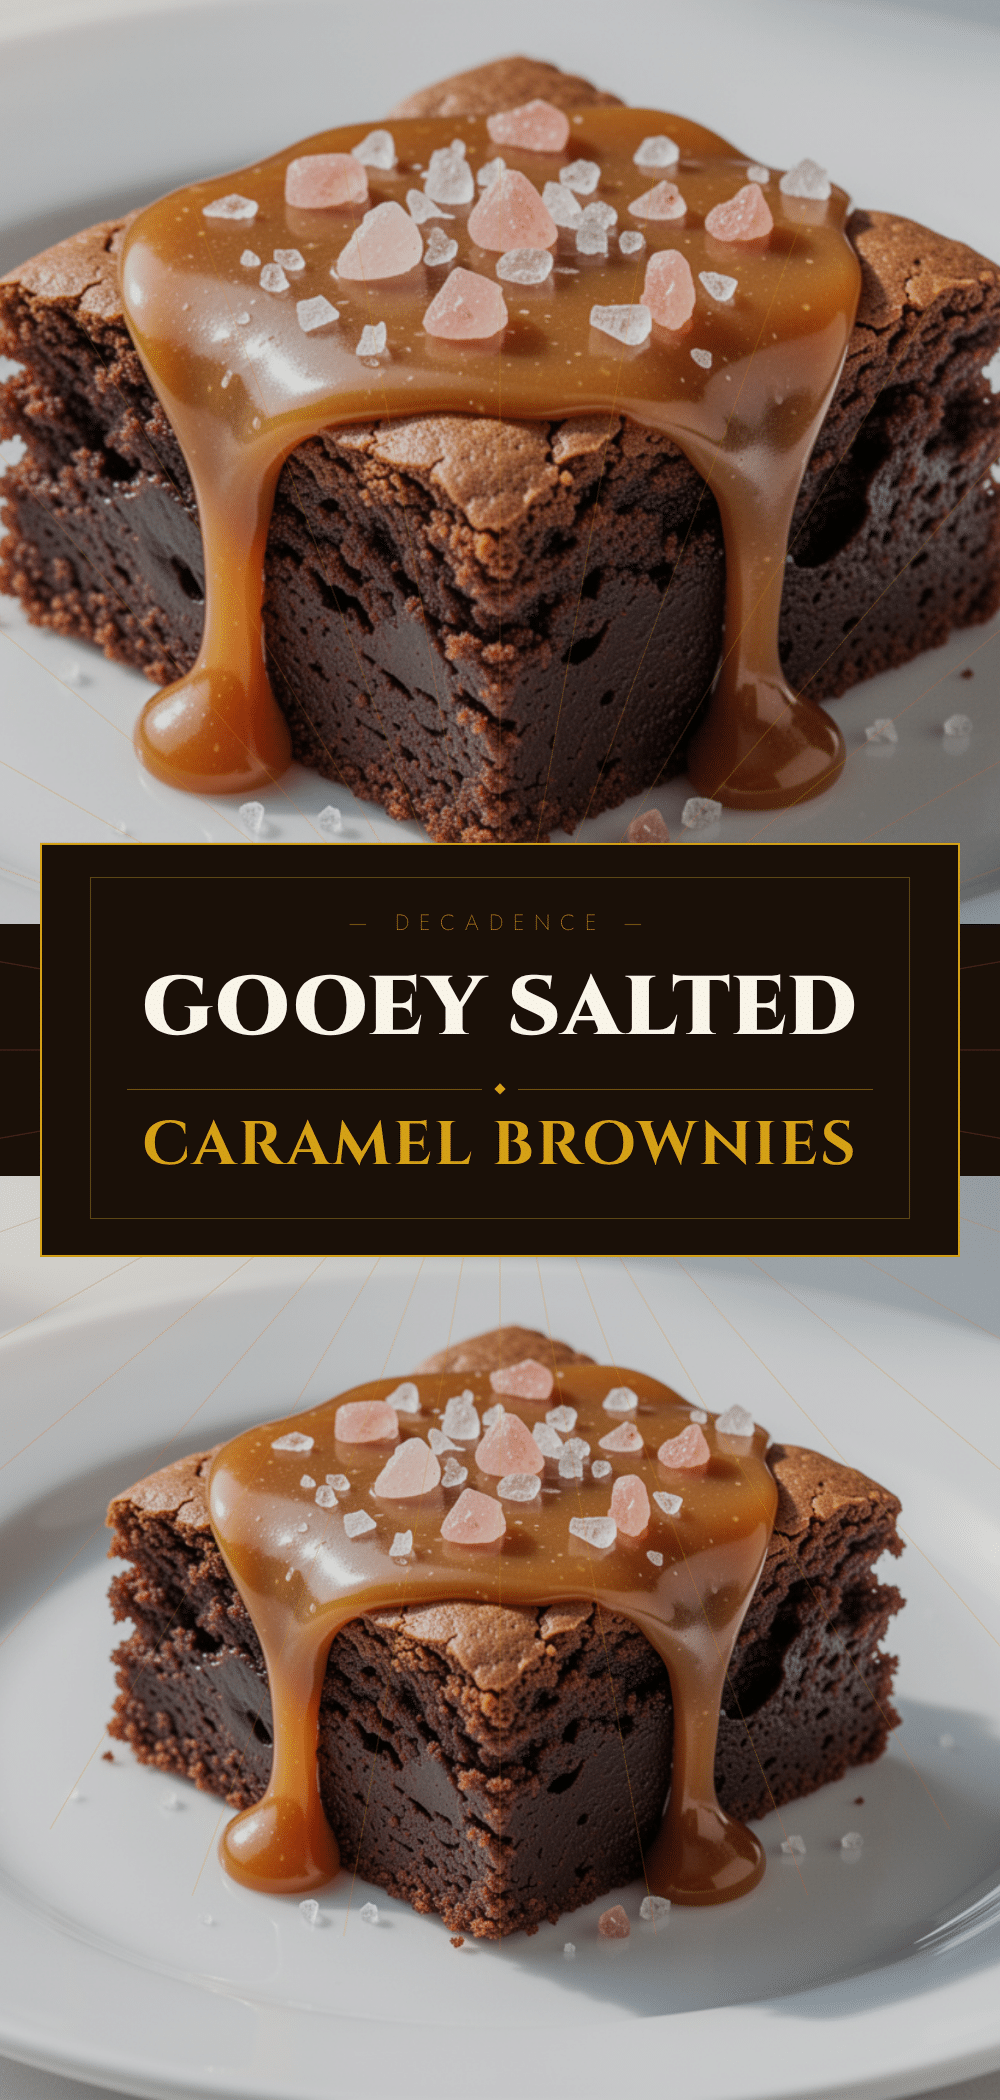
Pin This Recipe!
Gooey Salted Caramel Brownies: Easy 30-Min Weeknight Treat
- Total Time: 30 minutes
- Yield: 16 servings 1x
Description
Rich, fudgy brownies with a gooey salted caramel swirl, made in one bowl for a quick and indulgent weeknight dessert.
Ingredients
- 1/2 cup (115g) unsalted butter
- 1 cup (175g) semi-sweet chocolate chips
- 1 cup (200g) granulated sugar
- 2 large eggs
- 1 teaspoon vanilla extract
- 1/2 cup (65g) all-purpose flour
- 1/2 teaspoon salt
- 1/2 cup (120ml) salted caramel sauce
- Flaky sea salt, optional for topping
Instructions
- Preheat oven to 350°F (175°C). Line an 8×8 inch baking pan with parchment paper, leaving an overhang on two sides, and grease lightly.
- In a microwave-safe bowl, combine butter and chocolate chips. Microwave in 30-second intervals, stirring between each, until smooth. Let cool for one minute.
- Whisk sugar, eggs, and vanilla extract into the melted chocolate mixture vigorously for about one minute until glossy and uniform.
- Sprinkle flour and salt over the wet mixture. Gently fold in with a whisk or spatula until just combined, being careful not to overmix.
- Pour batter into the prepared pan and spread evenly. Drizzle salted caramel sauce over the top in a zigzag pattern.
- Use a knife or fork to gently swirl the caramel into the batter to create ribbons.
- Bake for 25-30 minutes until edges are set and a toothpick inserted comes out with moist crumbs.
- Cool in the pan for at least 10 minutes before lifting out and cutting into squares. Dust with flaky sea salt if desired.
Notes
For fudgy texture, do not overmix the batter and use granulated sugar rather than brown sugar. Ensure caramel sauce is thick; if runny, heat slightly to thicken before swirling. Brownies are best cooled for at least 10 minutes to allow caramel to set. Can be stored at room temperature for 3 days, in the fridge for 5 days, or frozen for 3 months.
- Prep Time: 10 minutes
- Cook Time: 25-30 minutes
- Category: Dessert
- Cuisine: American
Nutrition
- Serving Size: 1 square
- Calories: 220
- Sugar: 24
- Sodium: 120
- Fat: 10
- Saturated Fat: 6
- Carbohydrates: 32
- Fiber: 1
- Protein: 3
Keywords: brownies, salted caramel, easy dessert, weeknight treat, fudgy brownies, one bowl recipe, chocolate dessert


