Last year, I made the classic mistake of trying to pack a delicate fruit tart for our family Labor Day picnic. You know the one—sitting in the backseat of a sedan, watching the crust crack every time we hit a pothole, and then arriving to find the filling has slid off entirely. It was messy, it was sad, and it definitely wasn’t picnic-friendly. That was the day I swore off anything that required a knife and fork for outdoor eating.
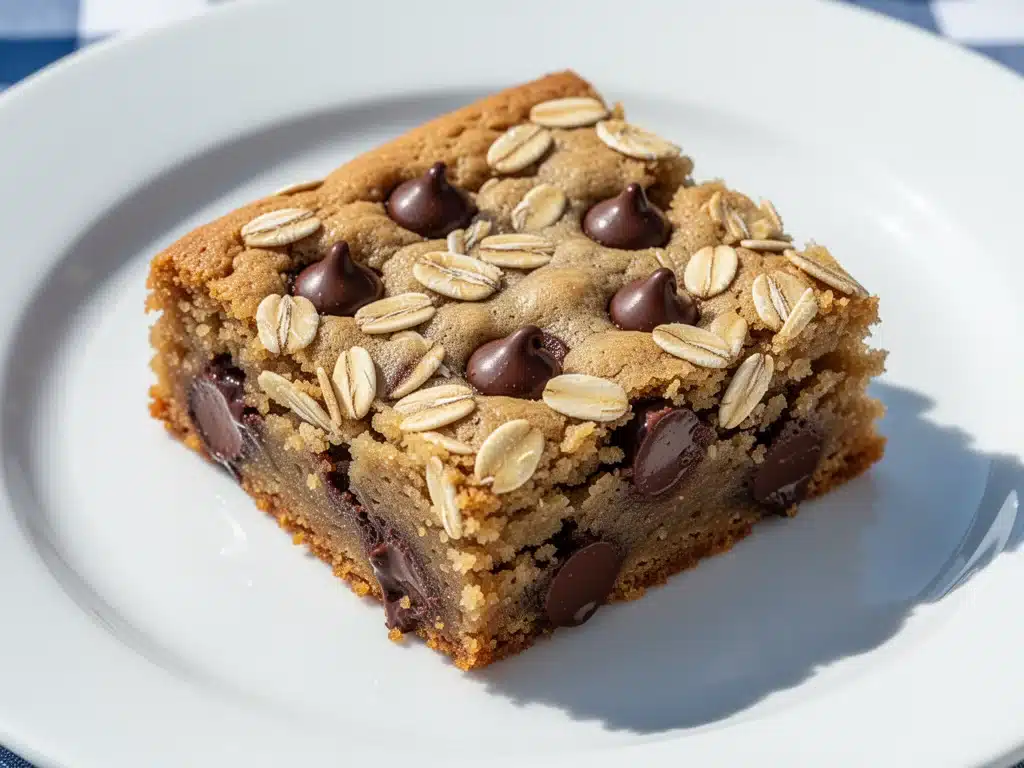
This year, I wanted to bring something that tasted like a cozy kitchen but survived the journey like a brick. Enter the oatmeal chocolate chip cookie bar. I’ve tested at least eight different versions of this recipe over the last few months, tweaking the ratio of oats to flour, debating the merits of brown sugar versus white, and even trying a few weird additions (like a pinch of espresso powder, which I actually love, but let’s stick to the classics for now). The result is a bar that is chewy, soft, and studded with melty chocolate, yet sturdy enough to be eaten with your hands while sitting on a damp blanket.
These aren’t just cookie bars; they’re a picnic game-changer. They travel well, they taste better the next day (if you can keep them that long), and they bring that nostalgic, homemade vibe that everyone associates with the end of summer. Whether you’re grilling burgers, playing cornhole, or just trying to keep the kids entertained, these bars fit perfectly into the chaos. Plus, they’re easier to bake than individual cookies because you don’t have to worry about spacing and baking times varying across the tray. It’s one pan, one worry, and a whole lot of happy faces.
Why You’ll Love This Oatmeal Chocolate Chip Cookie Bars Recipe
There are a few reasons I keep coming back to this specific recipe for every outdoor gathering and potluck. It’s not just about taste, though the taste is definitely there. It’s about the logistics of feeding a group without losing your mind in the kitchen.
- Zero Cookie-Spacing Stress — Seriously, if you hate watching cookies spread and merge into one giant dough blob, you’ll love these bars. You press the dough into the pan, and it stays put. No more rotating pans halfway through. No more guessing which cookies are done.
- Make-Ahead Friendly — You can bake these the night before. In fact, I prefer it. They set up overnight in the fridge, which makes them easier to cut into neat squares the next morning. Plus, the flavors meld together while they rest, making them taste even better.
- Travel-Proof — I’ve carried these in a cooler, in a backpack, and even in a hot car for an hour. They don’t crumble, they don’t melt into a soup, and they don’t fall apart. They are the definition of sturdy comfort food.
- Crowd-Pleasing Flexibility — My picky nephew who usually only eats chicken nuggets loves these. My friend who is gluten-sensitive can have a version made with gluten-free oats. They are universally loved, which is rare for any dessert.
- Cost-Effective — Oats and chocolate chips are pantry staples. You can feed a crowd of 12-15 people for under $10. That’s cheaper than buying a box of store-bought cookies, and infinitely tastier.
This recipe has saved me from the “what do I bring?” panic multiple times. It’s reliable, it’s delicious, and it makes everyone feel like you put in extra effort, even though it’s basically just mixing and baking.
Ingredients You’ll Need
Here’s the best part: you probably have most of this already in your pantry. This isn’t a recipe that requires a trip to three different specialty stores. I’m particular about a few things, but overall, it’s simple stuff.
For the Base
Butter (½ cup / 113g) — I use unsalted so I can control the saltiness. You can use salted, just reduce the added salt in the recipe by half. Melted butter gives a chewier texture, while creamed butter gives a cakier one. For these bars, melted is the way to go.
Brown Sugar (1 cup / 200g) — Light or dark brown sugar works. Dark brown has a deeper molasses flavor, which I love, but light is fine if that’s what you have. This is what gives the bars their chewiness.
White Sugar (½ cup / 100g) — Just a little bit to balance the moisture from the brown sugar and help with crisp edges.
Egg (1 large) — Room temperature is best, but cold works fine here. Just make sure it’s fully incorporated.
Vanilla Extract (1 teaspoon) — Don’t skimp on this. It’s the backbone of the flavor. Use real vanilla, not imitation, if you can.
For the Dry Mix
All-Purpose Flour (1 ½ cups / 190g) — Standard flour. I spoon it into the cup and level it off. Don’t scoop and pack, or you’ll end up with dry bars.
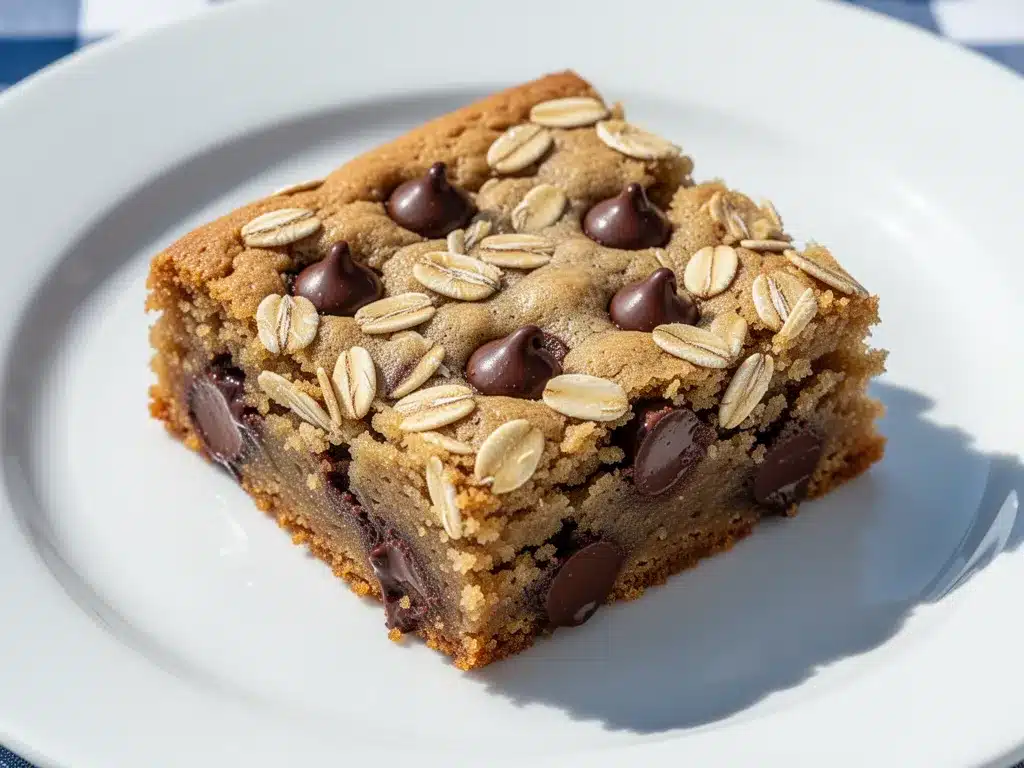
Old-Fashioned Rolled Oats (1 ½ cups / 135g) — This is crucial. Do not use instant oats or steel-cut oats. Old-fashioned gives that perfect chewy texture. Quick oats will make them mushy.
Baking Soda (½ teaspoon) — Helps them spread and rise slightly.
Salt (½ teaspoon) — Enhances the chocolate flavor. Use kosher salt if you have it.
The Good Stuff
Chocolate Chips (1 ½ cups / 255g) — I use semi-sweet chocolate chips. Sometimes I mix in a few milk chocolate chips for variety, but semi-sweet is the classic choice. If you want to upgrade, use chopped chocolate bars instead of chips. It creates those beautiful pools of chocolate.
Optional: Toasted Pecans (½ cup) — If you like crunch, add chopped pecans. I toast them in a dry pan for 2 minutes before adding. It adds a nutty depth that’s amazing.
Sea Salt Flakes (for topping) — A light sprinkle right after baking makes the chocolate pop. It’s a restaurant-level touch that’s super easy.
Equipment Needed
You don’t need fancy gadgets for this. Here’s what I actually use.
9×13 Inch Baking Pan — I use a glass Pyrex pan because it browns the bottom nicely. Metal pans work too, but keep an eye on the edges so they don’t burn. Line it with parchment paper for easy lifting.
Mixing Bowls — One large bowl for wet ingredients, one medium for dry. I usually just use one large bowl and clean the medium one for the dry stuff, but two is easier if you’re not lazy.
Whisk — For beating the butter and sugars until smooth. A fork works in a pinch, but a whisk is faster.
Spatula — A sturdy silicone spatula is best for folding in the chocolate chips and oats without overmixing.
Parchment Paper — This is non-negotiable for easy cleanup and easy removal. Don’t skip it.
Cooling Rack — To cool the bars completely before cutting. If you cut them warm, they’ll be a mess.
How to Make It: Step-by-Step
Alright, let’s make this! I’m walking you through exactly how I do it, including the little tricks I’ve picked up.
Step 1: Prep Your Pan (5 minutes)
Preheat your oven to 350°F (175°C). Line your 9×13 inch baking pan with parchment paper, leaving an overhang on the long sides. This acts as a sling so you can lift the entire batch out once it’s baked. Grease the parchment lightly with butter or cooking spray.
Step 2: Mix the Wet Ingredients (3 minutes)
In a large bowl, combine the melted butter, brown sugar, and white sugar. Whisk vigorously for about 2 minutes. You want it to look smooth and slightly glossy. This step is key for chewiness. If the butter is too hot, let it cool for a minute so it doesn’t cook the egg.
Stir in the egg and vanilla extract until fully combined. The mixture might look a bit curdled at first, but that’s okay. It’ll come together.
Step 3: Add the Dry Ingredients (2 minutes)
Add the flour, baking soda, and salt to the wet mixture. Stir with a spatula or wooden spoon until just combined. Do not overmix! Once you see no more streaks of flour, stop. Overmixing leads to tough bars.
Step 4: Fold in the Oats and Chocolate (2 minutes)
Now add the rolled oats and chocolate chips. Fold them in gently. You want to distribute them evenly, but you don’t need to be perfect. Some clumps of chocolate are a feature, not a bug.
Step 5: Press and Bake (25-30 minutes)
Spread the dough evenly into your prepared pan. Use your hands or the back of a spoon to press it down firmly. It should be an even layer from corner to corner. If you leave it too thick in the middle, it won’t bake evenly.
Bake for 25-30 minutes. The edges should be golden brown, and the center should look set but still slightly soft. It will firm up as it cools. If you bake it until the center is hard, they’ll be dry. Trust me, pull them when they look just barely done.
Step 6: Cool and Cut (30+ minutes)
Let the bars cool in the pan on a wire rack for at least 30 minutes. I know, waiting is hard. But if you cut them warm, they’ll be gooey and messy. For clean squares, patience is your friend. Once cooled, lift them out using the parchment sling and cut into squares. I usually cut them into 12 large squares or 24 small ones for picnics.
Expert Tips & Tricks
Here’s everything I’ve learned from making these dozens of times. These tips will save you from my mistakes.
Toast Your Oats — For a deeper, nuttier flavor, toast the rolled oats in a dry skillet over medium heat for 3-4 minutes before adding them to the batter. They’ll smell amazing and add a texture contrast that’s incredible.
Chill the Dough — If you have time, chill the dough in the fridge for 30 minutes before baking. This solidifies the butter, which helps the bars hold their shape better during transport. It also prevents excessive spreading.
Don’t Overbake — This is the #1 mistake. The bars continue to cook on the hot pan after you take them out of the oven. Pull them when the edges are golden but the center still looks a bit soft. They will firm up as they cool.
Use High-Quality Chocolate — Since chocolate is a main ingredient, don’t use the cheapest chips you can find. Ghirardelli or Guittard are my go-tos. If you want to splurge, use chopped chocolate bars for those beautiful, irregular chunks.
Add a Pinch of Espresso Powder — It sounds weird, but adding ½ teaspoon of instant espresso powder to the dry ingredients enhances the chocolate flavor without making it taste like coffee. It’s a baker’s secret.
Sprinkle Sea Salt — Right after taking the bars out of the oven, sprinkle a light layer of flaky sea salt on top. The salt contrasts with the sweet chocolate and makes the flavors pop. It’s a game-changer.
Variations & Substitutions
Once you’ve nailed the basic version, here’s how you can mix it up. I’ve tried all of these.
Double Chocolate — Add ¼ cup of cocoa powder to the dry ingredients and use milk chocolate chips instead of semi-sweet. It’s rich and fudgy.
White Chocolate Macadamia — Swap the chocolate chips for white chocolate chips and add 1 cup of chopped macadamia nuts. It’s tropical and sweet, perfect for summer.
Chewy vs. Crispy — For chewier bars, use more brown sugar and less white sugar. For crispier edges, bake for an extra 2-3 minutes and let them cool completely in the pan.
Gluten-Free — Use gluten-free rolled oats and a 1:1 gluten-free flour blend. Make sure your oats are certified gluten-free if you have celiac disease.
Vegan — Use vegan butter and a flax egg (1 tablespoon ground flaxseed mixed with 3 tablespoons water, let sit for 5 minutes). Use vegan chocolate chips. They hold up surprisingly well.
Nut-Free — Simply omit the nuts. The bars are still delicious without them. If you want crunch, add extra chocolate chips or a sprinkle of toasted sunflower seeds.
Serving & Storage
How to Serve: I usually serve these straight from the pan at the picnic table. They look rustic and inviting. For a more polished look, cut them into neat squares and arrange them on a platter with some fresh berries or whipped cream on the side.
Side Dishes: These bars pair well with anything. I love them with a cold glass of milk, a scoop of vanilla ice cream, or even just on their own. For a picnic, they go great with savory snacks like chips, dip, or grilled corn.
Storage: Store leftovers in an airtight container at room temperature for up to 5 days. They actually taste better on day 2 as the flavors meld. If it’s very hot, store them in the fridge, but let them come to room temperature before serving for the best texture.
Freezing: You can freeze these bars for up to 3 months. Wrap them tightly in plastic wrap and then in foil. Thaw them at room temperature before serving. They freeze beautifully, making them a great make-ahead option for busy weekends.
Pro Tip: If you’re bringing them to a picnic, keep them in the shade. Chocolate melts, and while these bars are sturdy, you don’t want them turning into a gooey mess. A cooler bag or an insulated container helps.
Nutrition Information
I’m not a nutritionist, but here’s the breakdown if you’re tracking. Please note that these are estimates and can vary based on the specific ingredients you use.
Per Serving (based on 12 bars):
Calories: 280
Protein: 4g
Carbs: 38g
Fiber: 2g
Sugar: 22g
Fat: 14g
Saturated Fat: 8g
Cholesterol: 25mg
Sodium: 180mg
What’s Good: It’s a decent source of energy from the oats, and the chocolate provides some antioxidants. It’s more filling than a cake slice because of the fiber in the oats.
What to Know: It’s high in sugar and saturated fat, so it’s definitely an indulgent treat. Enjoy in moderation, especially if you’re watching your intake. But hey, it’s a picnic! Let’s enjoy it.
Final Thoughts
So that’s my go-to oatmeal chocolate chip cookie bars recipe! I’ve probably talked your ear off at this point, but when you make a recipe this often, you have a lot to say about it. These bars have saved me from dessert disasters more times than I can count. They’re my answer to “what do I bring that’s easy, delicious, and won’t fall apart?”
Make them your own! Try different chocolates, add nuts, or tweak the spice. The best recipes are the ones you adapt to your family’s tastes. If you make these, drop a comment and let me know how they turned out! I love hearing how recipes work in your kitchen. And if something doesn’t work, tell me that too—I’m here to help troubleshoot.
Happy baking, and I hope your Labor Day picnic is filled with good food, good company, and zero cracked tarts!
Frequently Asked Questions
Can I use quick oats instead of old-fashioned oats?
I wouldn’t recommend it. Quick oats are thinner and will make the bars mushy and dense. Old-fashioned rolled oats provide that perfect chewy texture that we all love in oatmeal cookies. If you only have quick oats, you can pulse them in a food processor for a few seconds to break them up, but old-fashioned is best.
Why did my bars turn out cakey instead of chewy?
This usually happens if you overmix the batter or use too much flour. Make sure you’re spooning and leveling your flour, not scooping it directly from the bag. Also, ensure you’re using melted butter, not creamed butter, for a chewier texture. And don’t overbake! Pull them when they’re just set.
Can I make these ahead of time for the picnic?
Yes! In fact, I recommend it. Bake them the night before, let them cool completely, and store them in an airtight container. They’ll be even easier to cut and transport the next day. Just make sure to keep them in a cool place, especially if it’s a hot day.
How do I cut them into neat squares?
Use a sharp knife and wipe it clean between cuts. For even neater squares, you can use a pizza cutter. Make sure the bars are completely cool before cutting, or they’ll stick to the knife. Chilling them in the fridge for 15 minutes before cutting can also help.
Can I double this recipe?
Yes, you can double the recipe and bake it in a 9×13 inch pan, but it might be quite thick. You may need to increase the baking time by 5-10 minutes. Keep an eye on the edges to ensure they don’t burn. Alternatively, you can bake two batches in separate pans.
Why did my bars spread too much?
If your butter was too hot when you mixed it with the sugar, it can cause excessive spreading. Let the melted butter cool for a few minutes before adding the sugar. Also, make sure your baking soda is fresh. Old baking soda won’t help the bars hold their structure.
Can I add nuts to this recipe?
Absolutely! Chopped pecans, walnuts, or macadamia nuts are all delicious additions. I recommend toasting them first for extra flavor. Add them along with the chocolate chips in the final step. Just be aware that adding nuts will add extra crunch and flavor, so adjust your expectations accordingly!
Pin This Recipe!
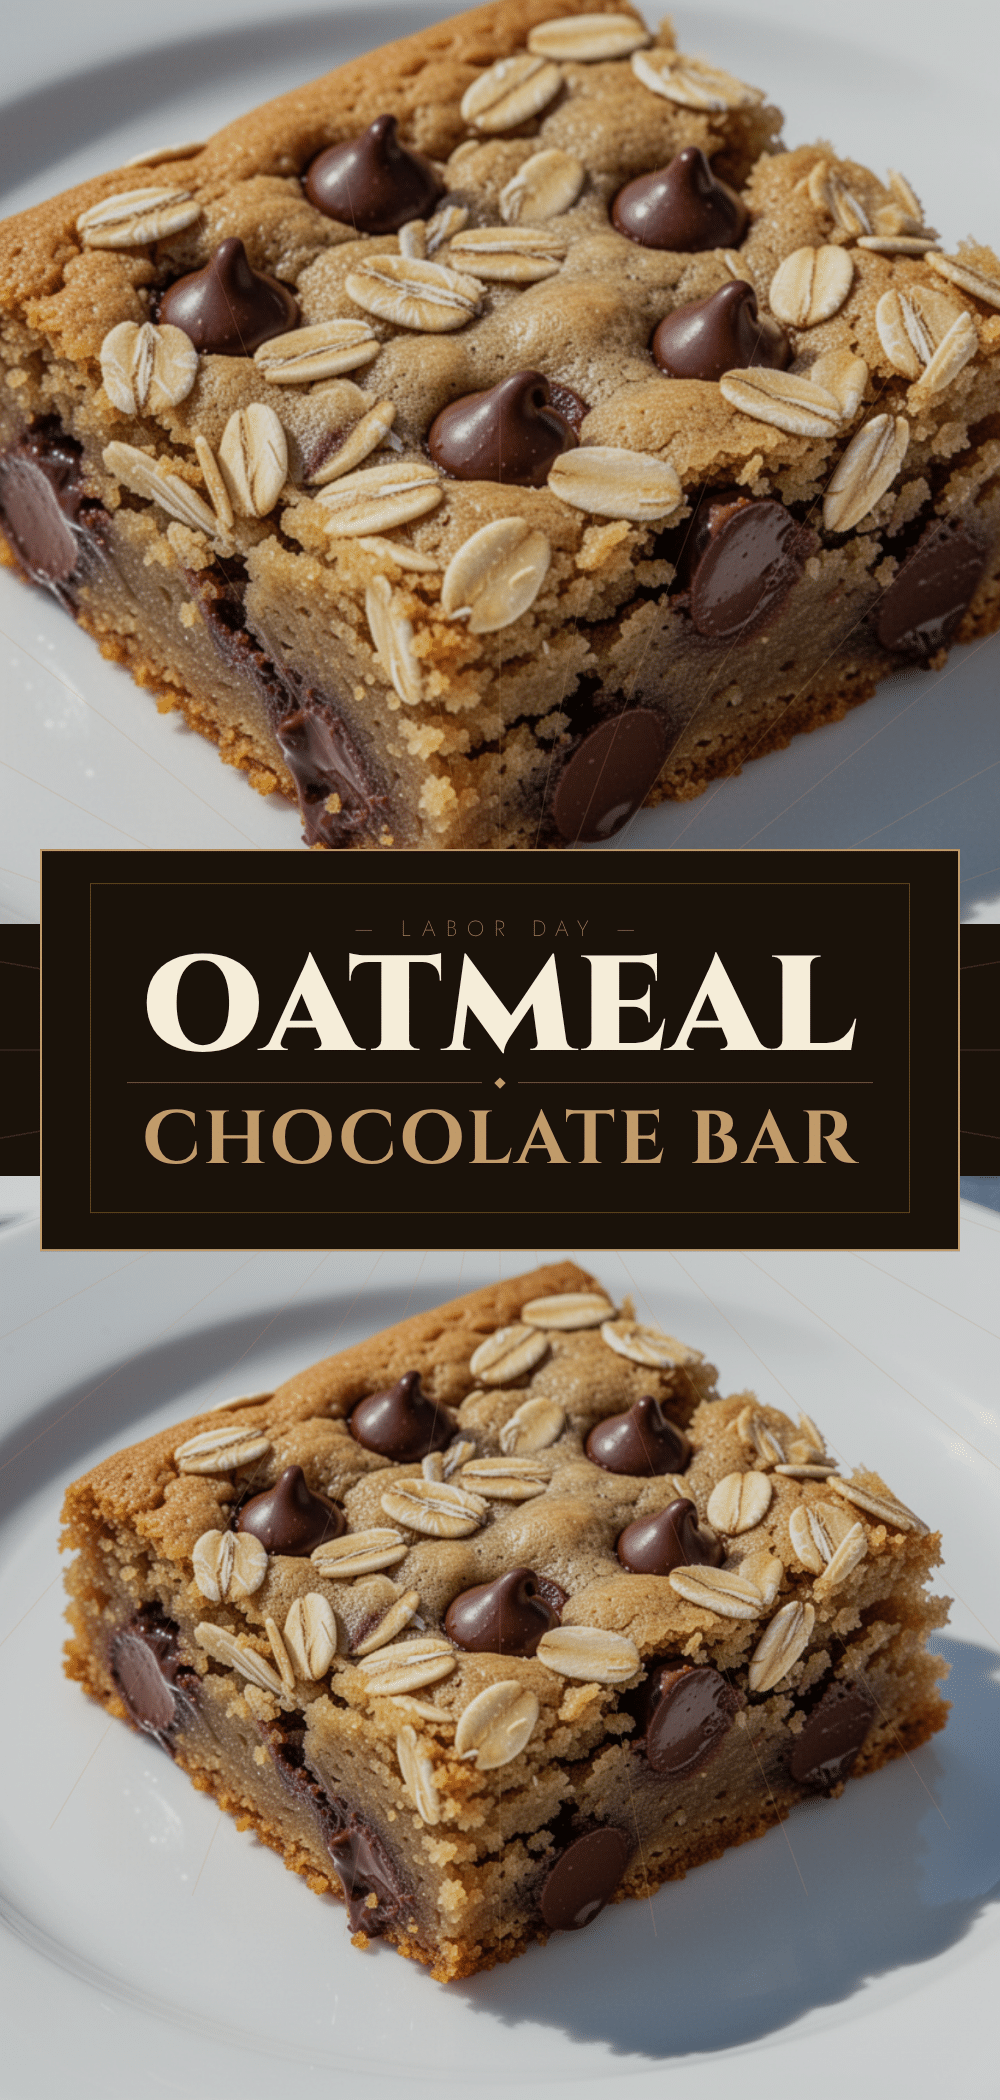
Oatmeal Chocolate Chip Cookie Bars
- Total Time: 40 minutes
- Yield: 12 servings 1x
Description
Chewy, sturdy oatmeal chocolate chip cookie bars that are perfect for picnics and travel. Easy to make in one pan with pantry staples.
Ingredients
- 1/2 cup (113g) unsalted butter, melted
- 1 cup (200g) brown sugar
- 1/2 cup (100g) white sugar
- 1 large egg, room temperature
- 1 teaspoon vanilla extract
- 1 1/2 cups (190g) all-purpose flour
- 1 1/2 cups (135g) old-fashioned rolled oats
- 1/2 teaspoon baking soda
- 1/2 teaspoon salt
- 1 1/2 cups (255g) semi-sweet chocolate chips
- 1/2 cup toasted pecans, chopped (optional)
- Sea salt flakes, for topping
Instructions
- Preheat oven to 350°F (175°C). Line a 9×13 inch baking pan with parchment paper, leaving an overhang on the long sides, and grease lightly.
- In a large bowl, whisk melted butter, brown sugar, and white sugar vigorously for 2 minutes until smooth and glossy.
- Stir in the egg and vanilla extract until fully combined.
- Add flour, baking soda, and salt to the wet mixture. Stir with a spatula until just combined; do not overmix.
- Fold in the rolled oats and chocolate chips gently.
- Press the dough evenly into the prepared pan.
- Bake for 25-30 minutes until edges are golden brown and the center looks set but slightly soft.
- Let cool in the pan on a wire rack for at least 30 minutes.
- Lift out using parchment sling and cut into squares. Sprinkle with sea salt flakes if desired.
Notes
For chewier bars, use melted butter. For crispier edges, bake an extra 2-3 minutes. Do not overbake as they continue to cook on the hot pan. Can be stored in an airtight container at room temperature for up to 5 days or frozen for 3 months.
- Prep Time: 10 minutes
- Cook Time: 30 minutes
- Category: Dessert
- Cuisine: American
Nutrition
- Serving Size: 1 bar
- Calories: 280
- Sugar: 22
- Sodium: 180
- Fat: 14
- Saturated Fat: 8
- Carbohydrates: 38
- Fiber: 2
- Protein: 4
Keywords: oatmeal chocolate chip cookie bars, picnic dessert, easy baking, make-ahead dessert, family friendly


